
Table Fields
Table Fields are collections of regular process fields grouped, together, to create a table of multiple rows and columns for data entry and storage.
Table Fields are displayed as a spreadsheet like table in a popup from the GlobalCapture Search Results View when the table is opened from the Process Fields tab and below the document in the Document Viewer.
Table Fields are useful for collecting line item data from an invoice, a list of jobs from a job ticket, or any other data that have a variable number of lines of repetitive data.
Creating Table Fields
To access the GlobalCapture Field Catalog, login to GlobalCapture and click the Manage Icon. ( 
Before you begin your Table Field creation, all process fields that will be part of the table must be created.

While most fields can be added to tables, tables cannot include: System Fields, Multi-Value Fields, Required Fields, or other Tables.
-
Select the Table Fields Tab within the Field Catalog and select the Add New Button. (

-
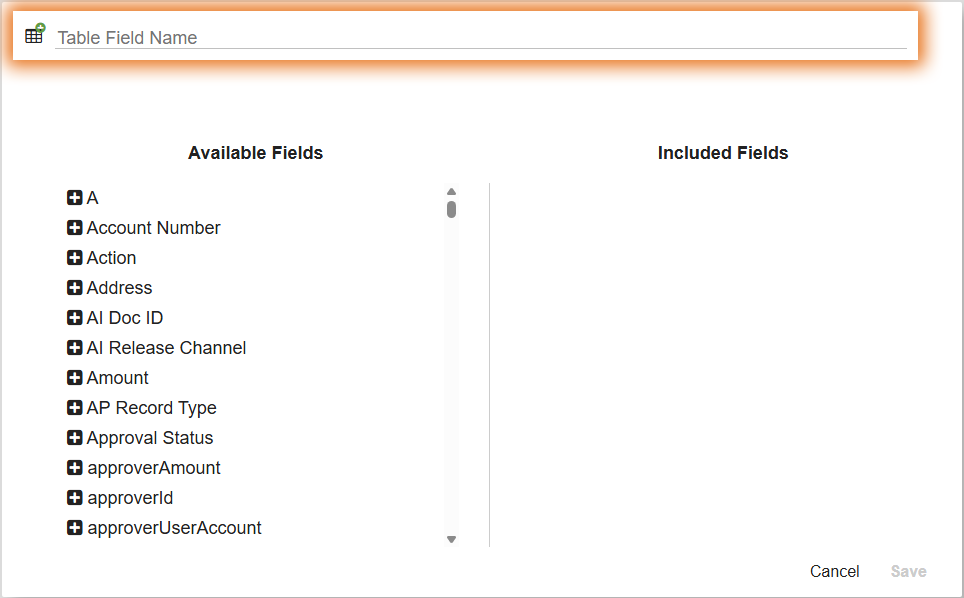
Enter a Name for the Table Field.
-
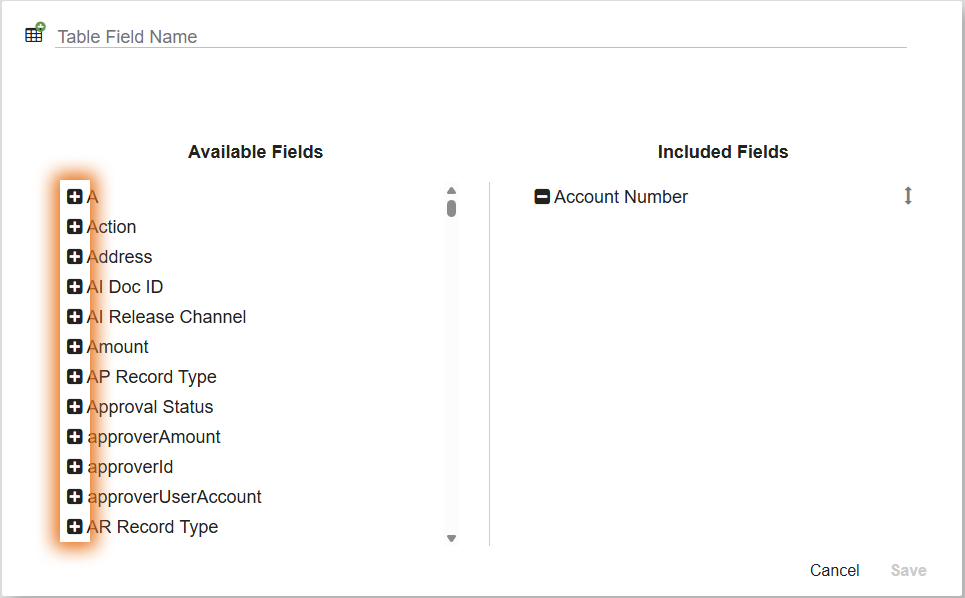
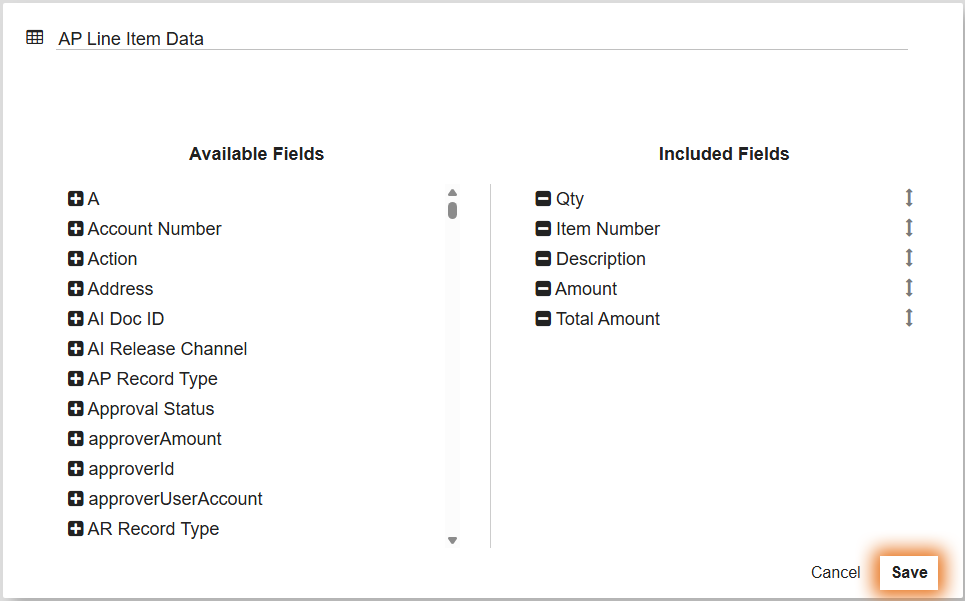
Add the Available Fields by clicking the Add (+) button beside the field to be included.
-
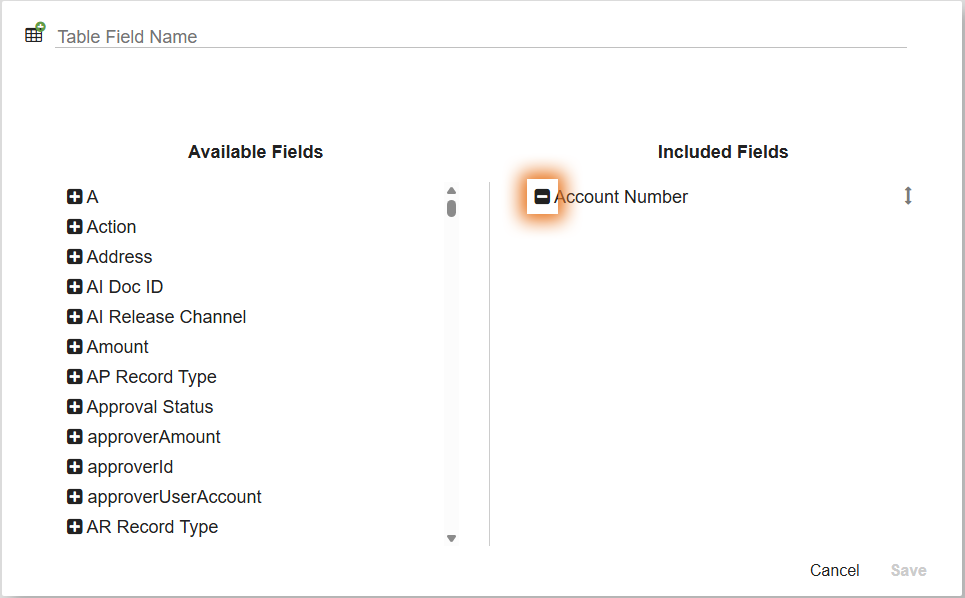
To Remove a field from the include fields, click the Minus (-) button.
-
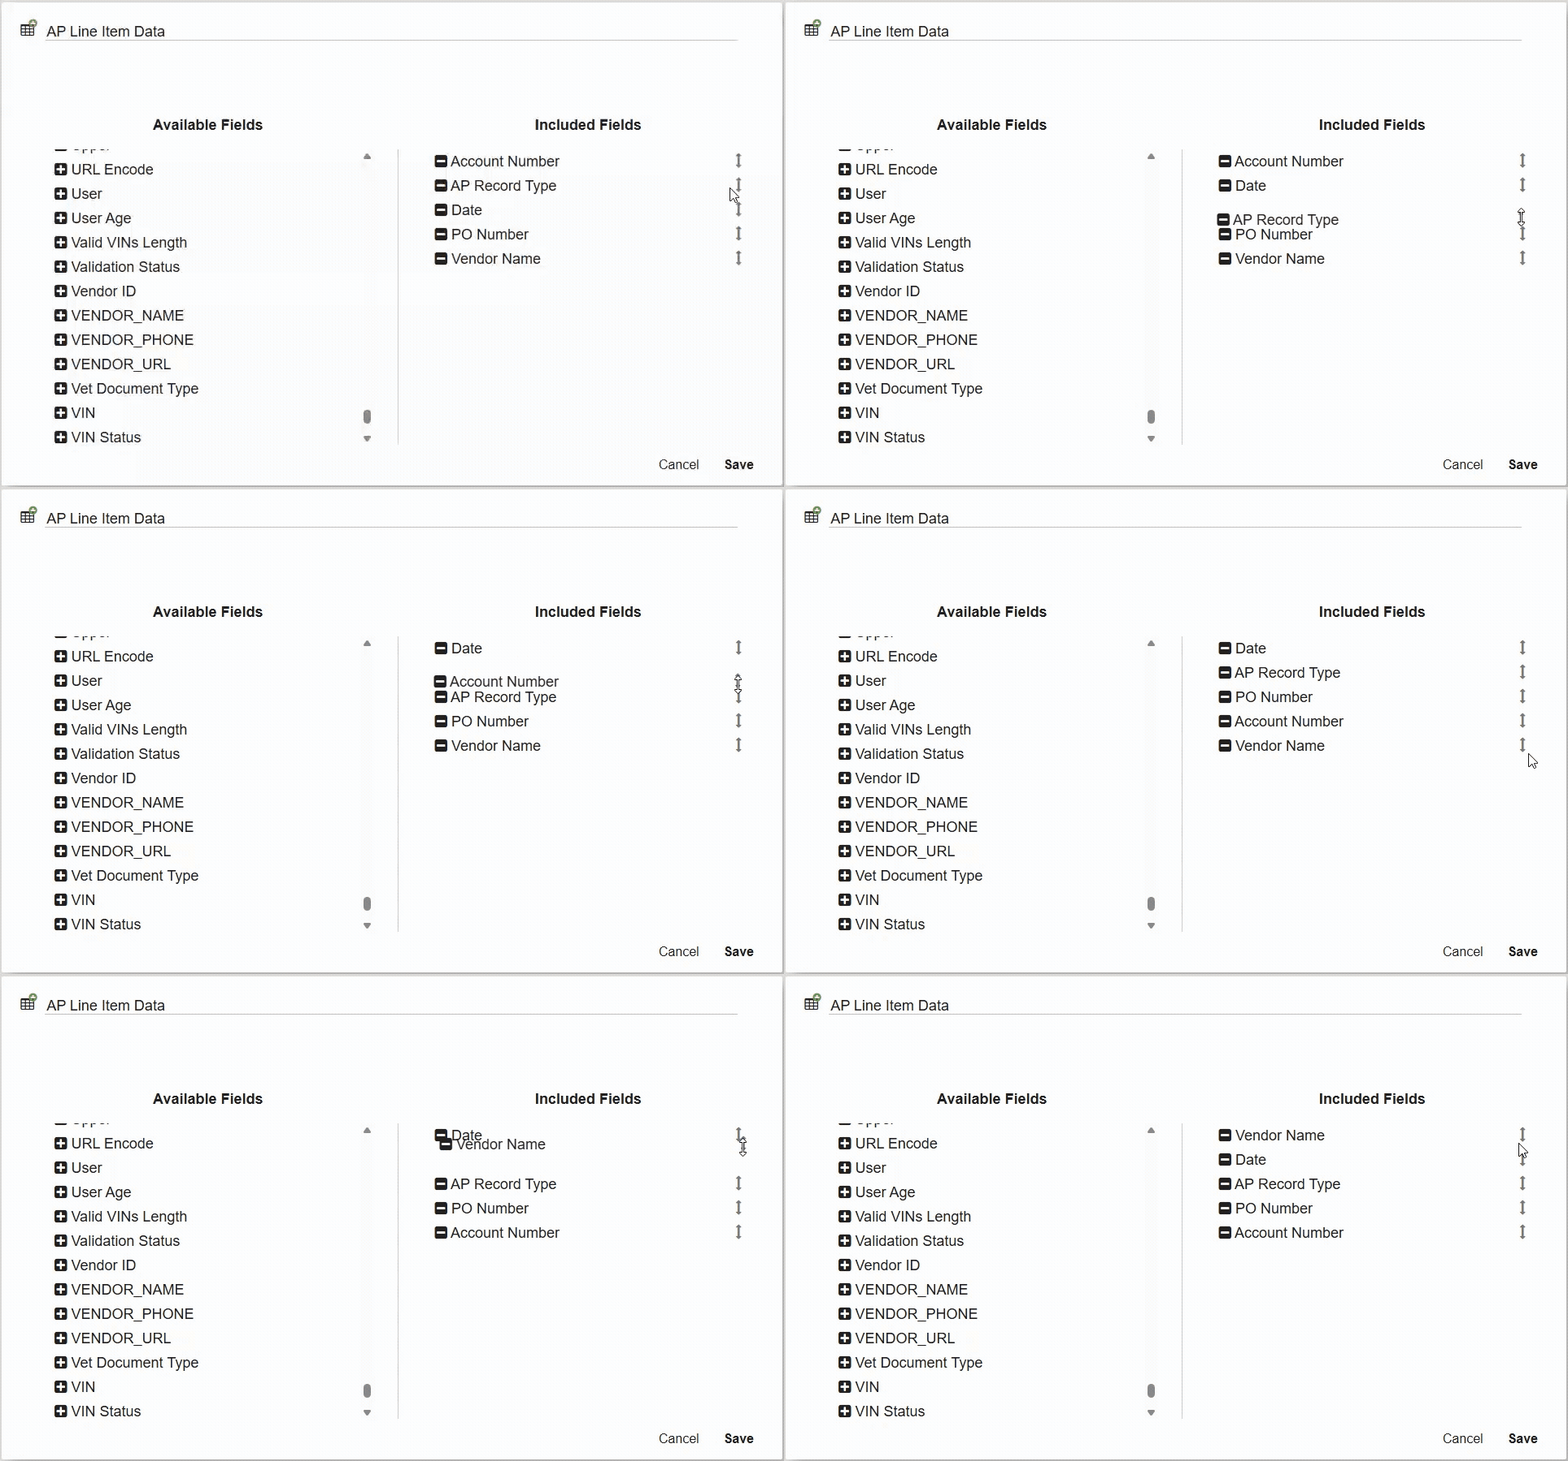
You can Reorder your Included Fields by clicking the and dragging the arrows.
-
Save your Table Field.
Setting/Editing Default Values
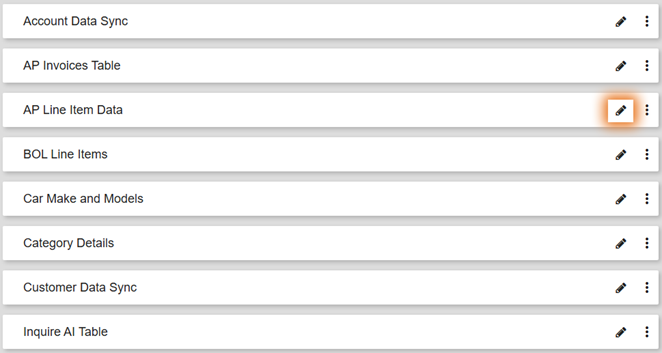
To set a default value, select the Edit Default Values ( 
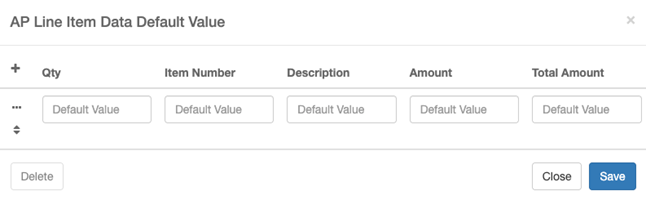
Enter any default values for each column in the table.
Click the Ellipsis icon to Add or rows of default data.
Using the Tab Key on your keyboard when in the last textbox of the last row will add another row.
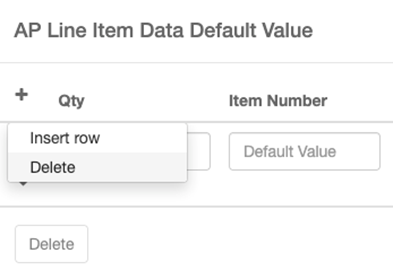
Inserted Rows always appear above the selected row.
Click Save to save your changes or Close to discard your changes.
Click Delete to delete all configured default values.
When using automated data extraction, default values will be replaced with extracted values.
Editing Table Fields
Exercise Caution when Editing and Deleting tables.
Any documents part of an active GlobalCapture process, or waiting in Validation can be negatively impacted. It is best practice to unpublish any workflows containing the table to be edited and to complete any active processes that contain the table.
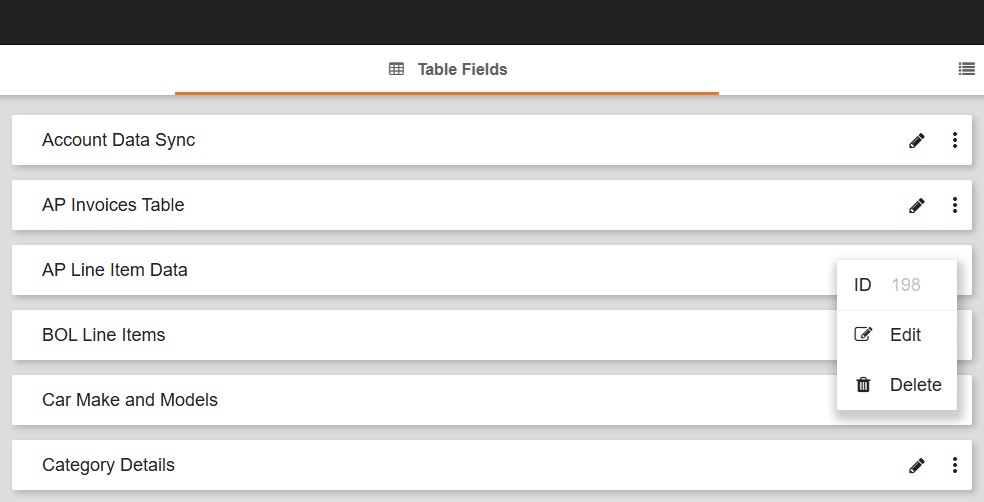
To Modify a table, click the Ellipsis next to the table to change. Click Edit.
Same as creation, you can add or remove values to your table by using the Plus (+) or Minus ( - ) signs and reorder with a click and drag.
Click Save when you are finished making your changes.
Renaming your Table Field or Adding Fields will have no negative effects on your processes, however, Removing Fields could result in data loss.
Deleting a Table Field
From the Ellipsis Menu, select Delete. The Confirm Action dialog box will appear. In order to delete a table, you are required to type the required verification.
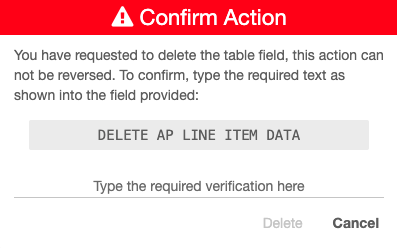
IMPORTANT: Once a table is deleted, it cannot be undone and will need to be recreated.
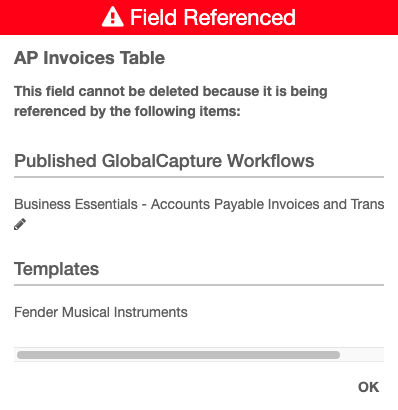
If the Table Field is being referenced in a workflow or a template, it cannot be deleted until the reference(s) are removed.