
Users and Groups
If using GlobalSearch and GlobalCapture, users created in either solution will appear as unsecured users in the other. If a user is removed from one solution, they are removed from the other as well.
Accessing Users and Groups
To access GlobalCapture Users and Groups:
Log into GlobalCapture and then click the Manage ( 
Managing Users
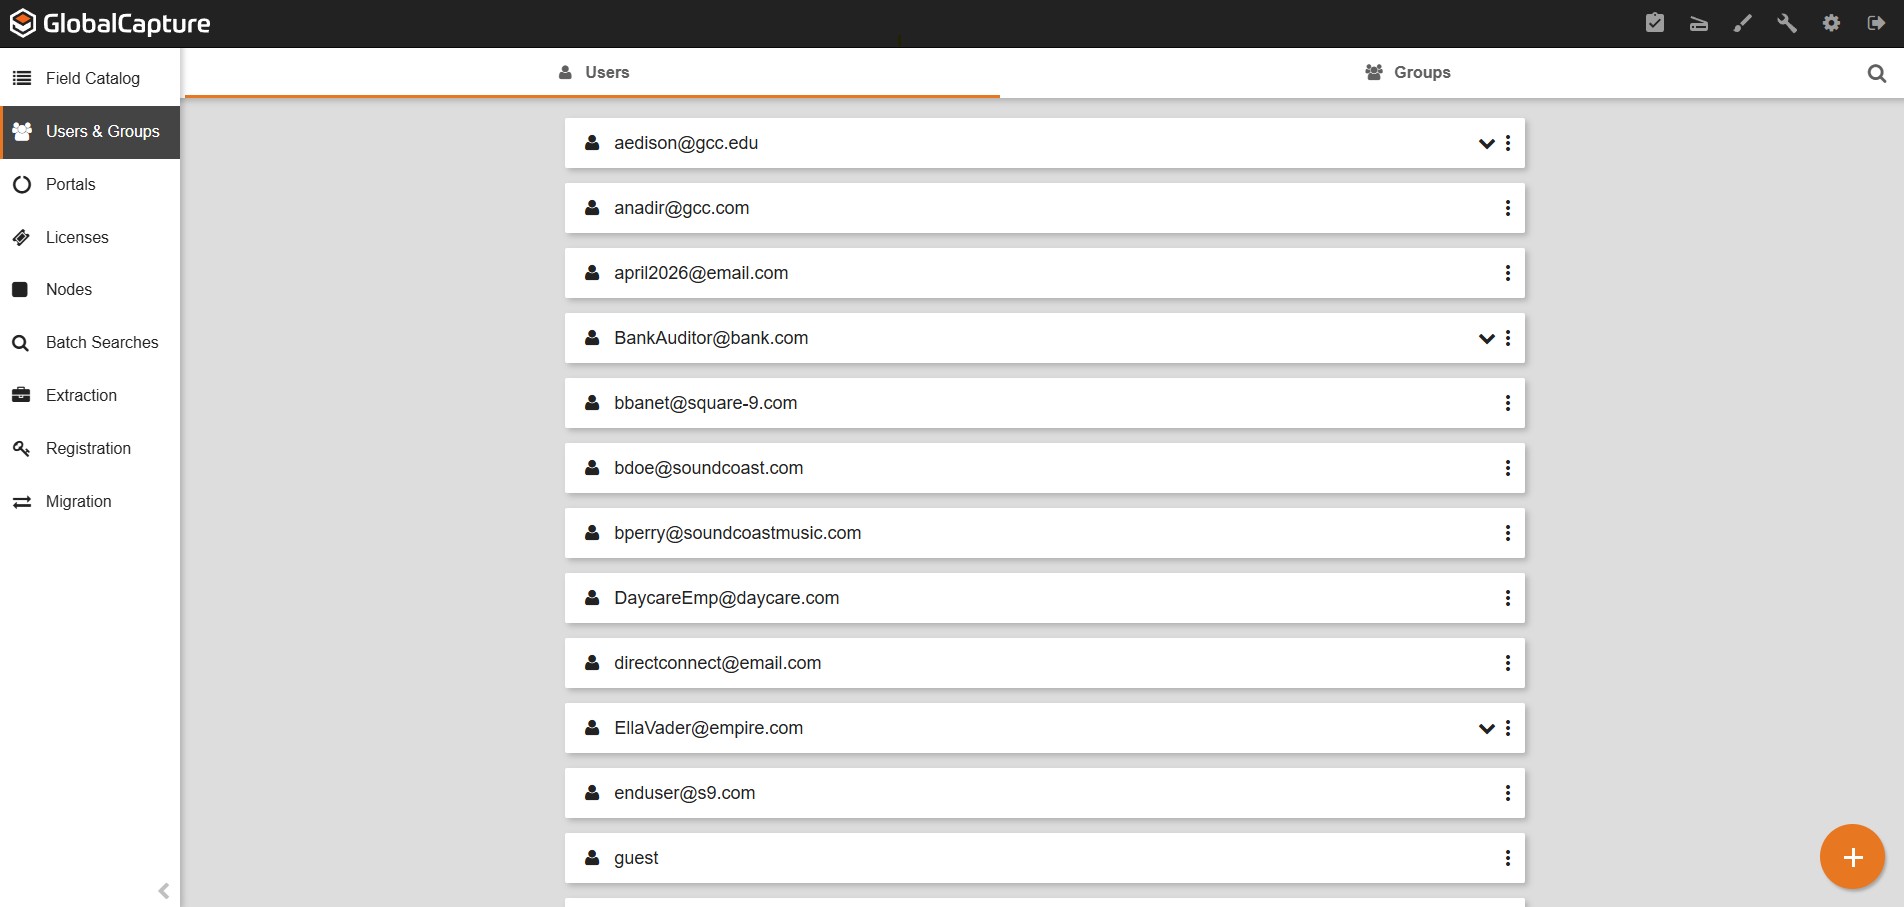
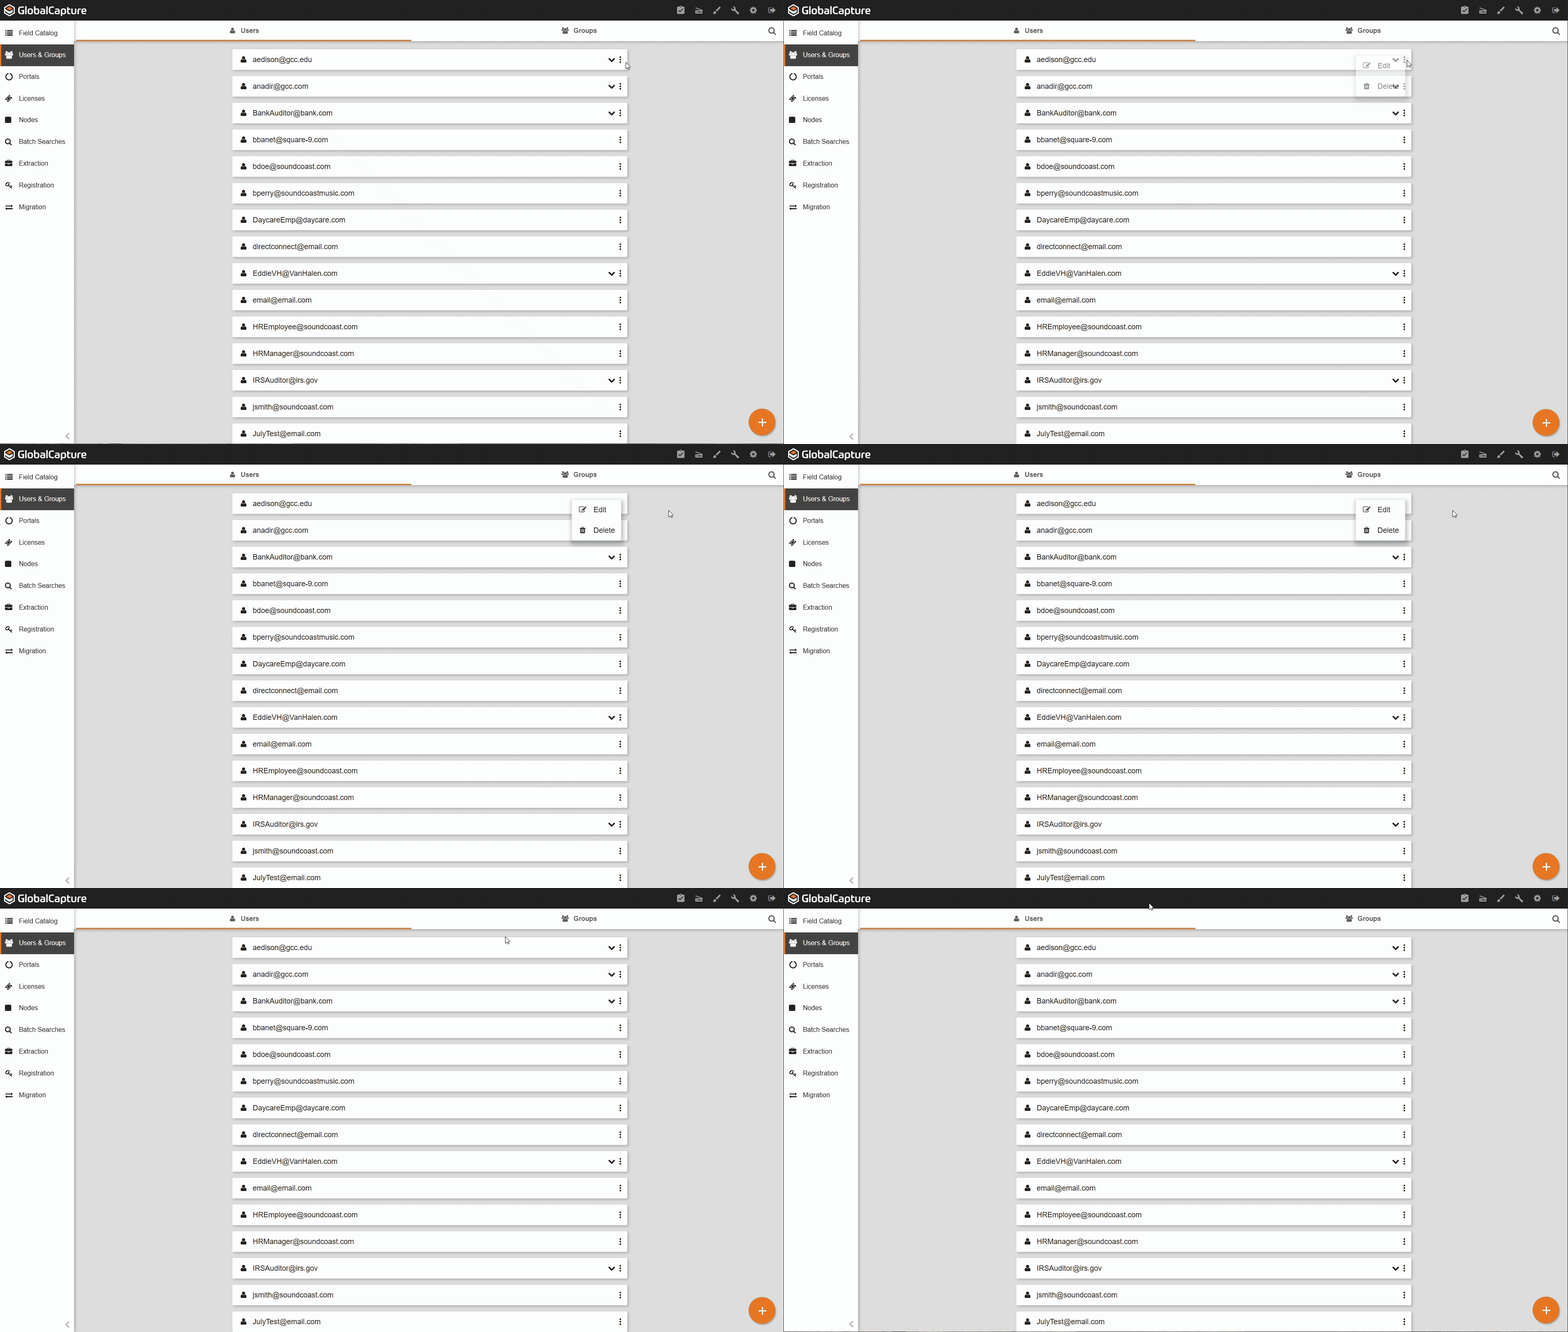
The Users Tab is a list of all available GlobalCapture users. From here you can create new GlobalCapture users and modify or delete existing users.
The users Name is displayed along with the image of a single person, indicating it's a user.
If a downward pointing caret is displayed, this user is part of one or more groups and can be clicked to view to which this user is affiliated.
The Ellipsis ( 
Creating a New User
To add a new user, click the Add New User ( 
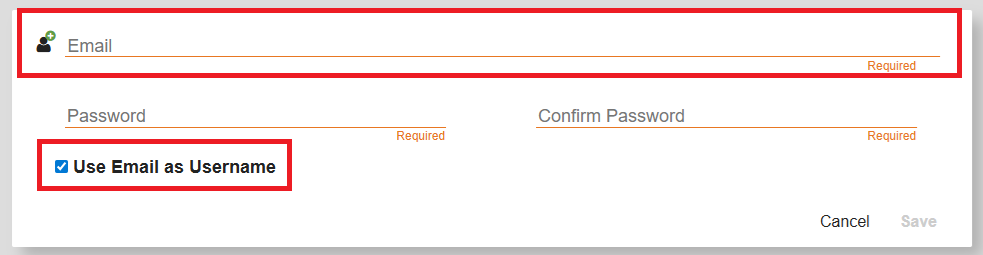
Enter the new user's Email Address. By default, this will also be their Username.
If you would like to create a username that is not the email, uncheck Use Email as Username.
It is strongly recommended to use the email address as the username.
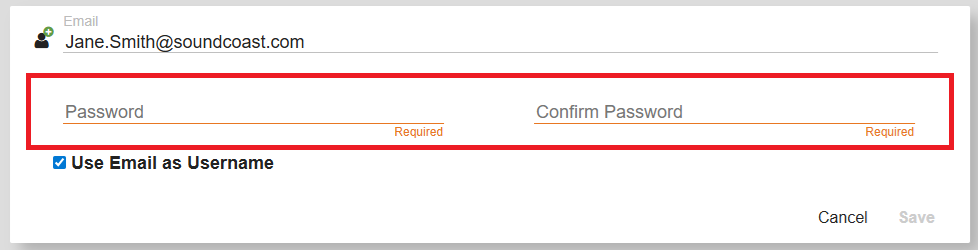
Enter and confirm a Password for this user.
Once the user logs into GlobalCapture, they can change their password in Settings.
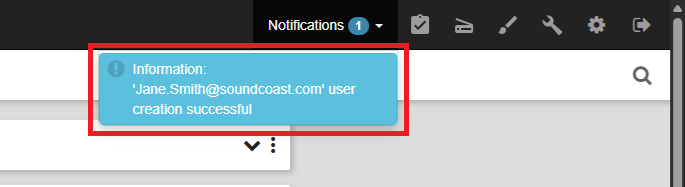
A Notification indicating the successful creation of the user appears.
Editing a User
To make changes to a user, click the Ellipsis (
You can change a user’s Password and update their Email Address, but you cannot change their Username.
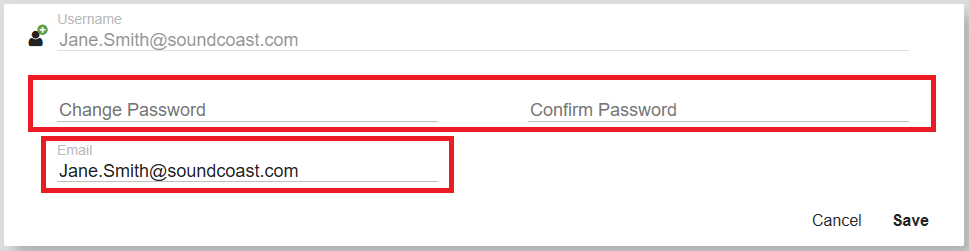
To change a username, a new user would have to be created and the original deleted.
Click Save to save your changes or Cancel to disregard your changes.
Deleting a User
To delete a user, click the Ellipsis (
Complete the Confirm Action then select Delete to delete the user or Cancel to keep the user.
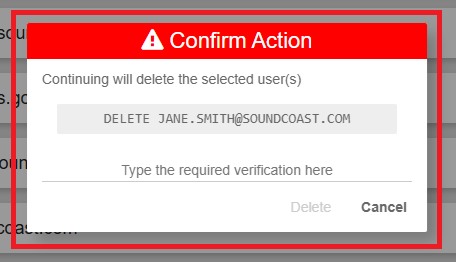
Once a user has been deleted, they cannot be recovered.
The user will need to be recreated and assigned to the appropriate groups and permissions.
Managing Groups
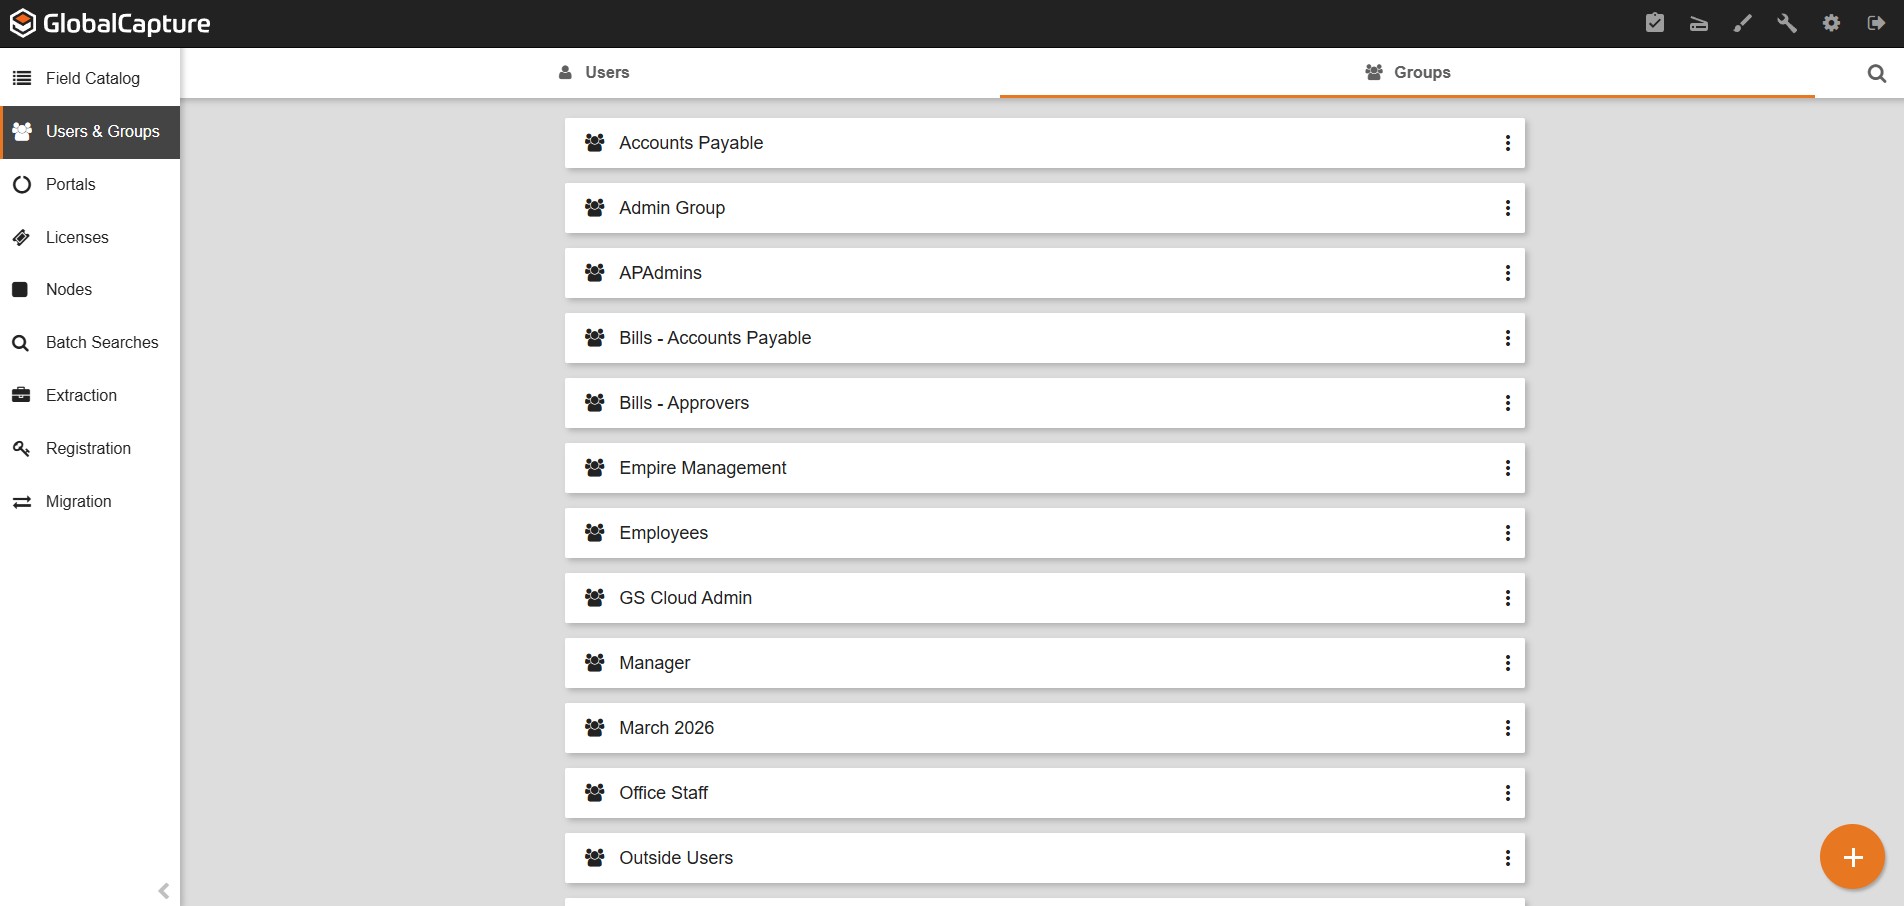
The Groups Tab is a list of all available GlobalCapture groups. From here you can create new GlobalCapture groups and modify or delete existing groups.
The Group Name is displayed along with the Group ( 
Creating a New Group
To add a new group, click the Add New Group (
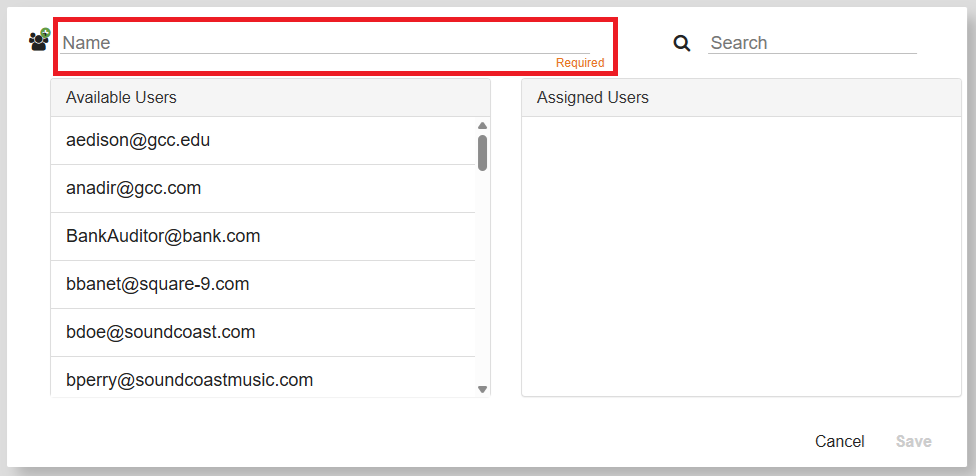
Enter a Name for your new group.
Group names must be unique and should be general, like departments or other organizational units.
Add users to your group by moving them from the Available Users column to the Assigned Users column.
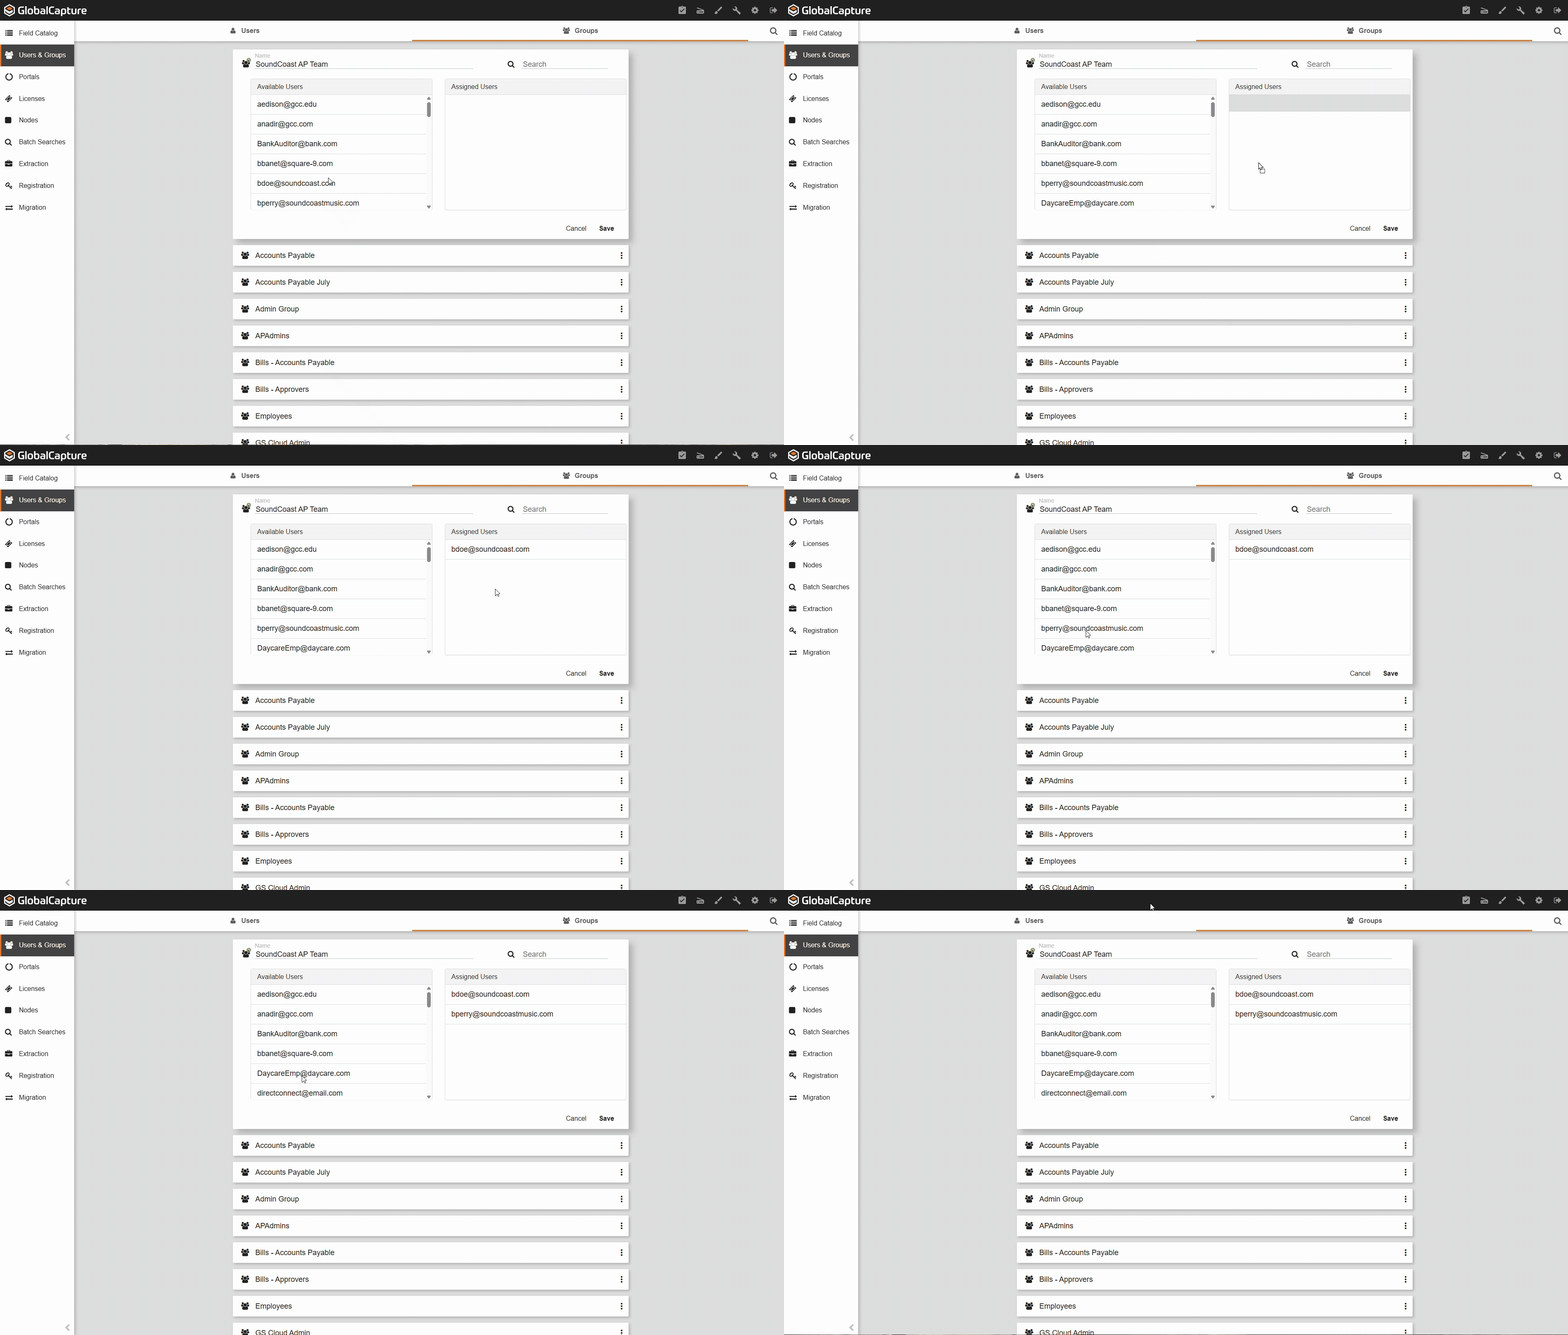
You can narrow down your list of users by using the Search.
Only Square 9 users can be added to Square 9 groups.
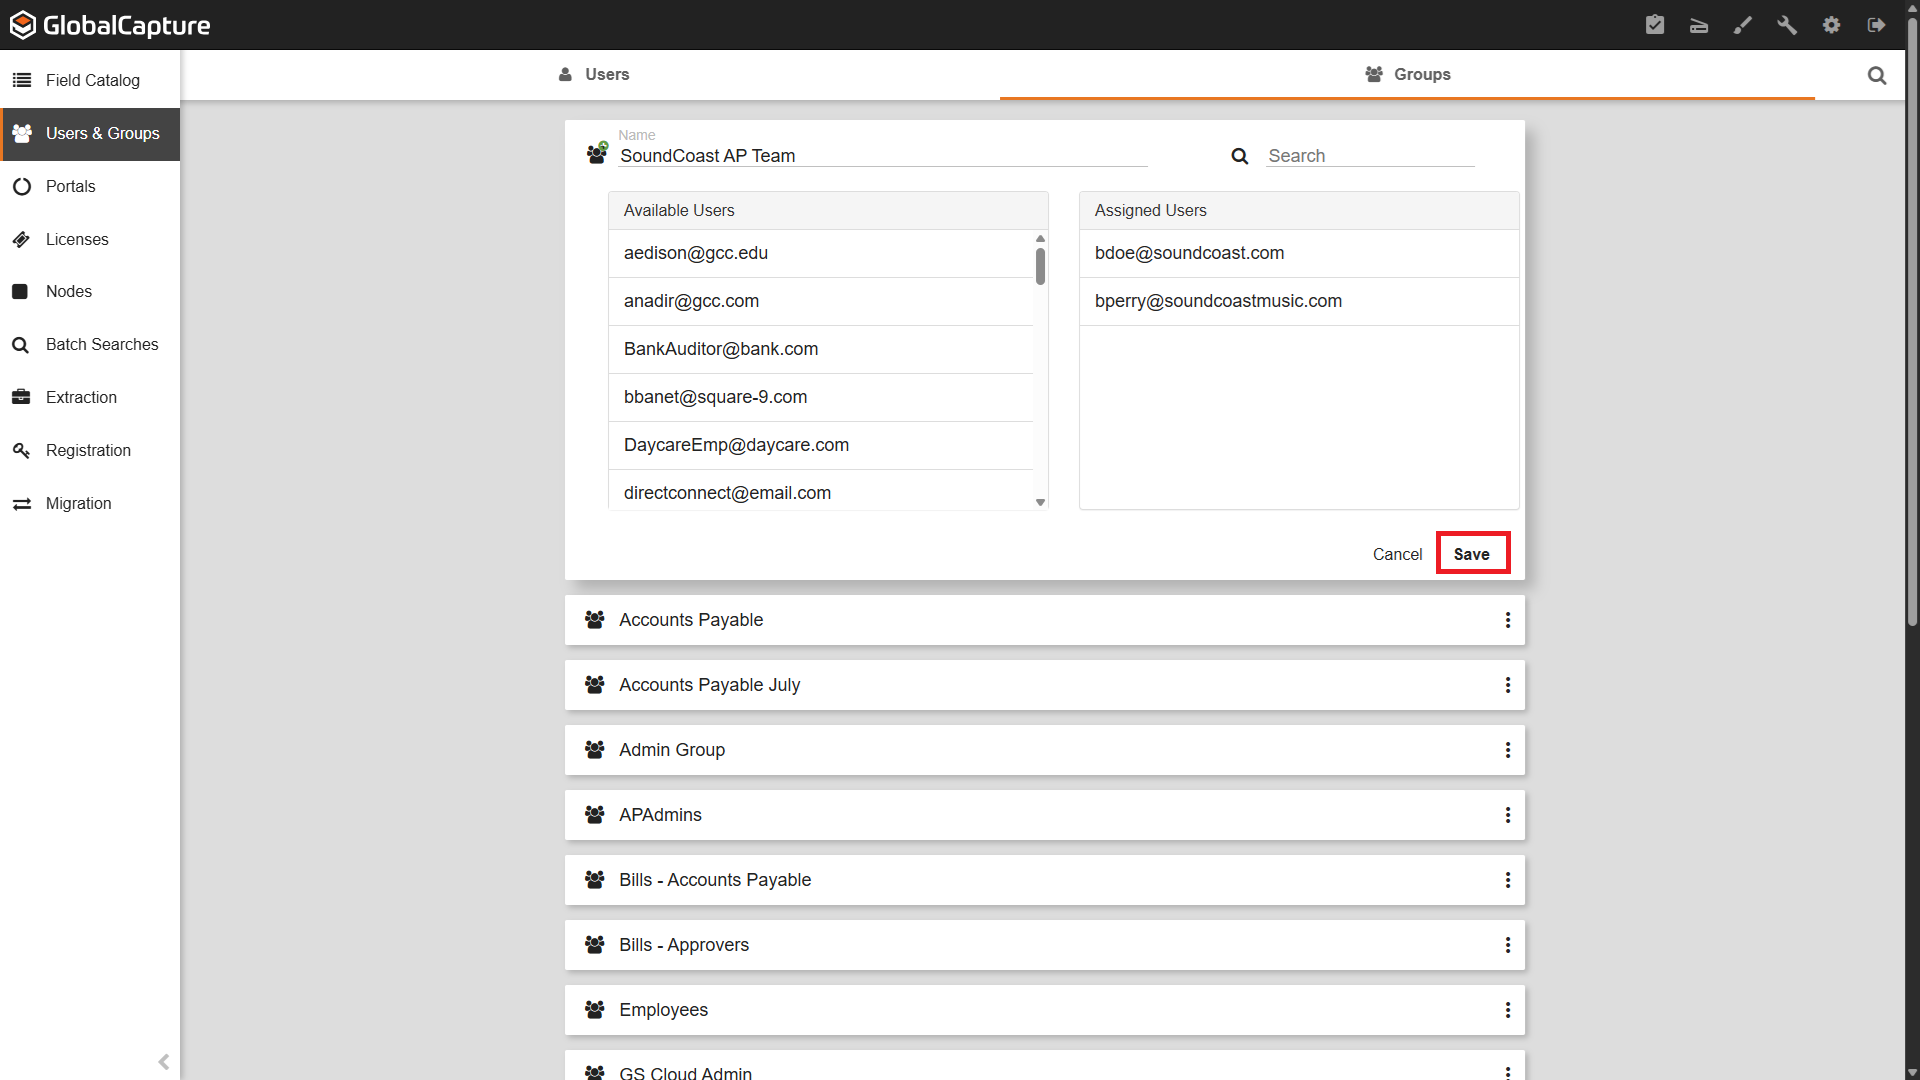
Select Save to save your Group or Cancel to disregard.
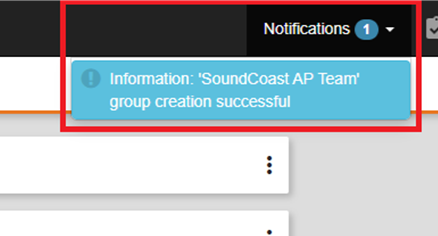
A Notification indicating the successful creation of the group will appear.
Editing a Group
Click the Ellipsis (
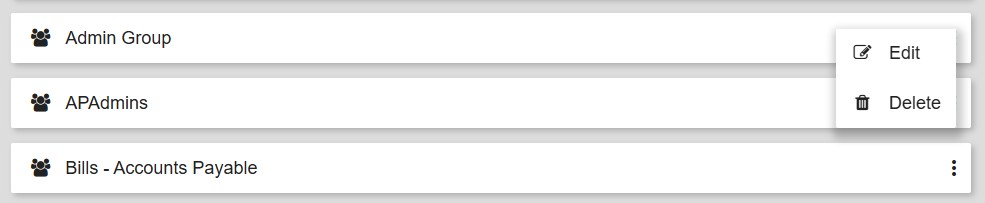
Note: You can add and remove members, but you cannot change the group Name.
Remember to click Save to save your changes or Cancel to disregard your changes.
Deleting a Group
From the same Ellipsis (
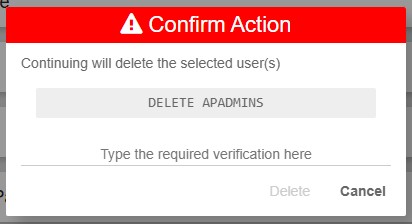
Once a group has been deleted, it cannot be recovered.
The group will need to be recreated and assigned to the appropriate permissions.