
Templates
Once completed, templates can be used by the Classify Node in GlobalCapture Workflows.
Creating a New Template
-
To create a new template, login to GlobalCapture and select Design.
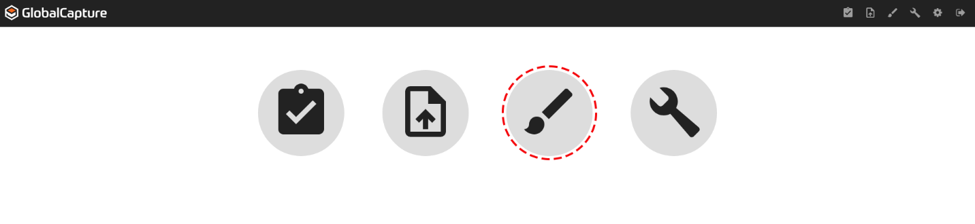

-
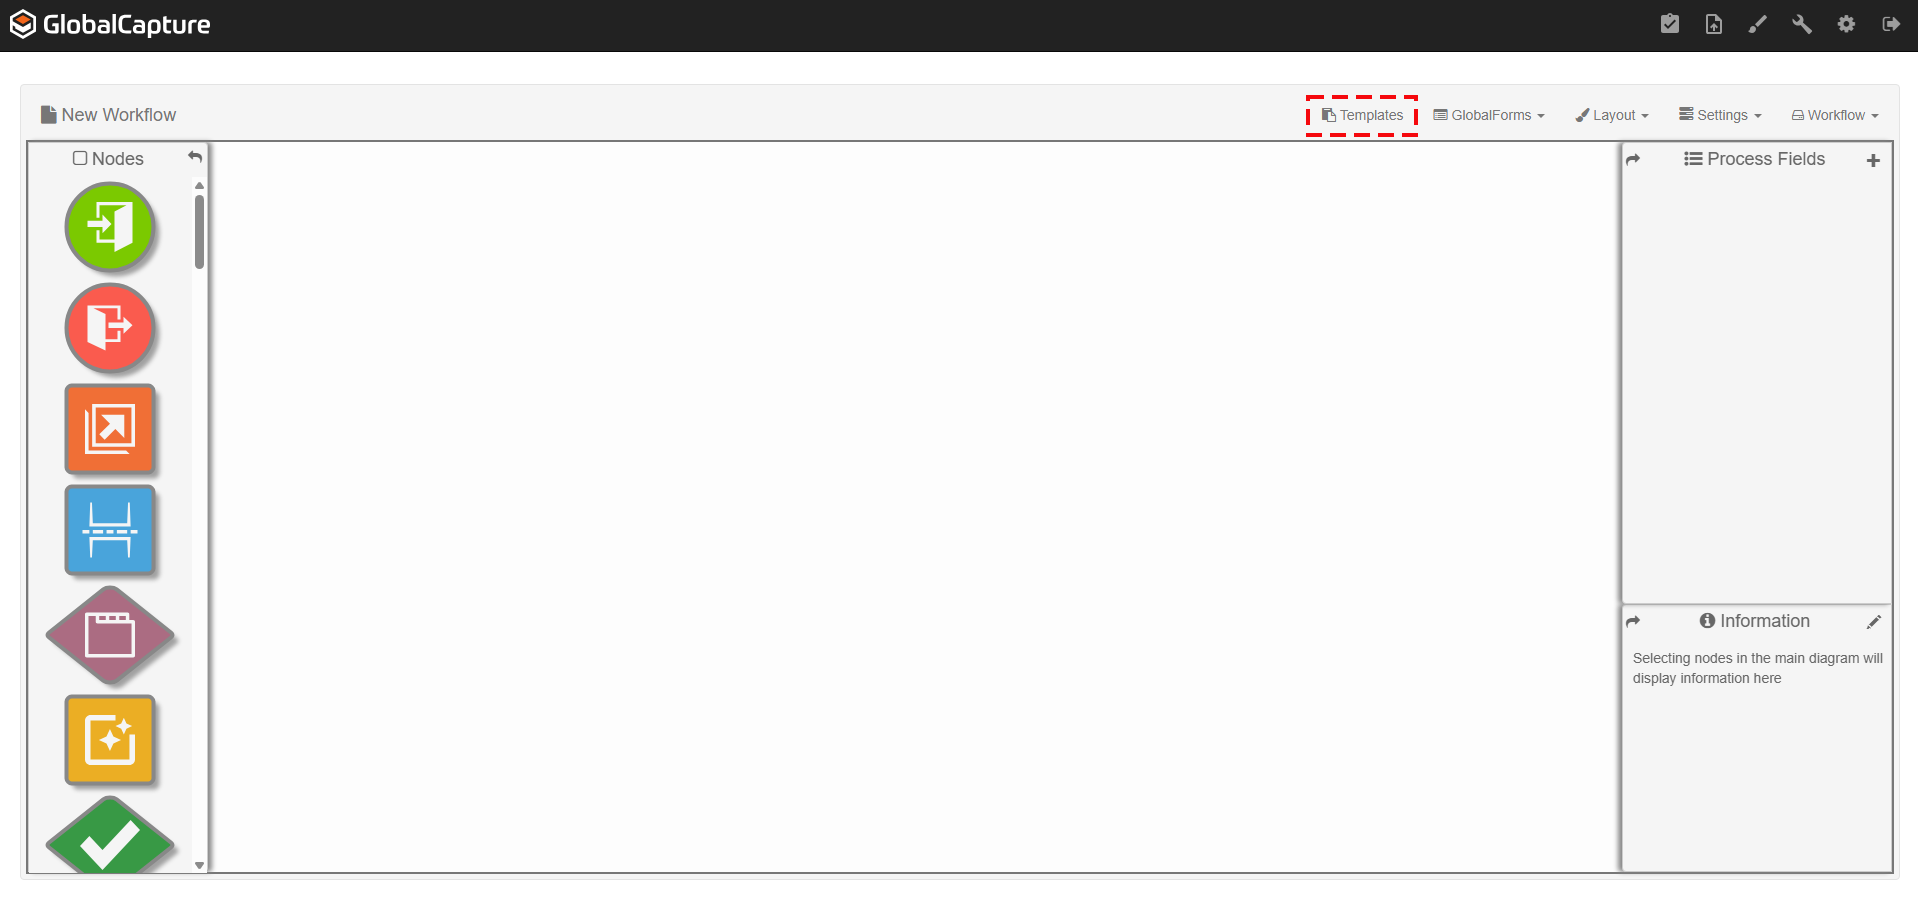
Select Templates then Select New Template from the Load Template Menu.
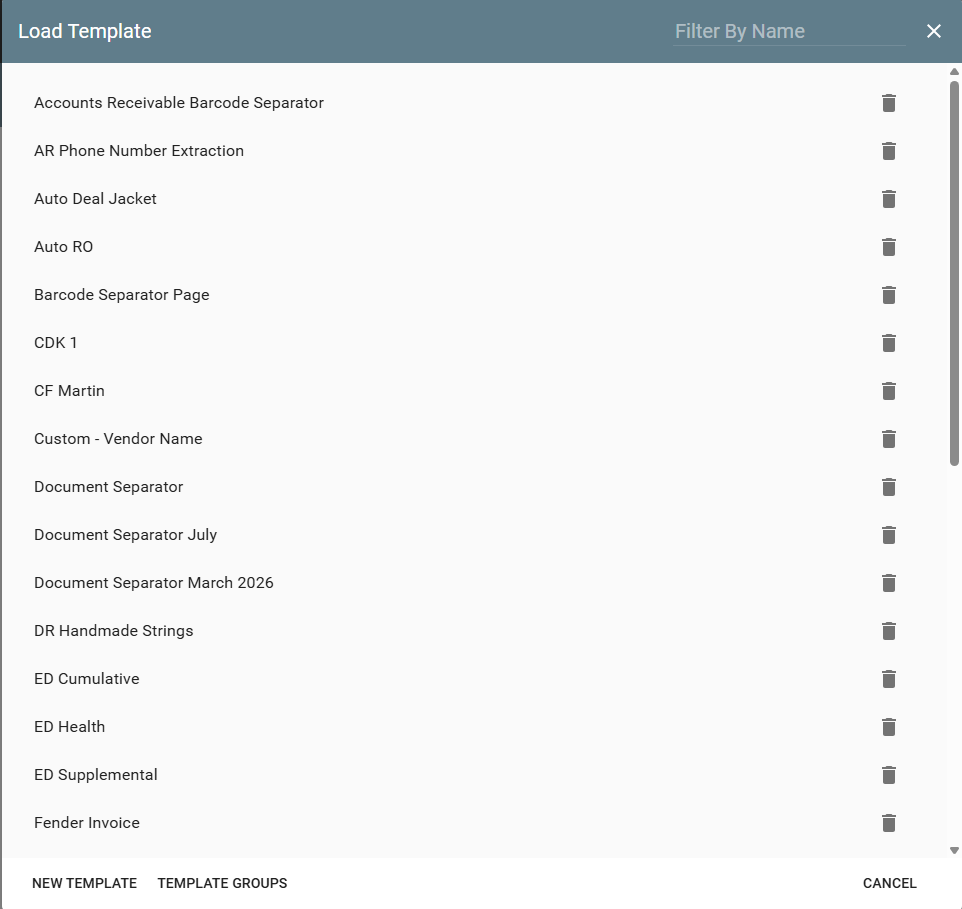
Note: You can Load, Delete, or Create New Templates within the Load Template Menu.
-
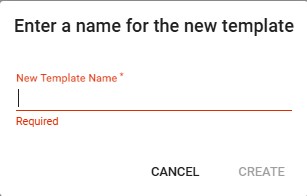
Enter a Template Name. This name must be unique. Click Create.

-
To add a sample file to build your template, click Samples.
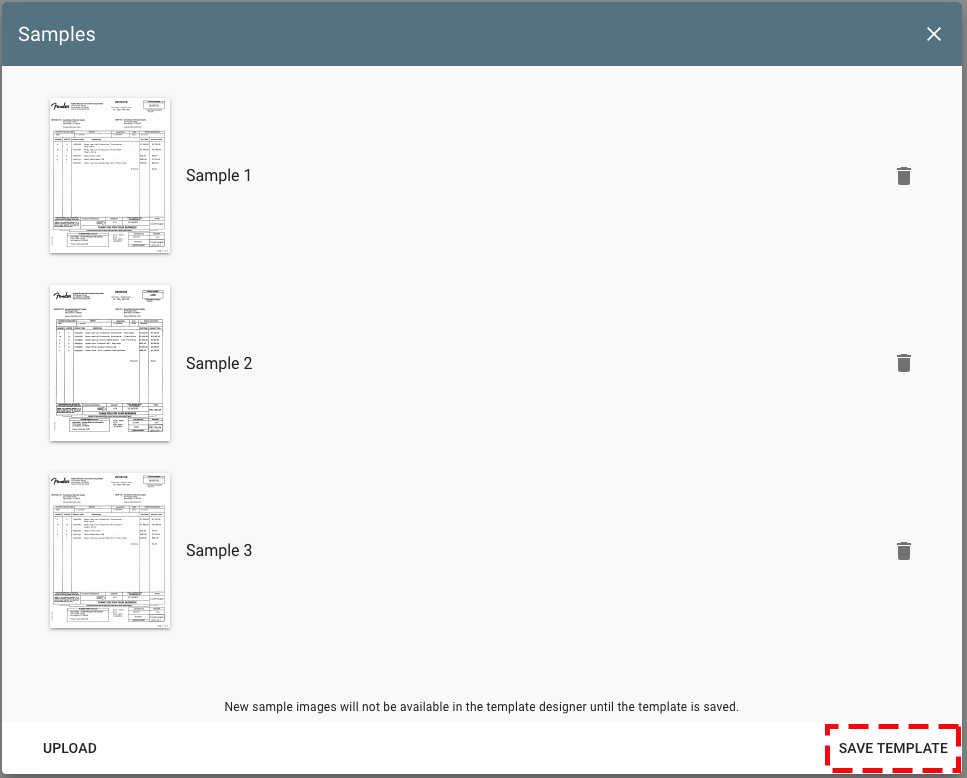
It is recommended you upload 3 - 4 samples when creating templates.
-
Click Save to Save your New Template.
Copy Templates
-
To create a new copy of an existing Template, open the Template to be copied in the Template Designer.
-
Click the More Options (

-
Enter a name the New Template Name text box and click Create.
Edit Templates
Open a Template in the Template Designer to either complete a new Template or to modify an existing one. You should have sample documents available to load into the Template Designer.
-
To edit a Template, in the menu bar, click the Load icon.
-
In the Load Template dialog, click on the selected Template.
The Template will appear in the state that it was last saved. If you are editing a basic Template without samples or Zones assigned, you will see a blank Template Designer.
-
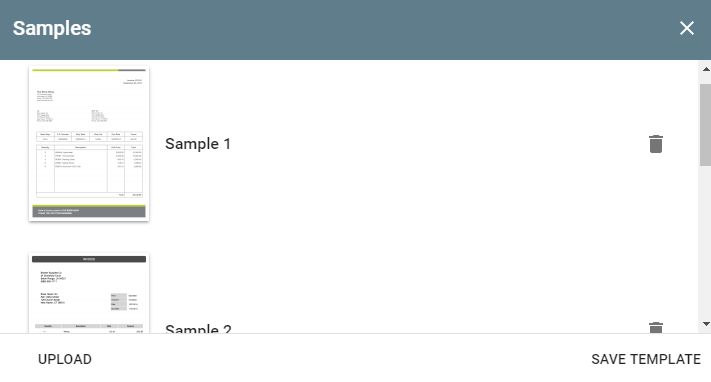
To load sample documents into the Template, in the Designer menu, click Samples. In the Samples dialog, click Upload. Browse in a local or network directory to the sample PDF or TIF file to be imported, select it, and click Open. To add additional samples, click Upload again. As the OCR processes for each page, the Uploading message may appear for a moment. Click Save Template.
Templates with zones that have specific coordinates are bound by the scan resolution. It is important to use sample documents with the same dpi setting as the documents which will be processed, or the results will not be what is expected.
-
To delete a sample, in the Samples dialog, click the Delete icon next to the selected sample.
-
To delete changes to the Template since the last time it was saved, click the More Options icon in the Designer menu and click Discard Changes. At the prompt, click OK
-
Create any Zones needed for the Template. (Refer to Create, Edit, and Delete Template Zones for details on Zones.)
-
Click Save in the Designer menu.
Delete Templates
-
Click the Delete icon to the right of a Template in the Load Template dialog to delete it.
-
To return to the Template Designer, click the Close icon.
Once templates are deleted, they cannot be recovered and will need to be recreated and tested.
Template Groups
Plan the Templates in Your Template Group
Use Template Groups to organize extraction rules by process, Workflow, or use case. For example, when capturing invoices you might create a Template Group with a Primary Template that extracts invoice header details and you might add additional Templates to the Group that extract line-item details for specific vendors.
It's also helpful Organize RapidAdapt Templates into Groups. When you allow end users to create RapidAdapt Templates, first create a Template Group that will organize any on-demand Templates and then assign the Template Group to an individual Validate Node.
For Workflows that require multiple Templates, GlobalCapture includes Template Groups to organize your Templates. Template Groups streamline the process of adding new templates to existing workflows.
By applying the Template Group in the Classify and Validate nodes, when new templates are created in the designer or when using Rapid Adapt Form Learning, they are automatically applied in the workflow.
Within each Template Group, you can also designate one as the Primary Template, to capture indexing values common to all documents moving through this workflow (like header data) before applying a Secondary Template to capture more specific data (such as line-item details).
-
There can only be one Primary Template in a Group.
-
There is no limit to how many Secondary Templates there can be in a Template Group, but only one of them will be applied to a document in the Workflow in combination with the Primary Template.
-
If the Primary Template is not applied, no Secondary Template will be applied.
Use Template Groups to keep Templates organized by use case, department, or whatever logical grouping makes sense for you.
Create Template Groups
-
To create a Template Group, you must have at least one Template already saved. In the Template Designer, click the Load icon.
-
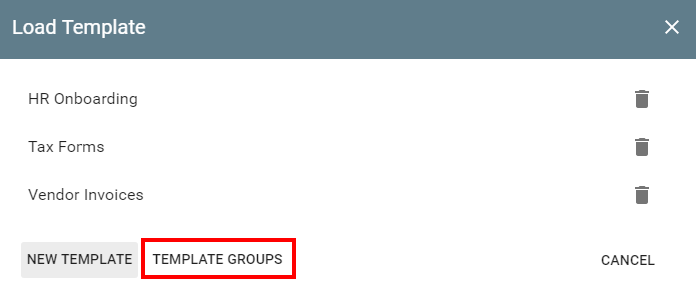
In the Load Template dialog, click Template Groups.
-
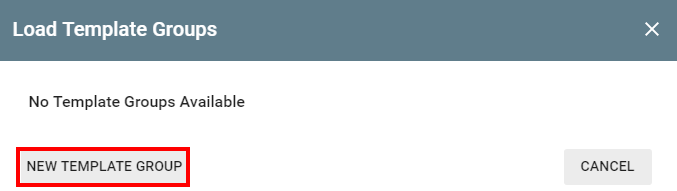
In the Load Template Groups dialog, click New Template Group.
-
In the Load Template Group dialog, enter a name for the Group.
-
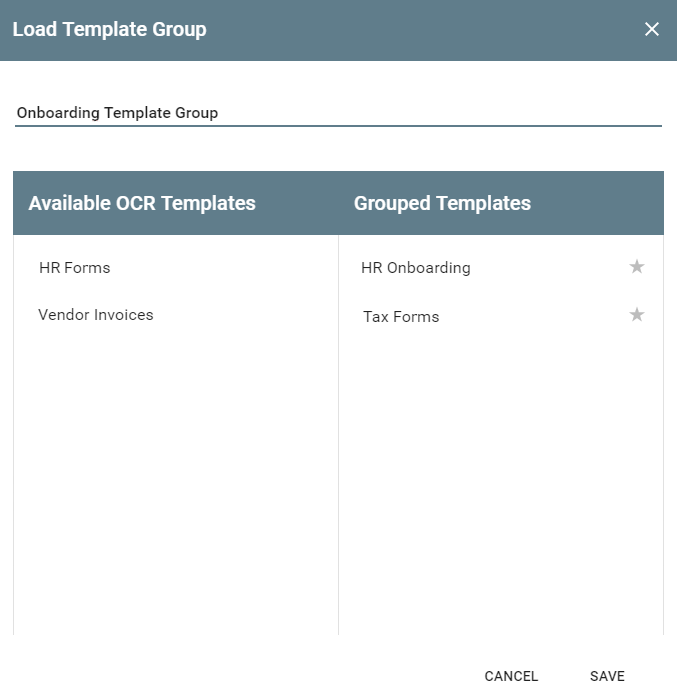
Drag one or more Templates from the Available OCR Templates list to the Grouped Templates list. To reorder the Templates, drag them to a new position in the Grouped Templates list.
Templates are applied in the order listed in the Grouped Templates.
-
Click Save.
Assign a Primary Template to a Group
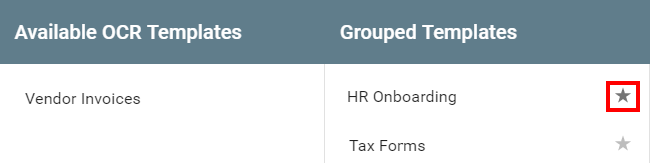
To set one of the Templates in a Group as the Primary Template, in the Load Template Group dialog, click the Primary icon next to the specified Template. If there is only one Template in the Group, you should not assign it as the Primary Template.
If a match is made using a Primary Template and a Secondary Template, the Template Name System Field for that Workflow will be the name of the Secondary Template.
Edit Template Groups
-
To modify a Template Group, in the Template Designer, click the Load icon.
-
in the Load Template dialog, click Template Groups.
-
In the Load Template Groups dialog, click Modify Template Group.
-
In the Load Template Group dialog, make changes in the Templates in the Available OCR Templates list and the Grouped Templates list.
-
Click Save.
Delete Template Groups
-
To delete a Template Group, in the Template Designer, click the Load icon.
-
In the Load Template dialog, click Template Groups.
-
In the Load Template Groups dialog, click the Delete icon to the right of the Group.
-
At the prompt, click Delete to confirm your deletion.