Template Designer Interface

The Template Designer interface includes document viewing and navigation features familiar to users of the GlobalSearch Document Viewer, such as Pan, Zoom, Rotate, and Next. You can toggle full screen mode on and off.

Open Template Designer

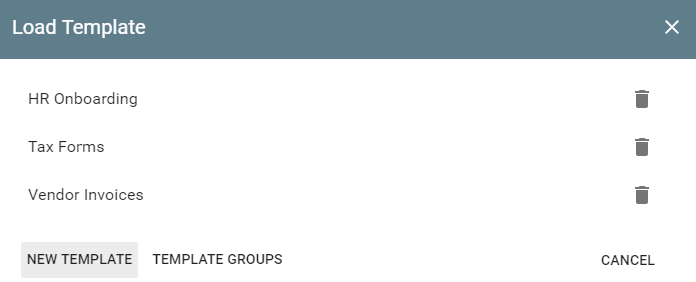
Click the Design ( Design.png ) button from the GlobalCapture home page or the Design icon in the toolbar to open the GlobalCapture Designer. In the Designer toolbar, click Templates. The Template Designer will open on another tab in the browser, and the Load Template dialog will appear. 

Load Template dialog.

From here, select an existing Template or create a new one. If you select an existing Template, the Template Designer will display the first page of the first sample document. If there are more than one page in the document, select alternate pages in the thumbnail viewer, or click the Next Page and Previous Page buttons.
Screenshot 2026-08-28 at 8.44.42 AM.png

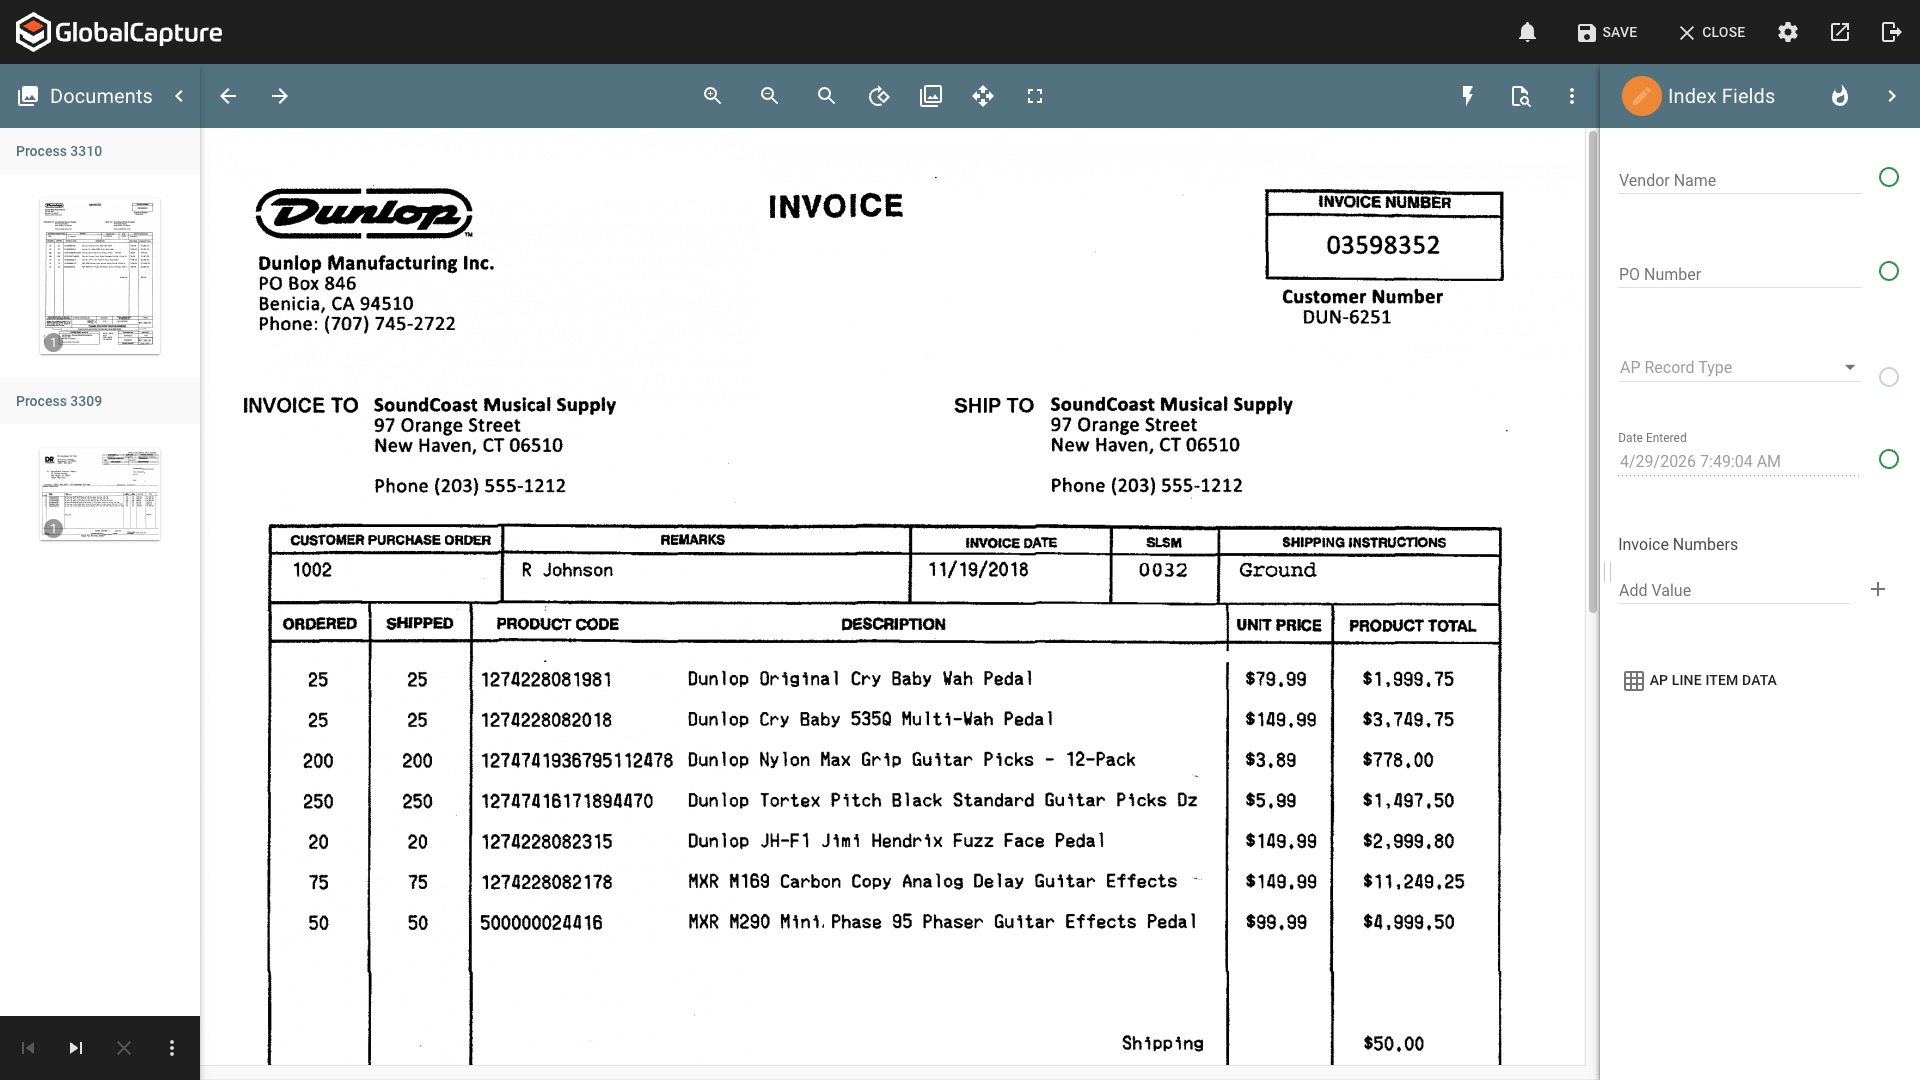
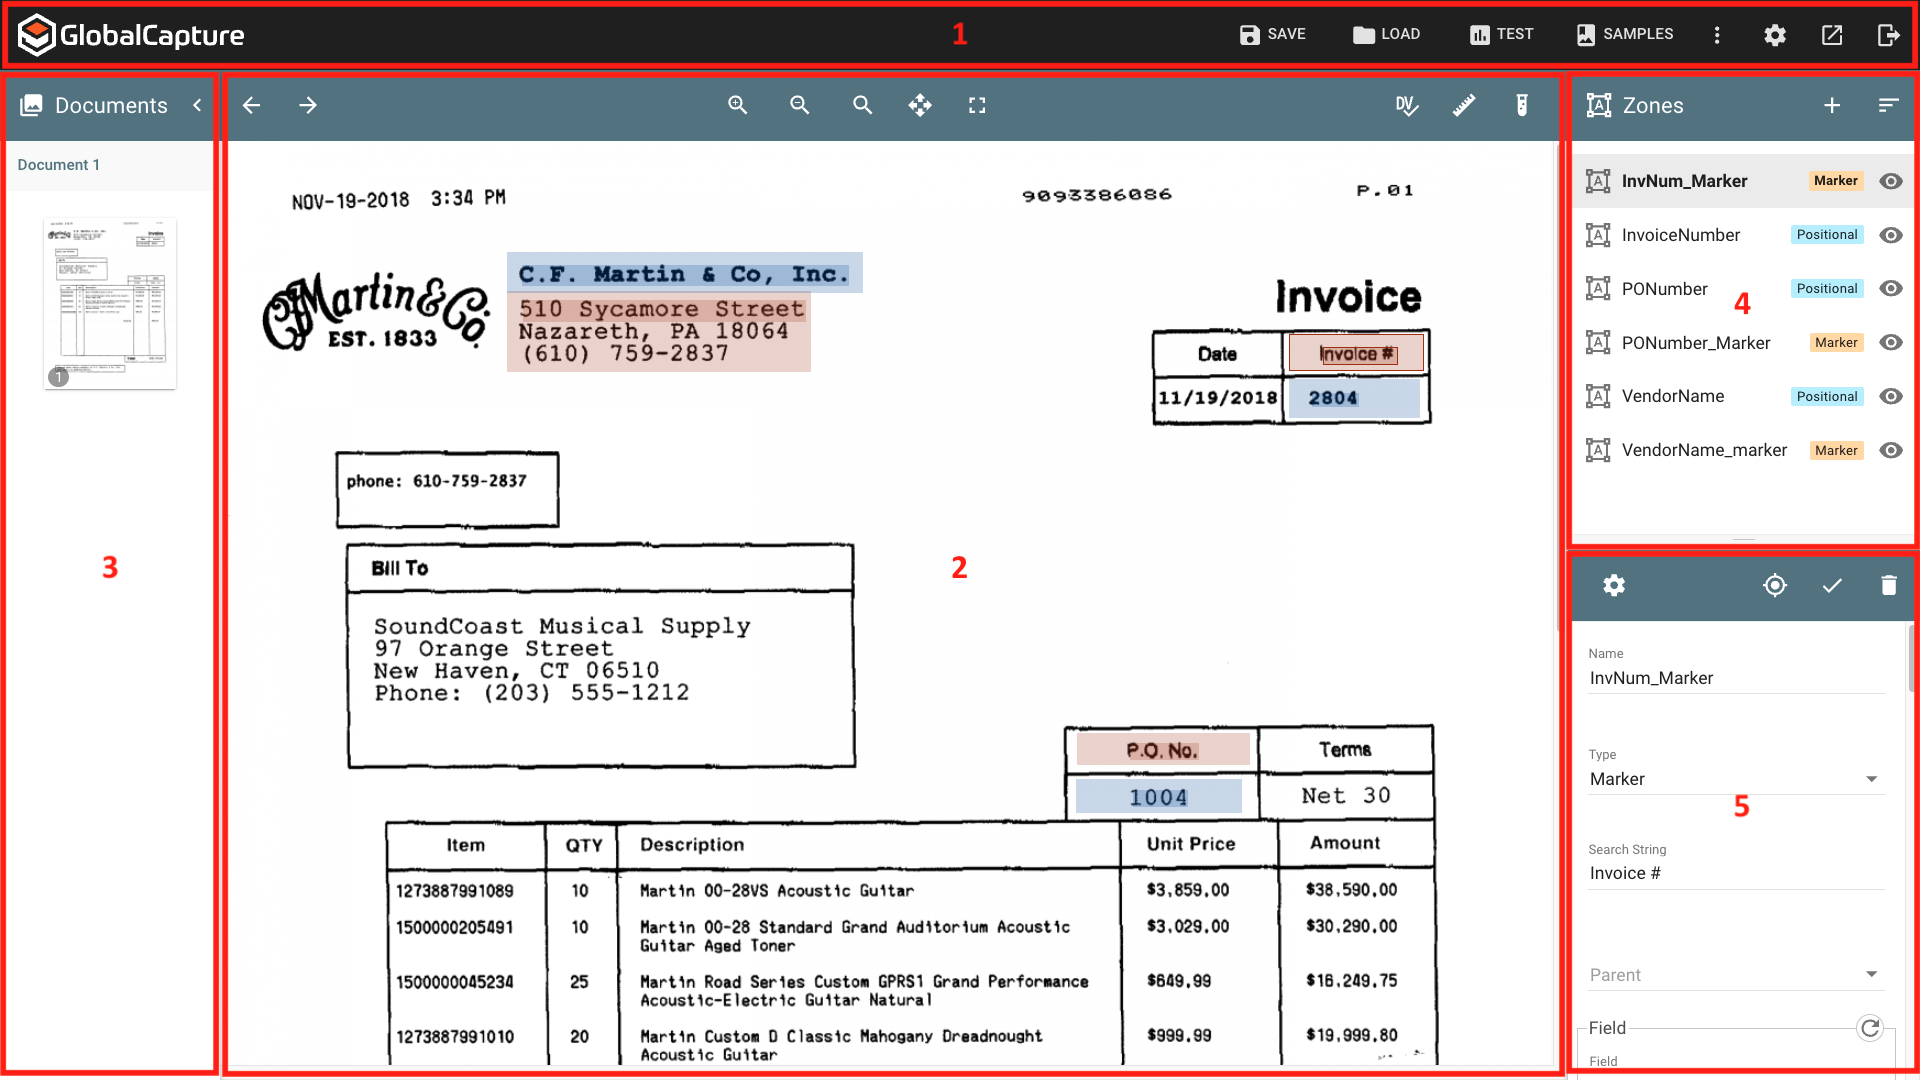
The Template Designer has specialized areas and menus configuring your Templates. These areas include:

  1. Template Designer Menu Bar – Use to access Template viewing, Zone creation, editing, and navigation.

  2. Template Design Canvas – Use to show in image of the sample document and to configure Zones.

  3. Thumbnails Pane – Use to navigate through the sample pages.

  4. Zones Pane – Use to show the Zones for the Template.

  5. Properties  Pane – Use to configure the properties of the selected Zone.

Template Control and Navigation

When the Template Designer is open, you can select and control Templates from the GlobalCapture toolbar. Use the menu items to save changes, add or delete sample documents, copy Templates, and load a different Template into the Designer.

    1. Save ( save.png ) - Save the current template in its current state.

    2. Load ( folder.png ) - Open the Load Template dialog to load a new template.

    3. Test ( chart.png ) - Acess Template Validation to understand how changes to your template would impact existing documents being processed.

    4. Samples ( Samples.png ) - Click to add/remove samples used to configure your template.

    5. More Menu Options ( ellipsis.png ) - Click to expan the more options. Here you can create a duplicate of your template by clicking Save As or revert to the last save point of your current template by clicking Discard Changes.

    6. Settings ( setting.png ) - Access template user settings.

    7. Navigation ( external-link.png ) - Navigate to other areas of GlobalCapture.

    8. Logout ( logout.png ) - Logout of GlobalCapture.

Document Control and Navigation

Viewing a document in the Template Design Canvas can be adjusted in several ways from the Template Designer menu bar. From here you can move through the sample pages and resize the document image and position.

Pages

Use the arrows ( Left arrow.png , right-arrow.png ) to move between the next and previous pages of the currentdocument.

Zoom

  • Zoom In ( zoom-in.png ) - Click to zoom into the page.

  • Zoom Out ( magnifying-glass.png ) - Click to zoom out of the page.

  • Fixed Zoom ( search.png ) - Select Fit to Width ( Fit to width.png ) to make the page as wide as the page viewer area. Select Fit to Page ( Fit to page.png ) to make the entire page fit within the page viewer.

Screenshot 2026-04-29 at 9.34.35 AM.png
Fit to Width
Screenshot 2026-04-29 at 9.34.25 AM.png
Fit to Page

Pan

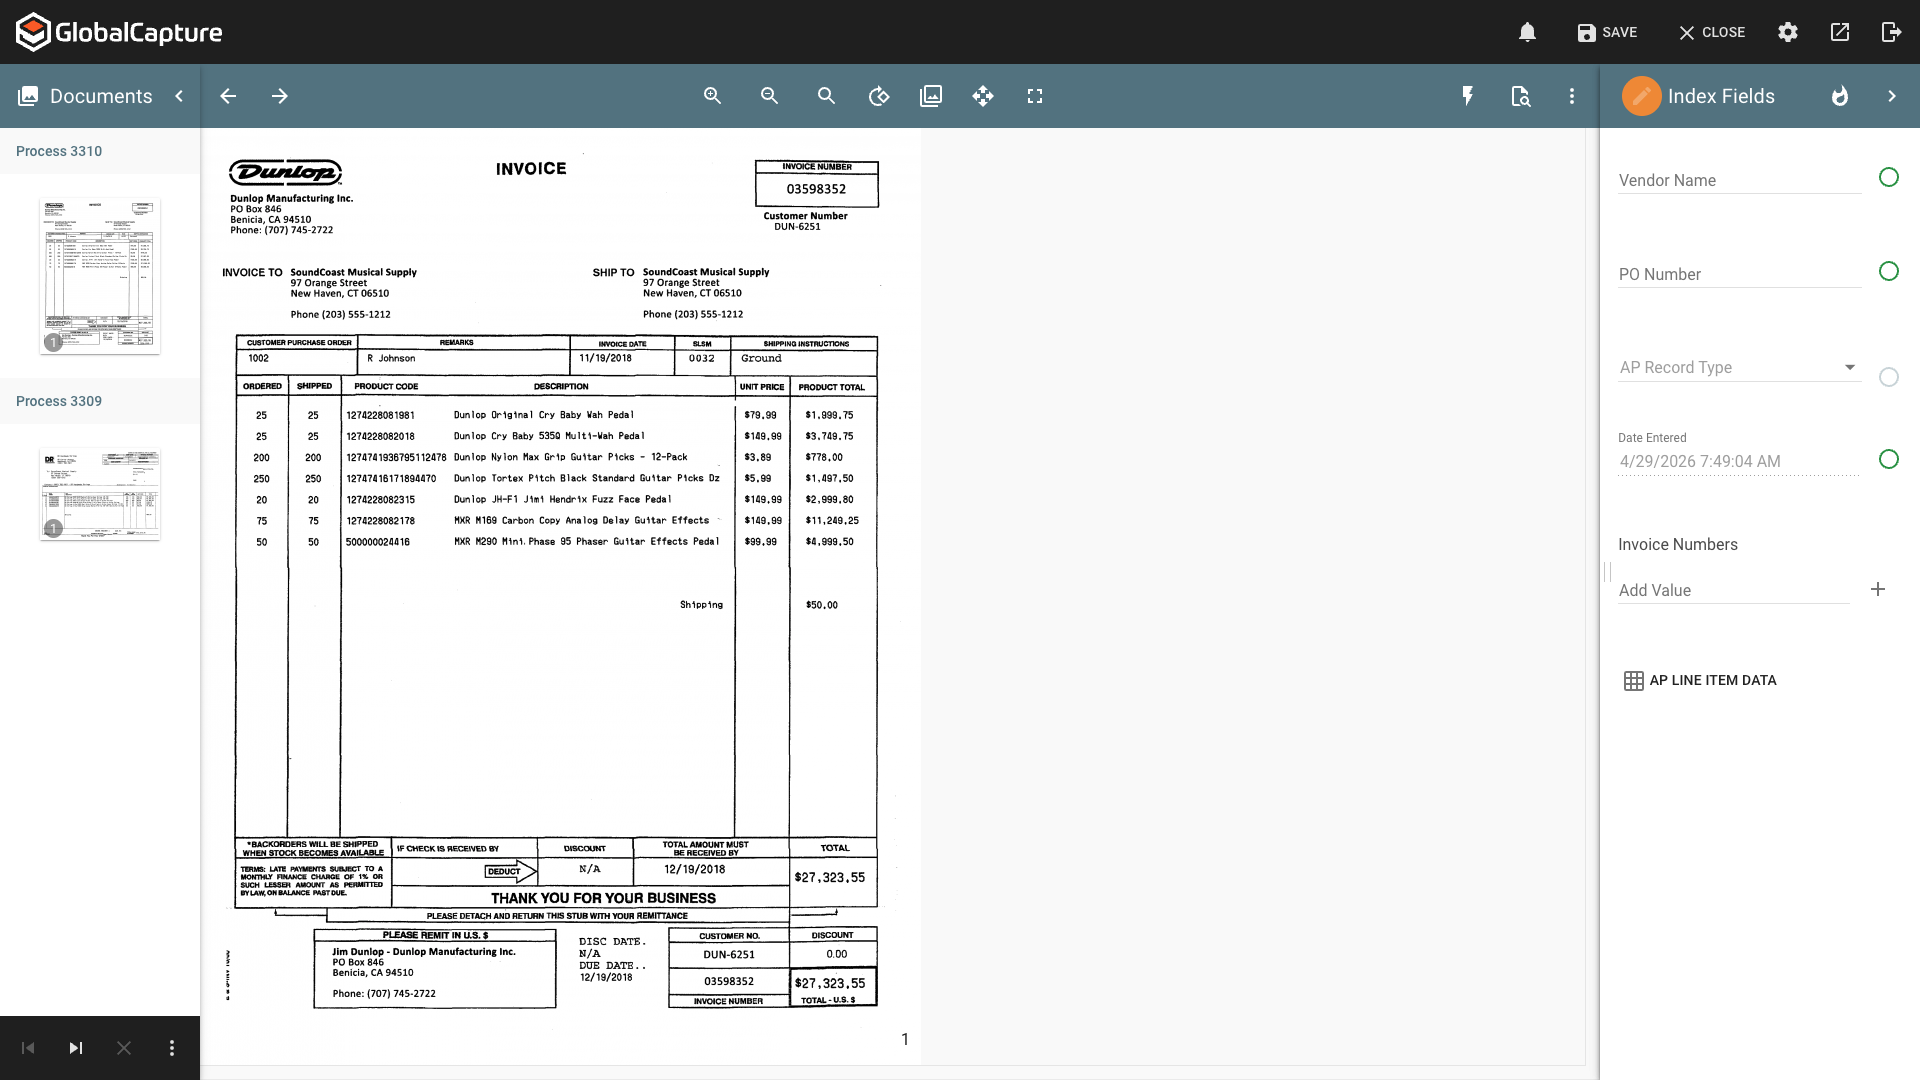
When selected, the Pan ( Pan.png ) icon turns yellow. You can now drag, move, or shift the visible area of a document across the screen. This works well when zoomed in or for very large format documents.

Full Screen

Click Full Screen ( Full Screen.png ) to expand the browser window to fill the screen. Clicking it a second time returns the browser window to is pervious size.

Data Validation

Click the Data Validation to enable or disable data validation.

  • Enabled ( data validation enabled.png ) - When enabled, data collected in a zone must be of a format that is valid for the zone. An error message appears on the zone if the data format is invalid for the field type.

Ex. If a zone hightlights a Name but the Field is a Date type field, the error “Data type validation failed” appears on the zone.

  • Disabled ( Data Validation Disabled.png ) - When disabled, any data is accepted. If data does not fit the type of field, no data will populate the field.

Measure

Click the Measure ( ruler.png ) icon, then drag your mouse pointer on the Template Design Canvas from one point to another to measure the distance. The Measurement dialog will appear to display the line’s X and Y coordinates.

Test OCR

Click the Test OCR ( test-tube.png ) icon to display the text available on a sample document in a specific region.  This is of particular use when troubleshooting Pattern Match Zones to verify the available text is what is expected.

View Thumbnails

Images of the sample document pages are displayed in the Thumbnails Pane, located on the left-hand side of the Template Designer interface. Simply click on a Thumbnail to select a page. This is useful for navigation if there are more than one page to the document.

Zone Control and Navigation

Once created, Zones can be measured and tested on the Design Canvas and organized and sorted in the Zones Pane.

Create a New Zone, Group, or Copy a Zone

Use the Add (+) icon to add a new zone, group, or to copy an existing zone. (Refer to Create, Edit, and Delete Zones and Groups for more information.)

Organize Zones

Click the Sort ( menu.png ) icon to sort Zones and Groups in the Zones Pane alphabetically or by type. You can drag Zones into and out of Group folders to organize them. If you use them, Zones will reorder within their Group. Types are listed in the order in which they appear in the Zone Type drop-down list.

Groups always appear listed alphabetically first in the zone pane, followed by zones, regardless of the type of sort selected.

Hide and Show Zones and Groups

When you add several Zones or Groups to a Template, the Design Canvas can become cluttered, making it more difficult to see the Zones you are currently creating or editing. Use the Hide/Show ( eye.png ) icon next to a Zone to make viewing your design easier, without affect Zone settings or functionality.

Properties Pane

Zones can be saved, deleted, or assigned a variety of properties from the Properties Pane. Scroll down to view and use the Zone properties, which vary depending upon which Zone type and settings you use. At the top of the Properties Pane are the Zone actions icons:

  • Properties ( setting.png ) – To jump to a particular property group for the selected Zone, click the Properties icon and select from the list.

  • Location ( crosshair.png ) – Click the Locator icon to change your mouse pointer into the Precision Select (crosshairs) pointer. With your Precision Select pointer, drag across a part of the document to select the Search Region for a Zone. To reposition a Zone, once again click the Locator icon and drag you mouse pointer to create a Zone Search Region.

  • Save Zone ( check.png ) – Click the Apply icon to save the Zone and its properties settings.

  • Delete Zone ( trash-bin copy.png )– Click the Delete icon to delete the Zone from the Template.