
Zones
Zones are used to extract indexing data from document images. New zones can easily be created, and existing zones can be modified, copied, or deleted.
Create Zones
-
To Create a Zone, in the Template Designer menu bar, click the Add (


-
Configure the settings for the new Zone. The Zone parameters are contextual, depending upon which Zone type you have selected.
If a configuration error exists after applying Zone Properties, a validation message displays in red under the Zone in the Zones Pane.

-
Click the Apply (

Edit Zones
-
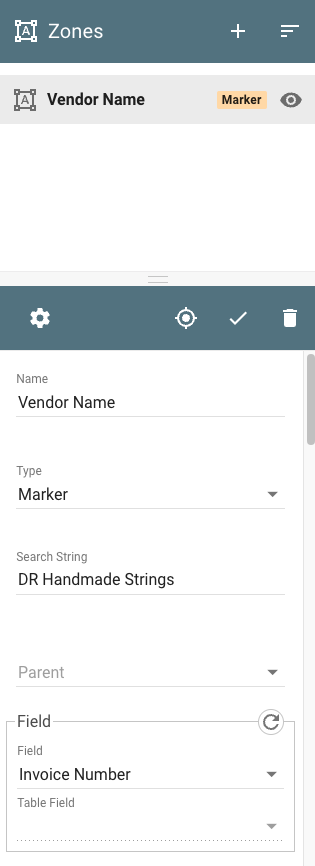
To Edit a Zone, select it in the Zones pane. Its properties will display in the Properties pane.
-
Reconfigure the settings for the new Zone.
-
Click the Apply (
Copy Zones
-
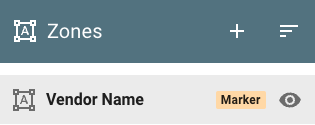
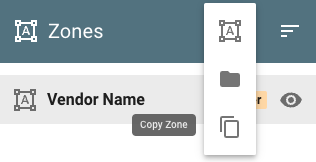
To Copy a Zone, select the Zone to copy.
-
In the Template Designer menu bar, click the Add (

-
Configure the settings for the new Zone. The Zone parameters are contextual, depending upon which Zone type you have selected.
If a configuration error exists after applying Zone Properties, a validation message displays in red under the Zone in the Zones Pane.
-
Click the Apply (
Delete Zones
-
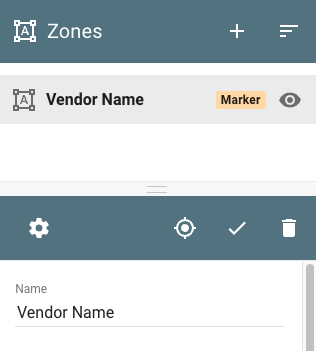
To Delete a Zone in a Template, in the Zones pane, select the Zone.
-
In the Properties Pane for that Zone, click the Delete (

Name Zones for Future Use
When you name each Zone, you should clearly indicate what it is for, especially if using several Zones in the Template. Indicate the Type and possibly the parent/child relationship. For example, you could begin all of your Marker Zones with “M_” to make it easy to select a Marker Zone when you are building a parent/child relationship with a Zone.
Zone Groups
You can organize your Zones into Zone Groups, in a folder hierarchy. This is particularly useful when you have lots of Zones in your Template.
Create Zone Groups
-
To create a Zone Group, in the menu bar, click the Add (+) icon.
-
In the drop-down menu, click Group (

-
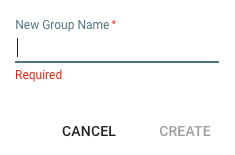
In the dialog that appears, enter a name for the Group. Group names cannot be duplicated (this is case-insensitive).
-
Click Create and the Group will appear in the Zones Pane.
Organizing Zones and Groups
To add a zone or group to a group, click and drag the zone or group into the group. You can move a zone or group from one group to another.
To remove a zone or group from a group, click and drag the zone or group from the group to the Zone panel outside the group.
Viewing Zone Groups
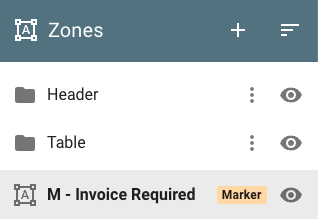
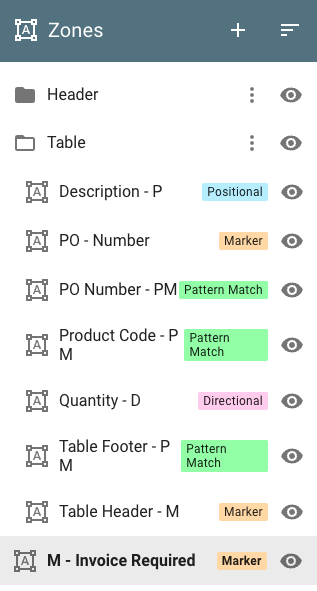
To collapse and expand the zones and groups that are part of a group, click the Group (
Edit Zone Groups
-
To change the name of a Zone Group, in the Zones Pane, click the More Options (

-
In the drop-down menu, click the Rename (

-
Enter a new name.
-
Click Rename.
Delete Zone Groups
Possible Data Loss
Deleting a Zone Group removes it, any Zones in the Group, any nested child Groups, and any of their Zones permanently after you have saved the changes to your Template.
-
To delete a Zone Group (and any Groups of Zones nested in it), in the Zones Pane, click the More Options (
-
In the drop-down menu, click the Delete (

-
In the confirmation dialog, click Delete.