Page Viewer

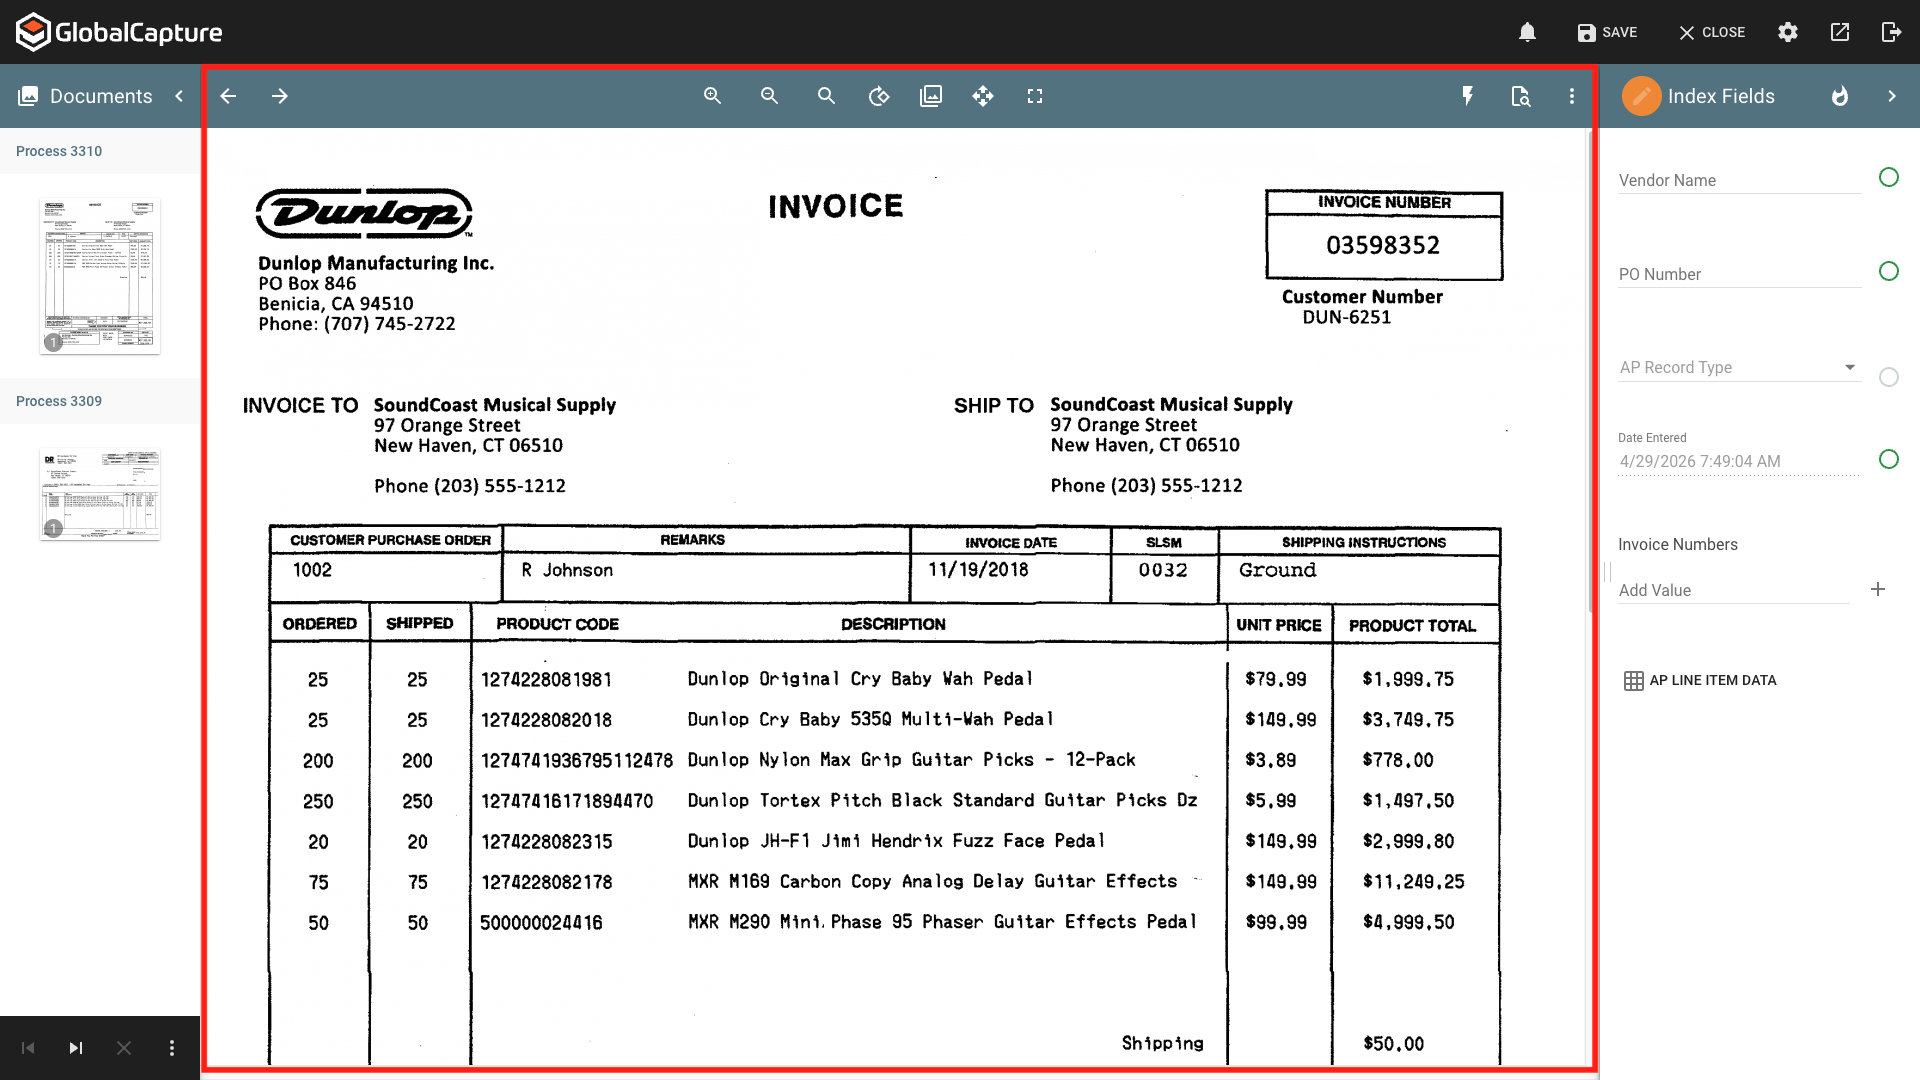
The Page Viewer displays the currently selected page in the Thumbnailer. You can scroll through the pages of the currently selected document and perform some basic image clean up.
Screenshot 2026-04-29 at 9.24.38 AM.png
Page Viewer

The Page Viewer Toolbar

The Page View Toolbar contains the actions that can be taken on the currently selected page of the document.

Action are only take on the selected page unless Enable Multiple Selection is enabled and multiple pages are selected in the Thumbnailer.

Zoom

  • Zoom In ( zoom-in.png ) - Click to zoom into the page.

  • Zoom Out ( magnifying-glass.png ) - Click to zoom out of the page.

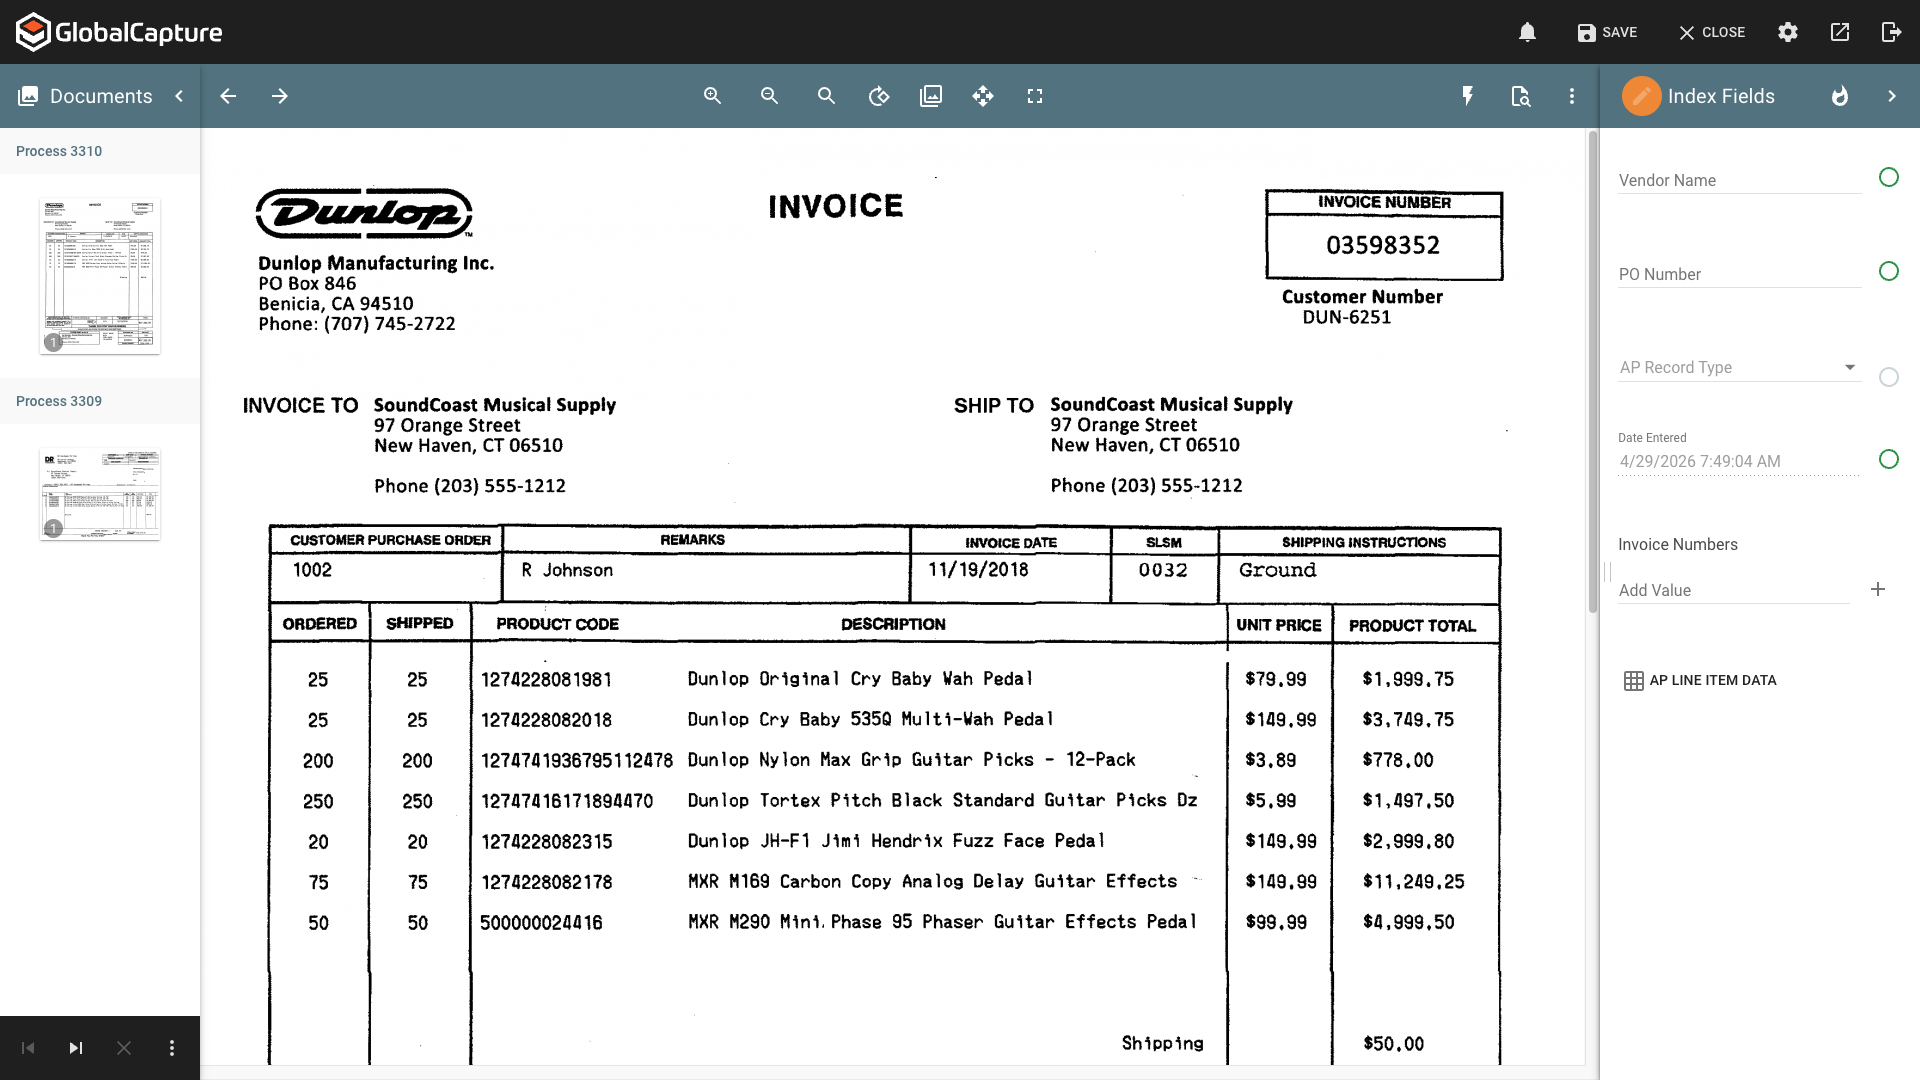
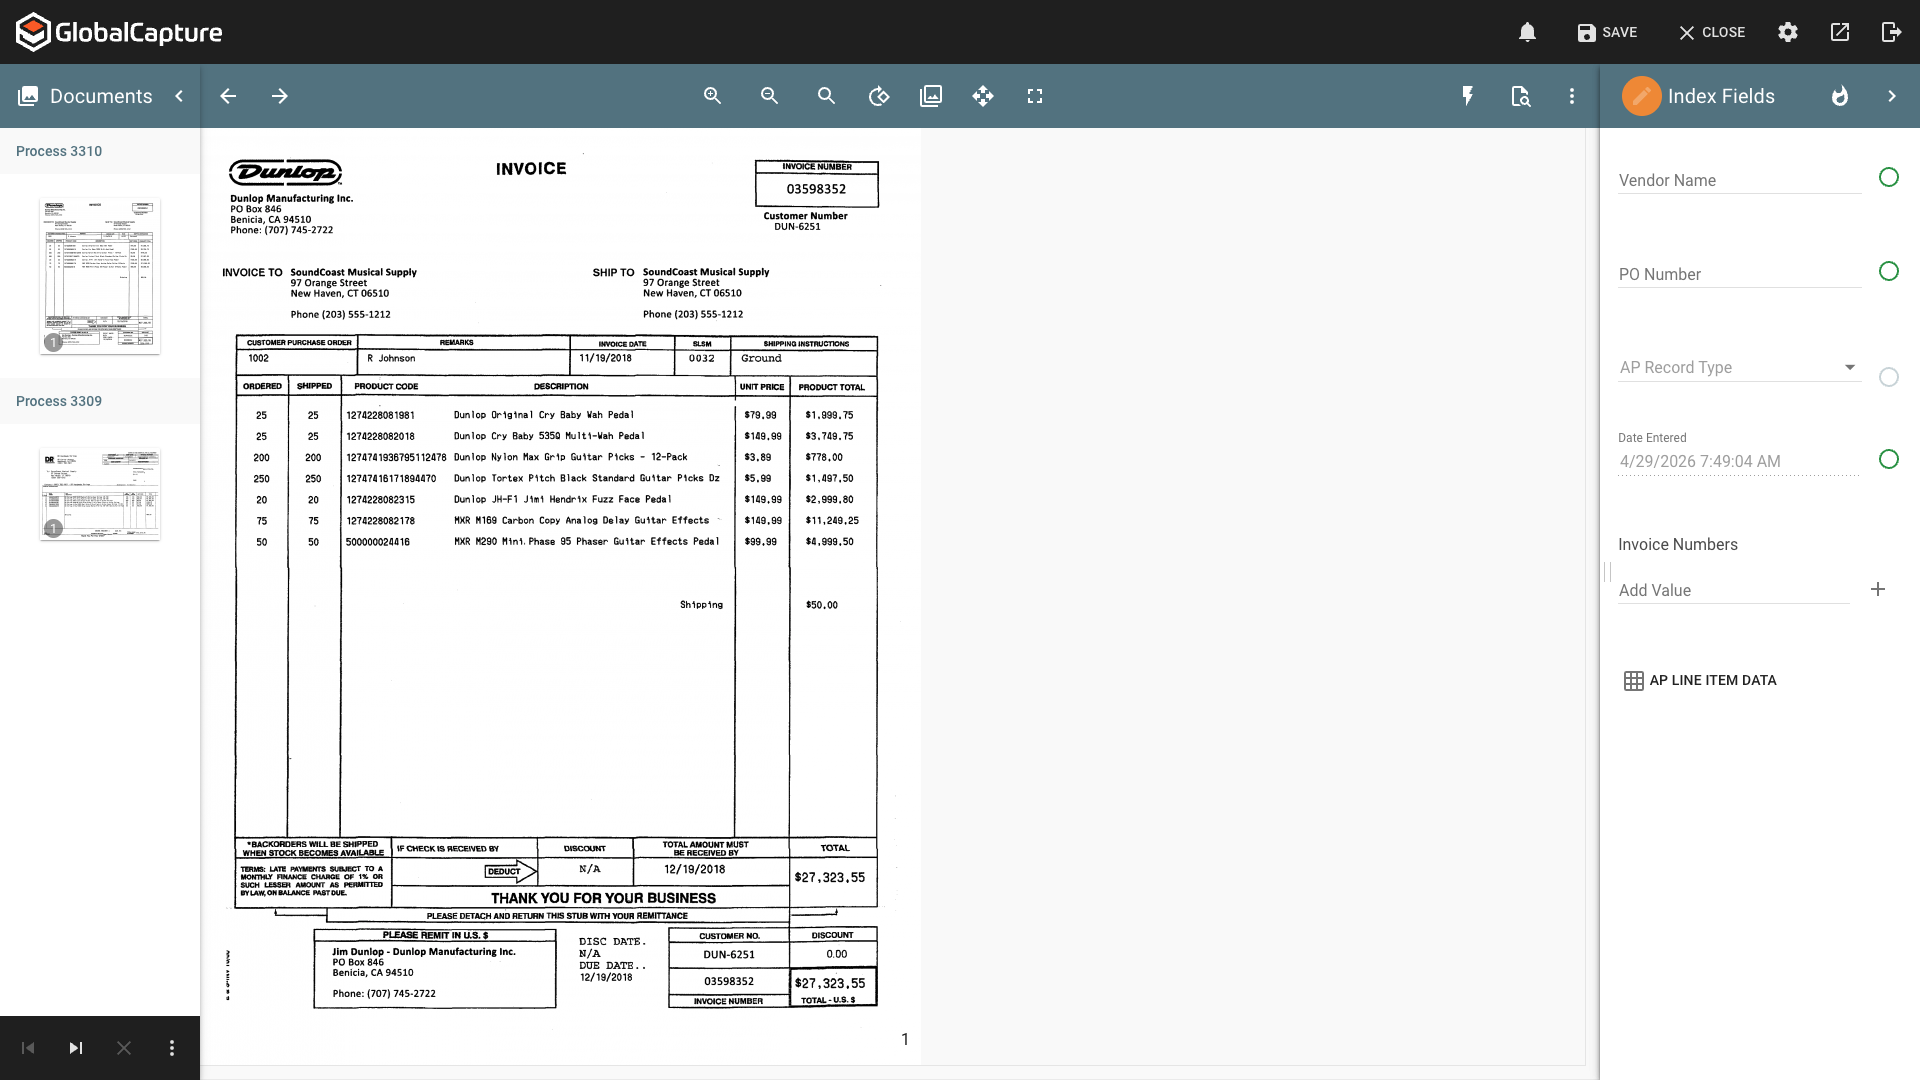
  • Fixed Zoom ( search.png ) - Select Fit to Width ( Fit to width.png ) to make the page as wide as the page viewer area. Select Fit to Page ( Fit to page.png ) to make the entire page fit within the page viewer.

Screenshot 2026-04-29 at 9.34.35 AM.png
Fit to Width
Screenshot 2026-04-29 at 9.34.25 AM.png
Fit to Page

Rotate

Rotate ( Rotate.png ) the selected page(s) through 90, 180, or 270 degrees.

Transform

Transform ( Thumbnail.png ) performs image clean up on a poor quality document.

  • Despeckle ( Despeckle.png ) - Removes speckles (grainy noise or small stray pixels) from the image.

  • Deskew ( Deskew.png ) -Straighten out crooked pages. This can improve readability OCR accuracy.

  • Color Dropout ( color dropout.png ) - Drops all color from the document, creating a black and white document.

  • Crop White ( Crop White.png ) - Remove white borders around an image.

  • Crop Black ( Crop Black.png ) - Remove black borders around an image.

Pan

When selected, the Pan ( Pan.png ) icon turns yellow. You can now drag, move, or shift the visible area of a document across the screen. This works well when zoomed in or for very large format documents.

Full Screen

Click Full Screen ( Full Screen.png ) to expand the browser window to fill the screen. Clicking it a second time returns the browser window to is pervious size.

KeyFree

Click the KeyFree ( Keyfree.png ) icon to initiate KeyFree Indexing. Depending on your settings, the icon will turn blue or yellow.

Blue Icon ( Keyfree blue.png )- KeyFree will use the existing text layer for the document, if one is available, for data extraction. An OCR ( OCR.png ) icon will appear. If the text layer is not available or inaccurate, GlobalSearch can OCR the document and use the new OCR layer for KeyFree Indexing by clicking the OCR icon.

Yellow Icon ( Keyfree Yellow.png ) - The OCR is run automatically and the new OCR layer is used for KeyFree Indexing.

Find In File

Find In File ( Relate Search.png ) functionality requires a document already be text searchable.  This includes text searchable PDF's and E-Docs like Microsoft Word and Excel files. 

You can not perform a Find in File function if Rapid Adapt or Key Free Indexing are actively being used.

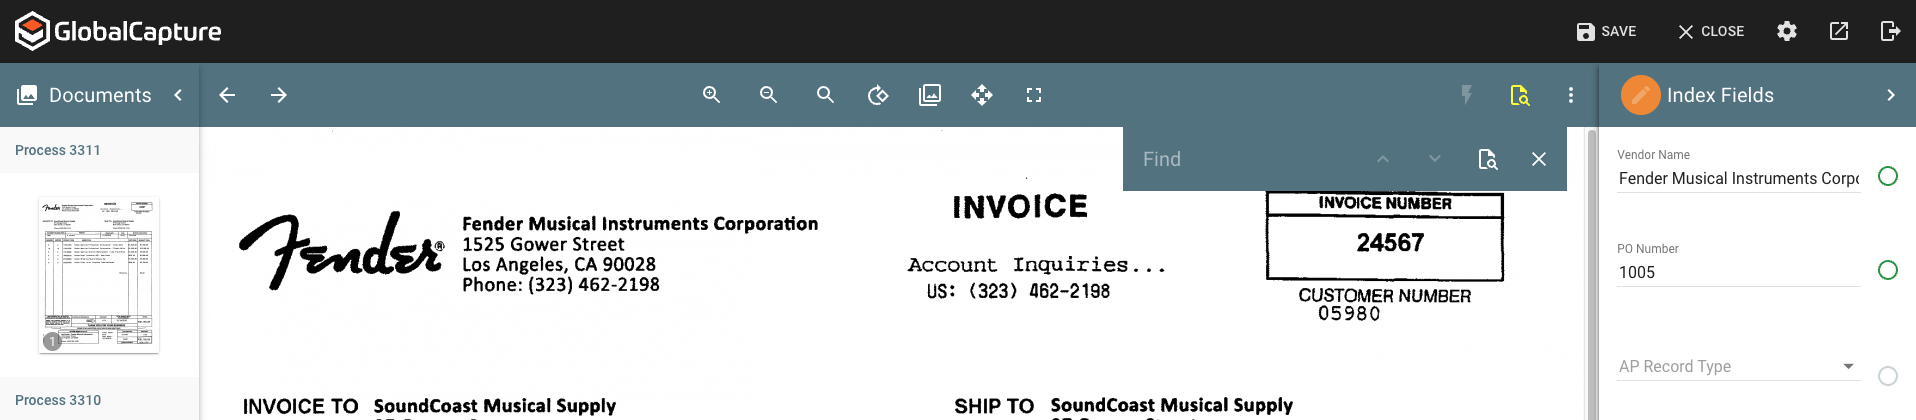
  1. Use the Find hotkey (Ctrl+F) or click the Find in File icon ( Relate Search.png ).  This will open the Find Dialog, located at the top of the Index Panel of the Document Viewer.
    Screenshot 2026-04-29 at 11.04.48 AM.png
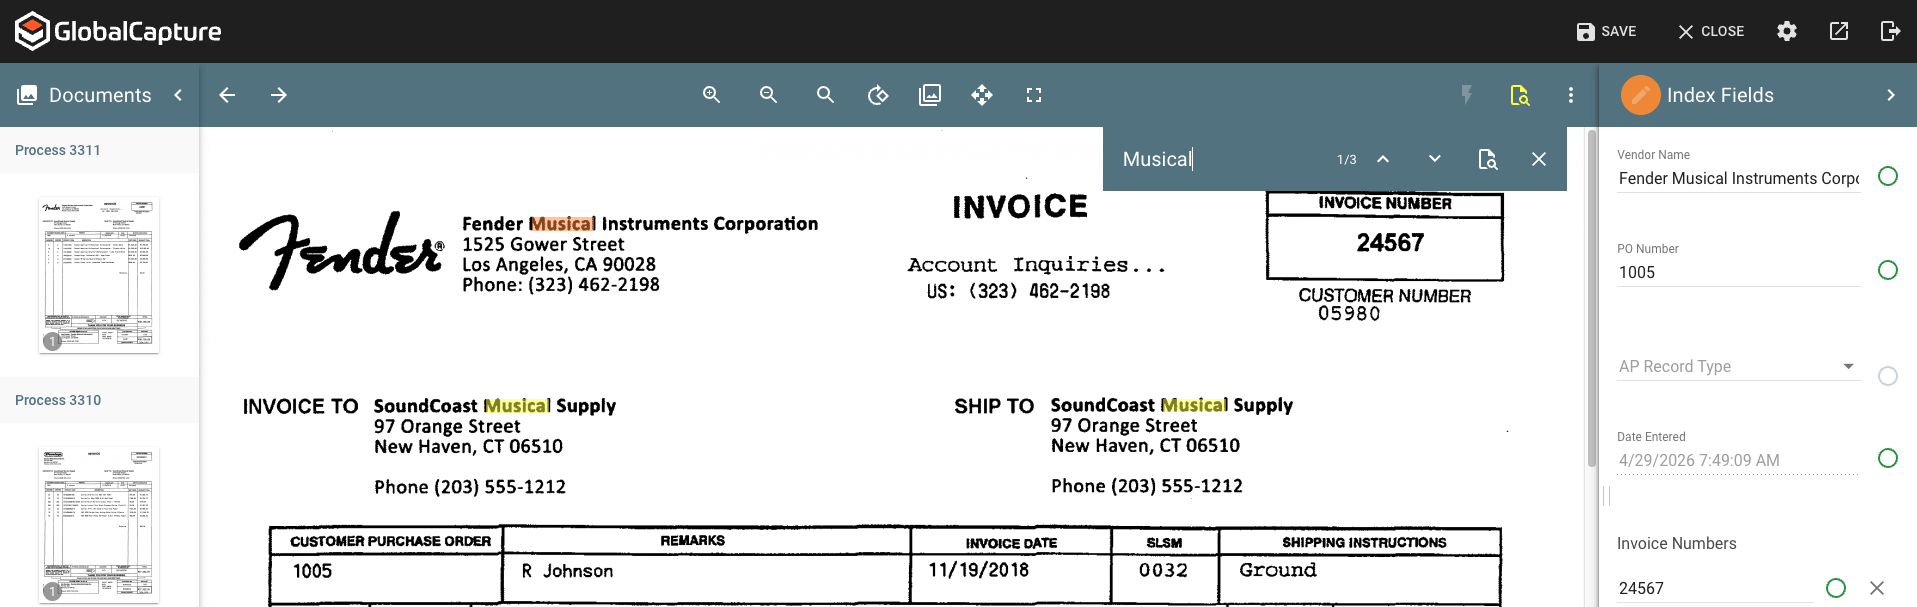
  2. Type the text you are looking to search for in the Find text box.  Use the enter key to execute the search, or click the magnify glass icon to the right of the text box.  When the search runs, all occurrences of the text entered in a document will be highlighted and you will be taken to the first occurrence of that text, highlighted in an orange color.  Other instances of the matching text will be highlighted in yellow.
    Screenshot 2026-04-29 at 11.05.38 AM.png
  3. At the top right of the Find Dialog, notice the count to the right of the search text.  The numbers presented here indicate the currently selected hit, and the total number of hits found in the document for the text being searched. In this case, the first hit is selected (displayed in orange) and there are a total of 2 hits found in the document.

    Screenshot 2026-04-29 at 11.06.28 AM.png
  4. Press F3 (or Ctrl + g) to move to the next hit in the document, or press Shift + F3 (or Ctrl + Shift + g) to move to the previous hit.  If you are on the first hit and use Shift + F3, you will be moved to the last occurrence of the text in the document.  Alternately, you can use the left and right arrows in the Find Dialog to move between hits on the document.

  5. You can search for one or more words using the Find Dialog.  Note that multiple words (separated with spaces) will be treated as an "and" style search, meaning the words are required to be found and found in the specified order.

  6. To abort a search, click the X in the top right corner of the Find Dialog.  The escape key can also be used to cancel any search results and close the dialog.

Ellipsis Menu

The Ellipsis Menu ( ellipsis.png ) contains additional document options.

  • Information ( info.png ) - Display document information: File Type, File Size, Resolution, Dimensions, and Pixel Format.

  • Export ( share.png ) - Exports the document to the local device. This does not have any impact on the workflow.

  • Print ( printer.png ) - Print a physical copy of the document. This does not have any impact on the workflow.