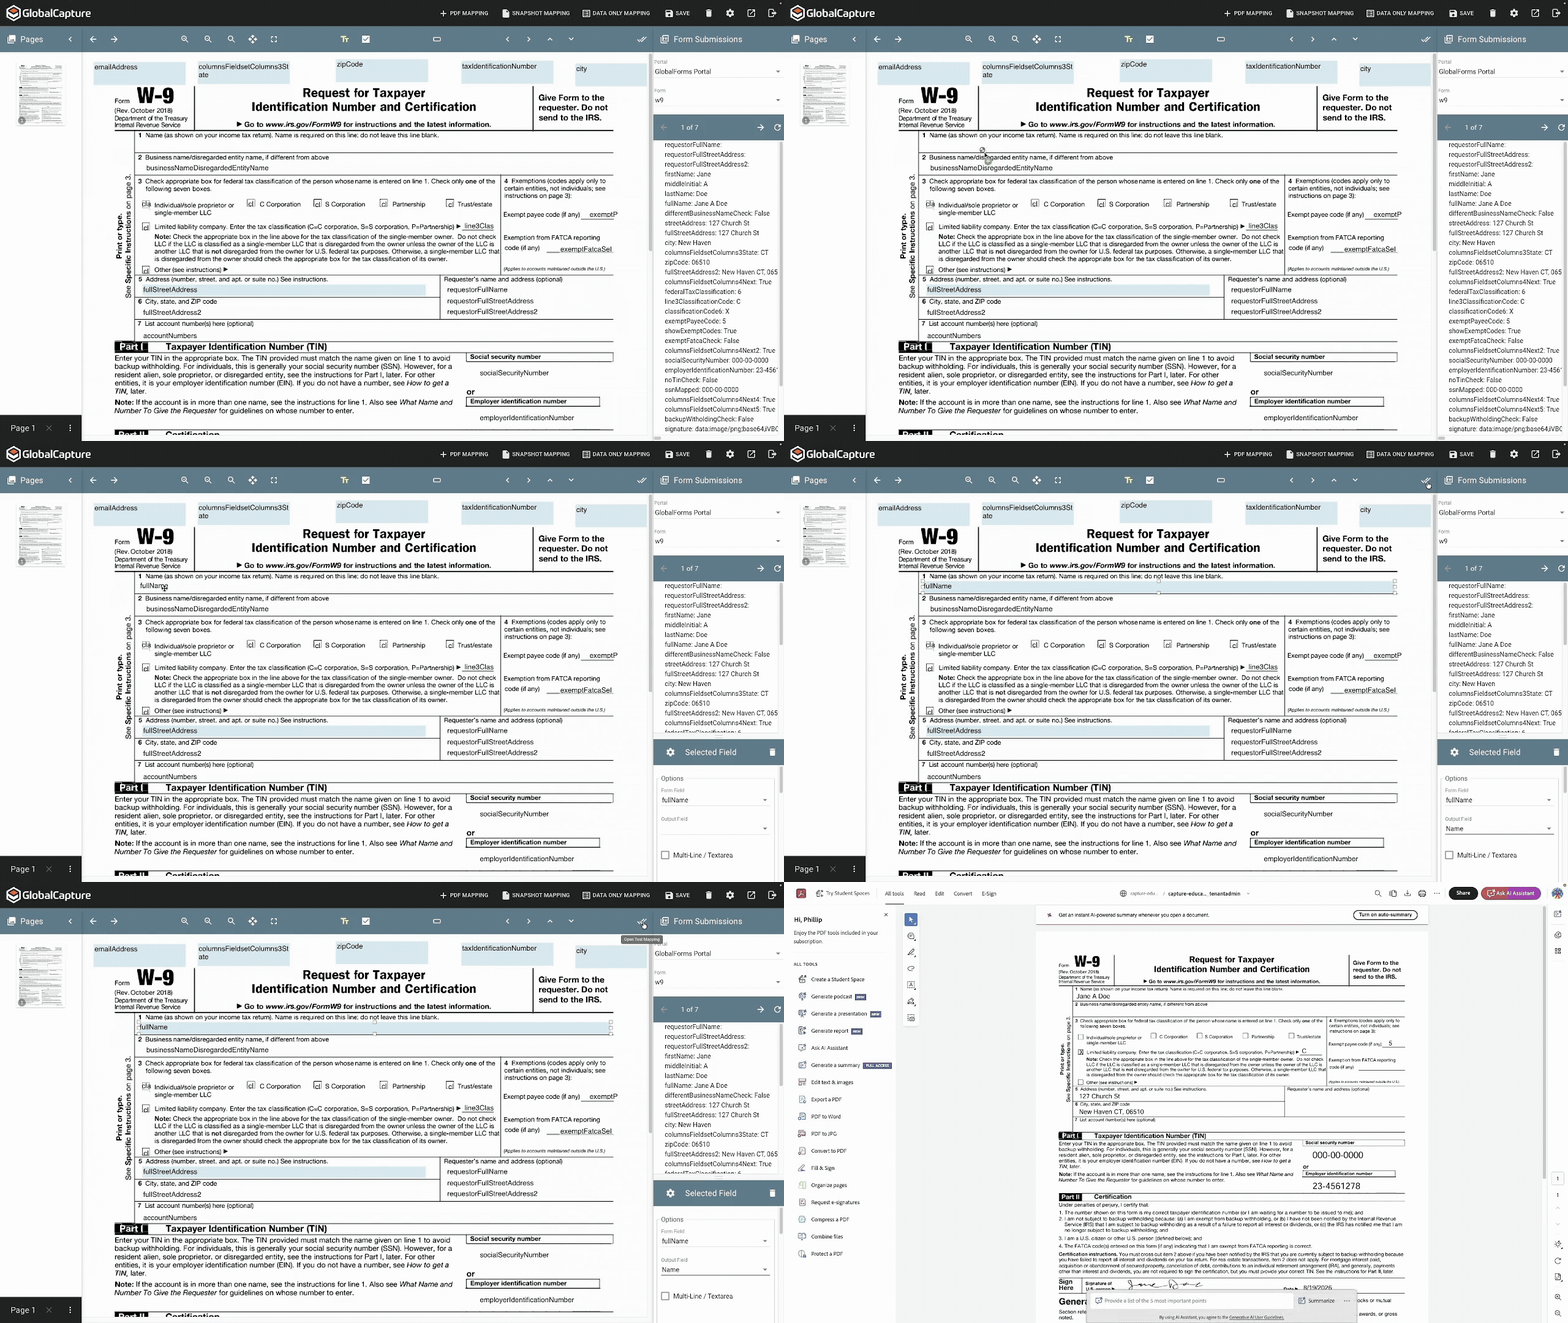
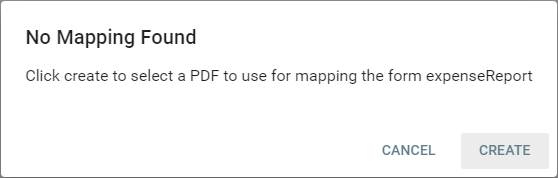
PDF Mapping is the default mapping type. When selecting a form that has not been mapped (but does have at least one submission), you will be prompted to select a PDF.
A form that has no submission will not display the prompt when selected. It is always recommended to build forms to a functional state prior to starting the mapping process. Changes to components after mapping can impact GlobalCapture's ability to transform the data. For some more complicated form processes and multi-step forms, you may need build the form up to a particular step, map it, then continue the form build.
If you want to use the PDF Snapshot features, click Cancel. Otherwise click Create to select a PDF to use as the mapping template.
Pages
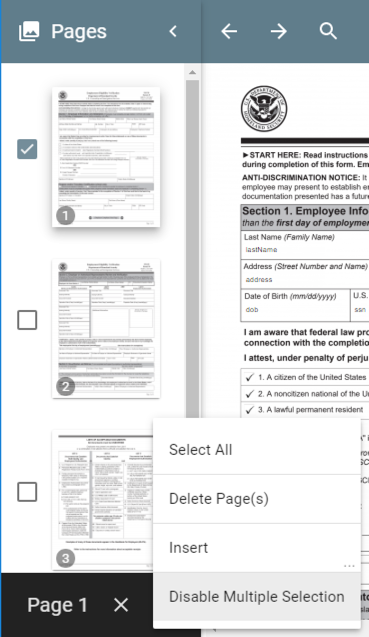
Using the thumbnail pane on the left side of the viewer, pages may be added, removed, and reordered. Enable selection in the thumbnail pane by double clicking a thumbnail, or by clicking the ellipses icon to the right of the page number (at the bottom of the thumbnail pane) and choosing Enable Multiple Selection.
With one or more thumbnails selected, click the ellipses icon.
-
Choose Insert to add new pages from either a file or scanner.
-
Choose Delete Page(s) to remove the selected pages.
When deleting pages, note that any mapped components on that page will also be removed from the mapping. Changes are not committed until saved, so if you have accidentally removed pages or mappings, refresh the browser and reopen the mapping to return to the last saved state.
Components
Any data capture component from a form can be mapped to a PDF. Drag and drop a component from the Submissions pane on the right side of the viewer onto the imported document in the main viewer window. A collection of options and settings will be available to control the output.
Mapping Steps
-
Determine if you want the component to display as text or a check (for select boxes and checkboxes) on the page. Ensure the proper Component Type is selected.
-
Select the component of interest from submission panel.
-
Drag and drop the component on the design surface.
-
Adjust the postion and size of the field on the form. Utilise the position pane and nudging to fine tune the positon of the data.
-
Configure any additional options for the selected field.
Once all fields are mapped, click Test Mapping to preview the data mapped to the form. Make any adjustments on the design canvas as needed.