Mapping allows GlobalForms users to transform data into documents, and mark data points as key indexes for use in document lookup and retrieval. The mapping interface is built on Square 9's common viewer platform, and will present a familiar interface for working with form data.
Types of Mapping
PDF Mapping and Snapshot Mapping are the two primary ways an administrator will configure a GlobalForms to document transformation.
-
PDF Mapping involves leveraging an existing PDF. The PDF is displayed, and form data elements are positioned on the document, similar to how one might build a form fillable PDF in Adobe Acrobat. PDF mapping provides administrators with the most control of their output, but does require your start with a blank PDF document.
-
Snapshot Mapping is a virtual "print" of the form. With a Snapshot, the form builder is in control of the look and feel of the output document and it will very closely resemble the form as printed from the browser.
-
Data Only Mapping allows you to send the data to GlobalCapture without the creation of a document. This is useful when using forms to collect data to populate a database where a document generation is not needed, such as when collecting emails for an email newletter.
Mapping Utility Basics
When the GlobalForms Mapping utility is launched, you will see a familiar (but empty) document viewer interface.
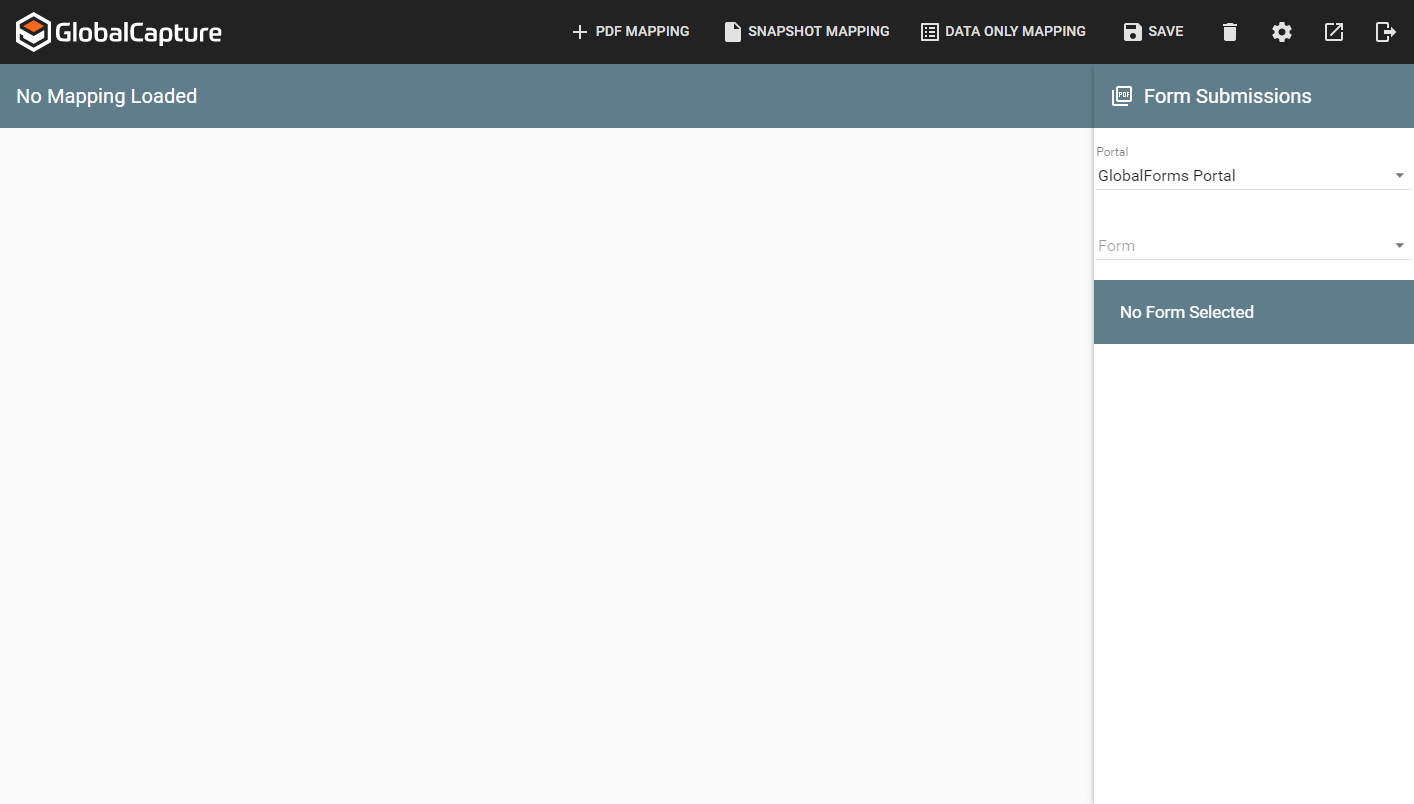
Before performing any mapping functions, you must have a built and tested form created in GlobalForms with at least one submission. Working with submission data that is as complete as possible is always the best starting point.
It might take several submissions to get all data points depending on the flow of your form. In this case, you will need to work with multiple submissions to complete any mapping steps.
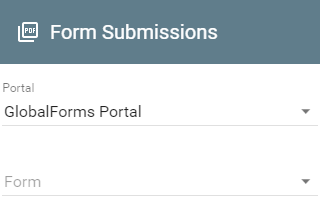
To get started with any mapping process, select a form from the Form Submissions section in the top right corner.
-
In most cases, only a single Forms Portal will exist and will be automatically selected. If your GlobalCapture instance is setup to import from multiple GlobalForms servers, select the portal.
-
Select a Form from the list of forms to begin the mapping process. If you are working with an existing mapping, that mapping will load automatically when the form is selected.
-
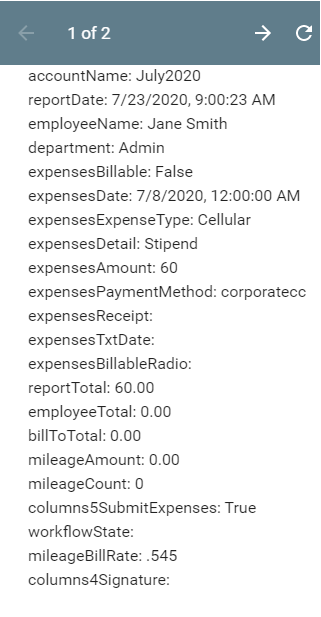
Submission Data will display below the Form Submission section once a Form is selected. The Component's Name (API Key in the form settings for the component) and Data Value will be displayed. Each element is selectable, and can be dragged into the viewer section of the tool.
The viewer toolbar includes a number of options for working with mappings.

From left to right:
-
Previous Page (

-
Next Page (

-
Zoom Options (

-
Fit to Width (
-
Fit to Page (

-
-
Pan Tool (

-
Full Screen (

-
Component Type - Text (

-
Component Type - Check (
.png?cb=cd54920e257eda4dc8da35947bb6fe6c)
Component Type - Check should only be used for boolean fields: Select Boxes and Checkboxes.
-
Default Field Border (

-
Nudge Left (

-
Nudge Right (
.png?cb=b06c1d150619f1a79d5e43efee2382f1)
-
Nudge Up (

-
Nudge Down (

-
Test Mapping (