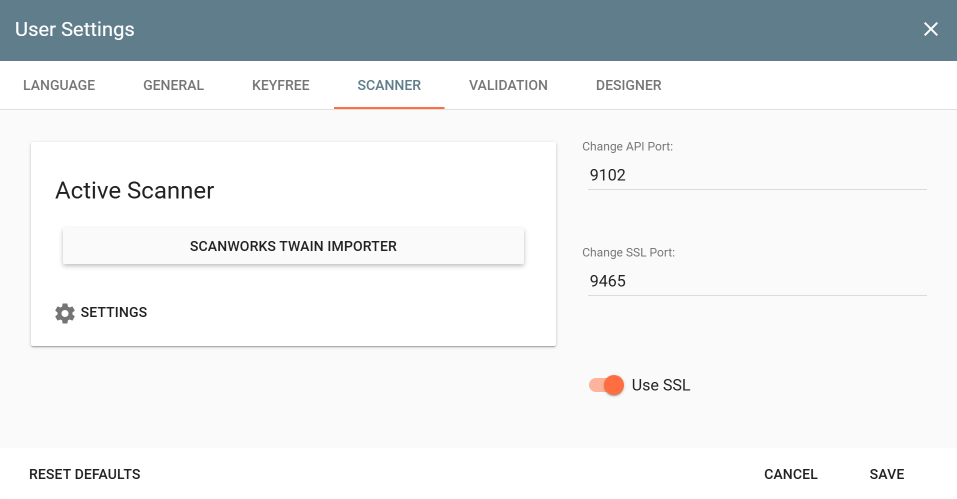
To begin scanning to GlobalCapture using a desktop scanner, the GlobalSearch Extensions must be installed and configured. The GlobalSearch Scan Extension is included with all instances of GlobalSearch and GlobalCapture.
The GlobalSearch Scan Extension is used to scan using a desktop scanner to GlobalSearch and GlobalCapture. If you are a GlobalCapture only user, this extension still must be installed and will function as expected, even without an instance of GlobalSearch.
Installing the Scan Extension
If you are using GlobalSearch, refer to Installing GlobalSearch Extensions to install Extensions.
If you already have GlobalSearch Extensions installed and your scanner is not working, check out the most common causes in the Common Issues area. If neither of those resolve your issue, reach out to Square 9 support.
-
Login to GlobalCapture and select the Upload (

-
Click Cancel on the Select Destination popup.
-
Enter the User Settings by clicking the Settings (


-
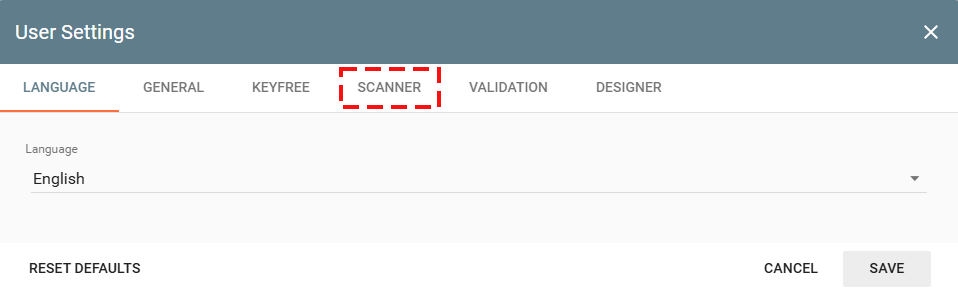
Select the Scanner tab.
-
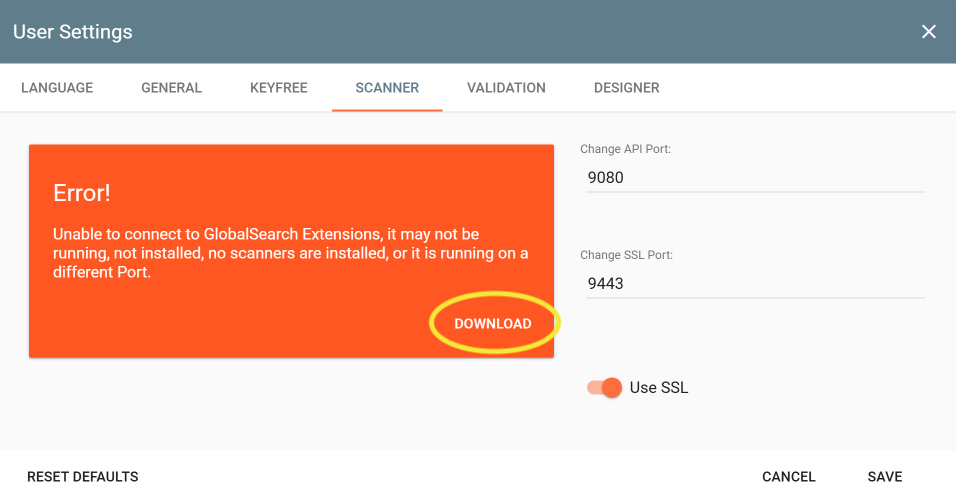
If Extensions is not installed or there is a configuration problem, an error appears here. Click Download to download the Setup file.
-
Navigate to the location of the Setup file and run the application.
-
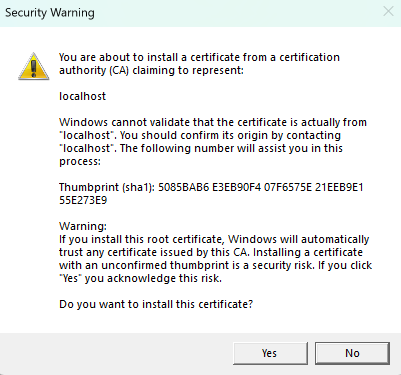
A Security Warning appears about installed a certificate, click Yes.
-
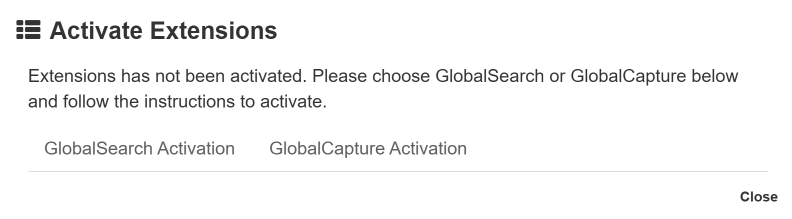
A message appears that Extensions are being configured and the GlobalSearch Extensions page opens in a new tab with the Activate Extensions popup.
-
Click GlobalCapture Activation, then Activate For GlobalCapture.
-
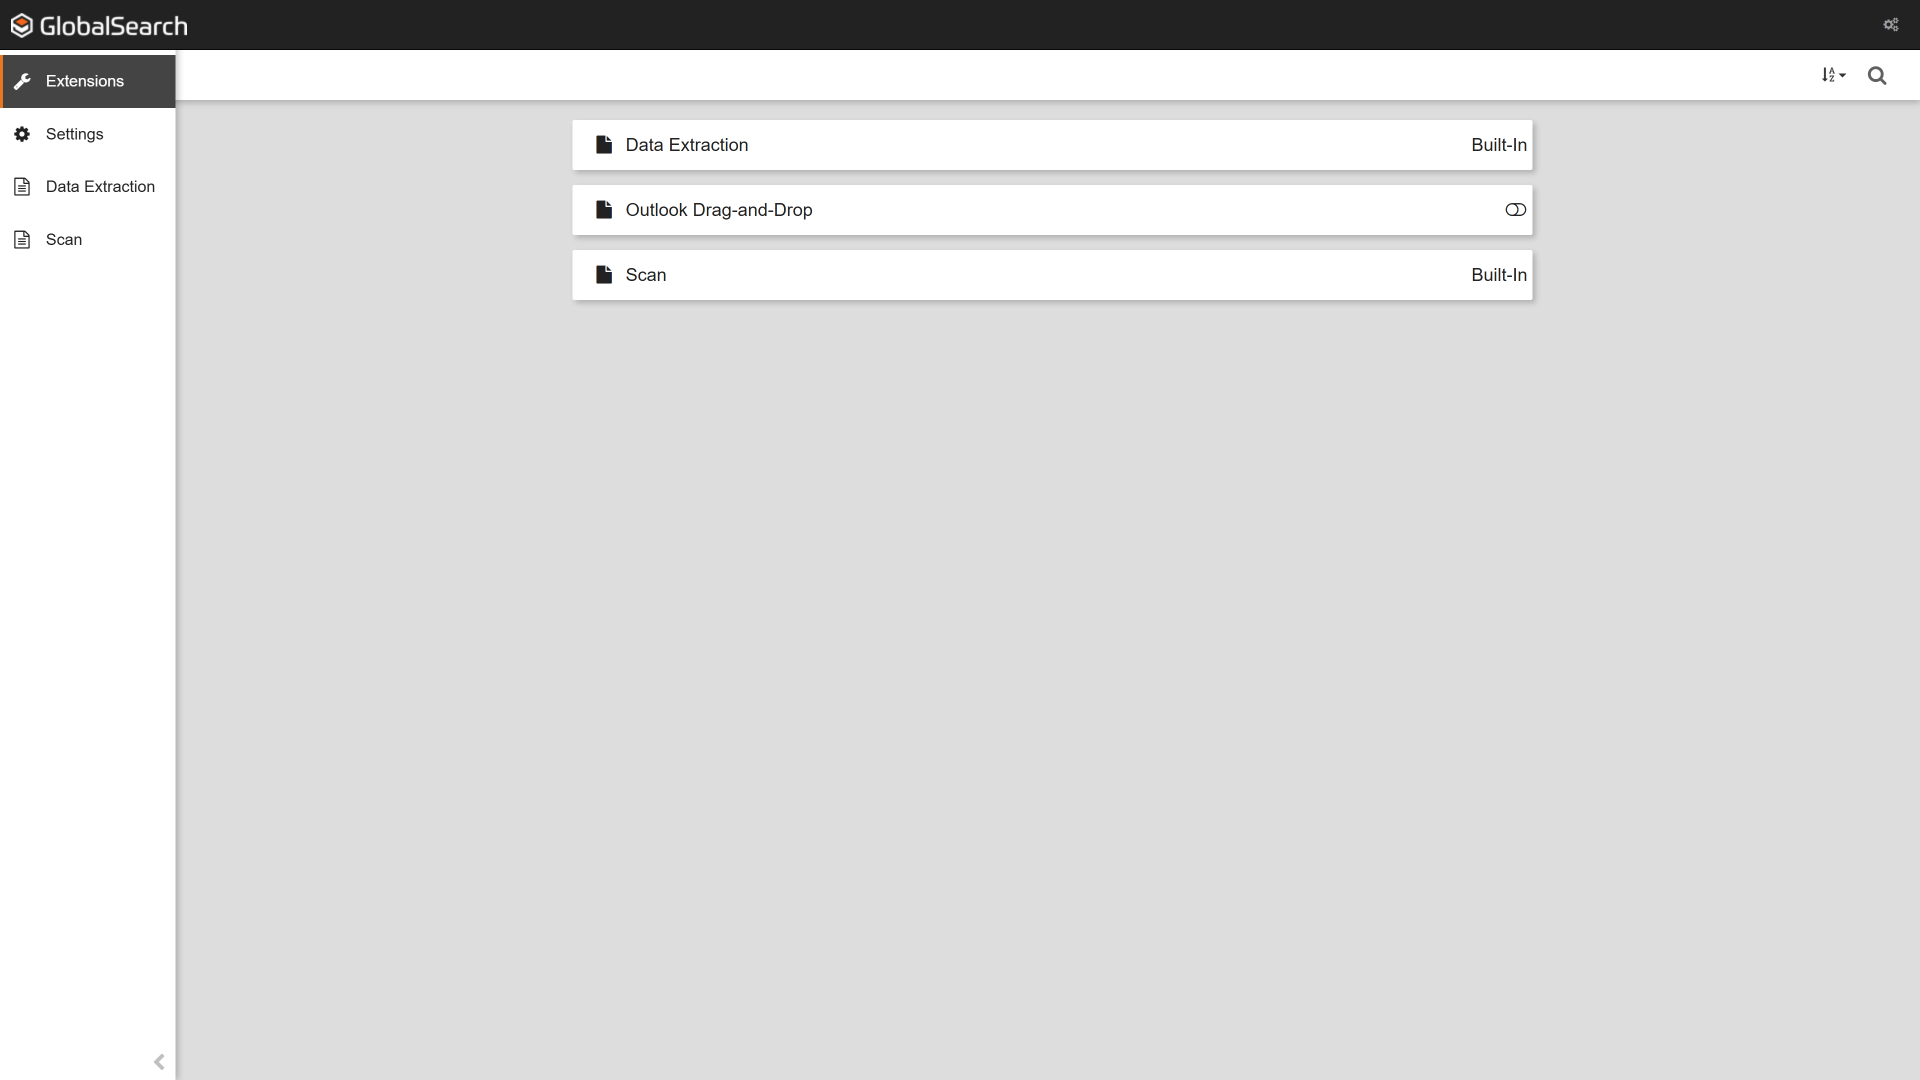
The GlobalSearch Extensions page opens in your browser. Your scanner is now ready to use.
Selecting a Scanner and Scanner Properties
If you have multiple desktop scanners installed, you will need to set the scanner to use.
-
Open the GlobalSearch Extensions page by clicking the Extensions desktop icon (

-
In the left pane, select Scan (

-
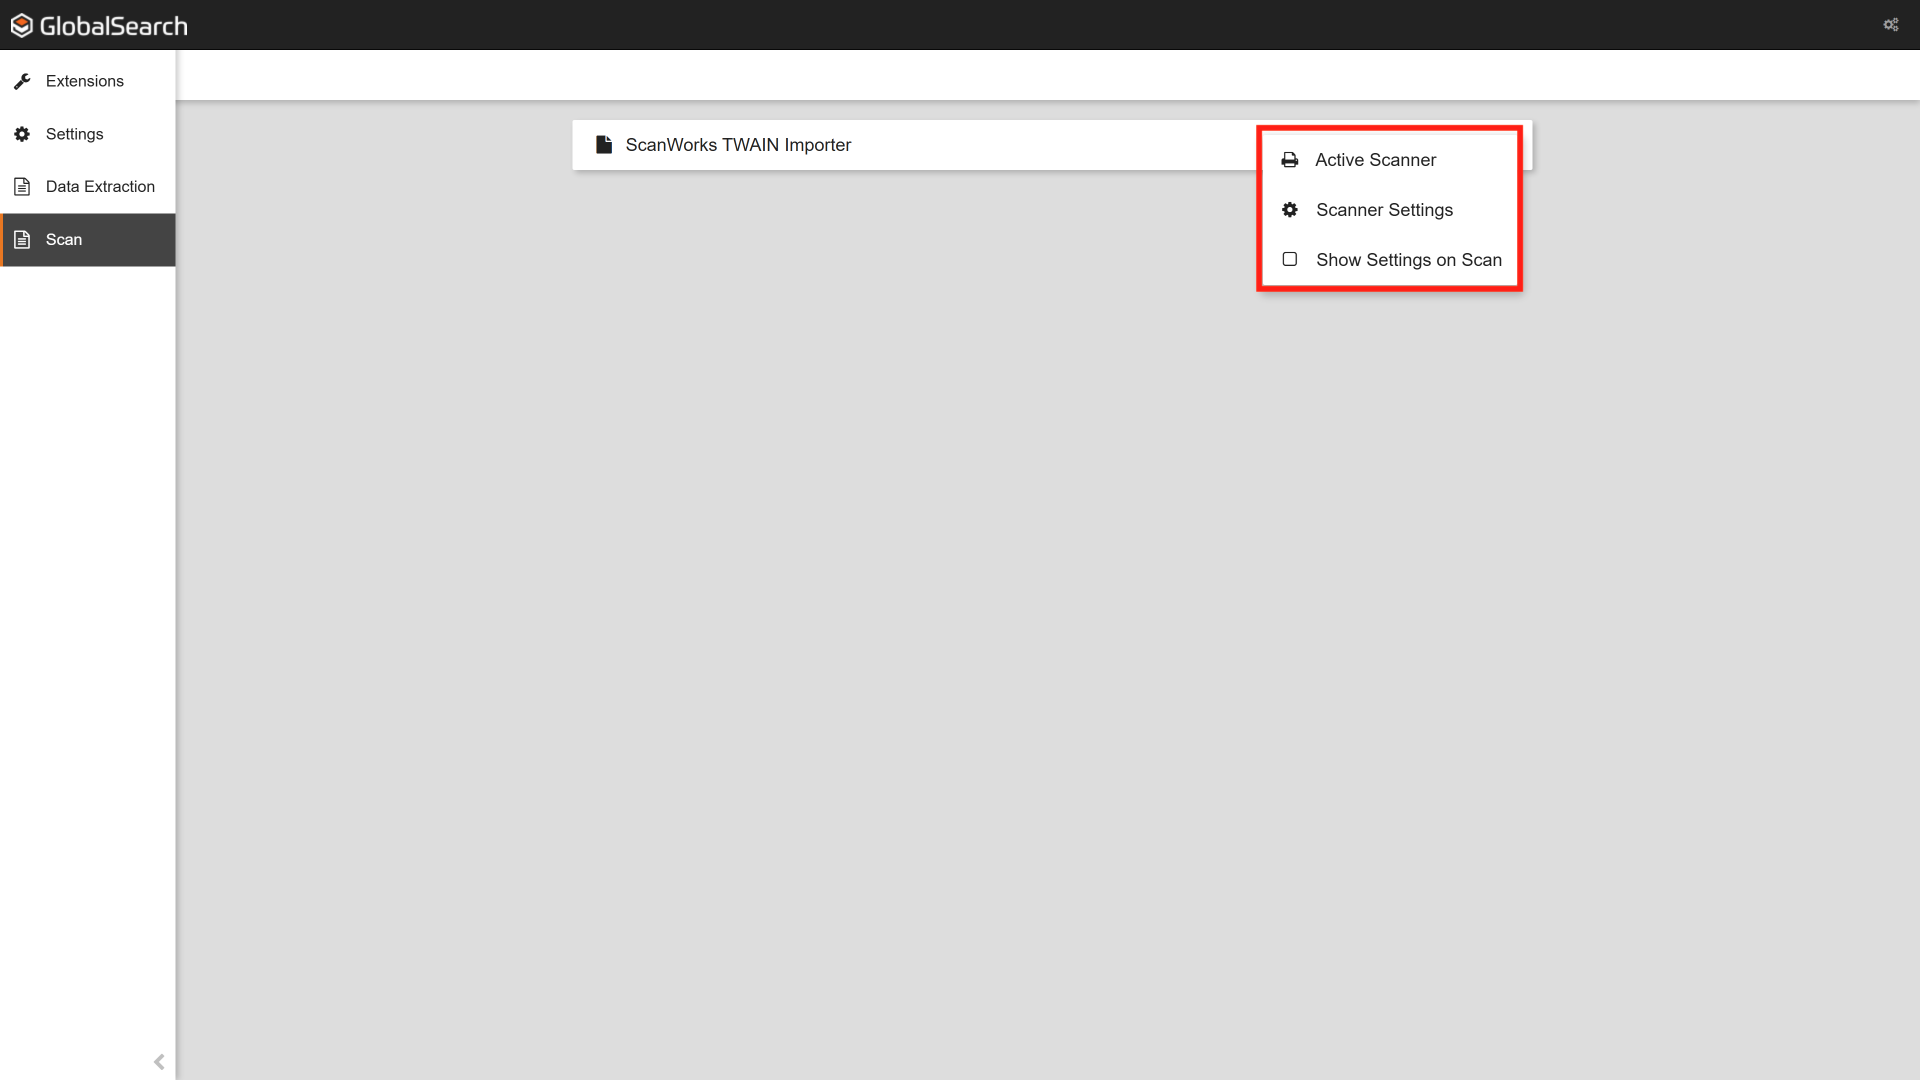
The currently selected scanner will be displayed on the card. Click the Ellipsis (

-
To set the default scanner, select Active Scanner (

-
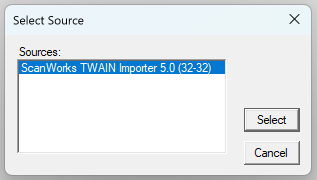
A Select Source popup appears with a list containing all available scanner. Click on the scanner to use and click Select.
-
To access the scanner properties, select Scanner Settings (

-
The scanner properities will appear. Scanner properties are controlled by your scanners software and the layout will vary based on your scanner.
You can also access your user settings from the Scanner tab in the User Settings menu.
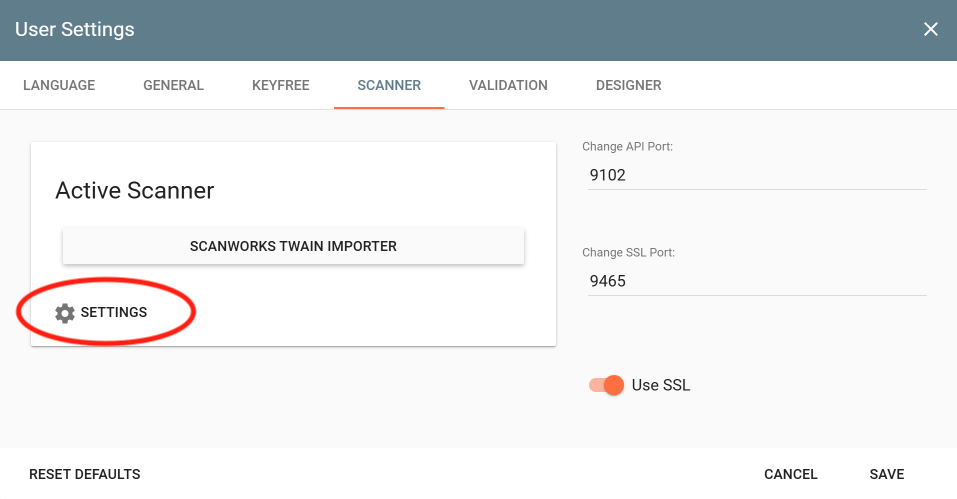
Show Settings on Scan - Enabling Show Settings on Scan will trigger the scanner settings to appear each time a scan is initiated. This is useful if you are scanning many, varied types of documents that required different scanner settings such as dropping color, scanning as an image vs. a PDF.
Common issues (Ports/SSL)
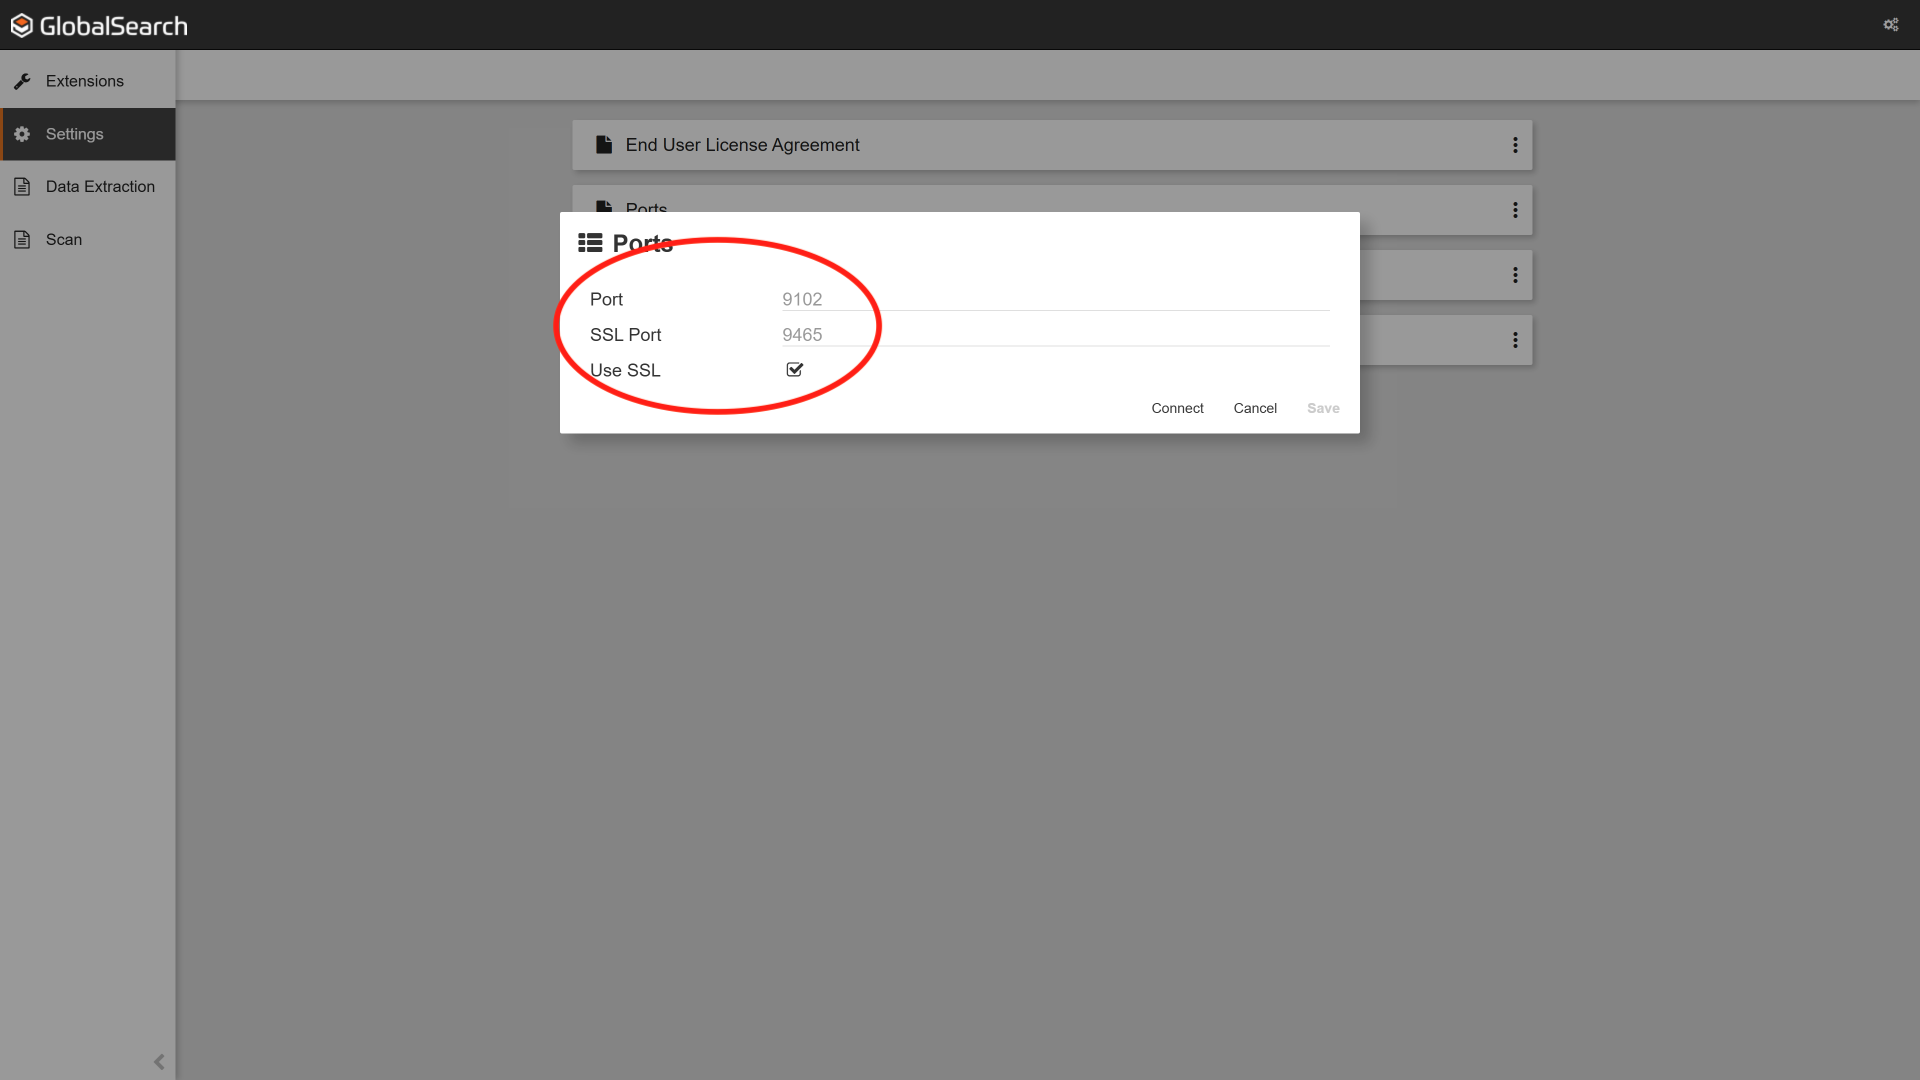
The most common issues for the scanner not being recognized are related to using or not using SSL or a port number configuration conflict. To check if SSL is being used and the port numbers:
Checking Configuration
-
Open the GlobalSearch Extensions page by clicking the Extensions desktop icon (
-
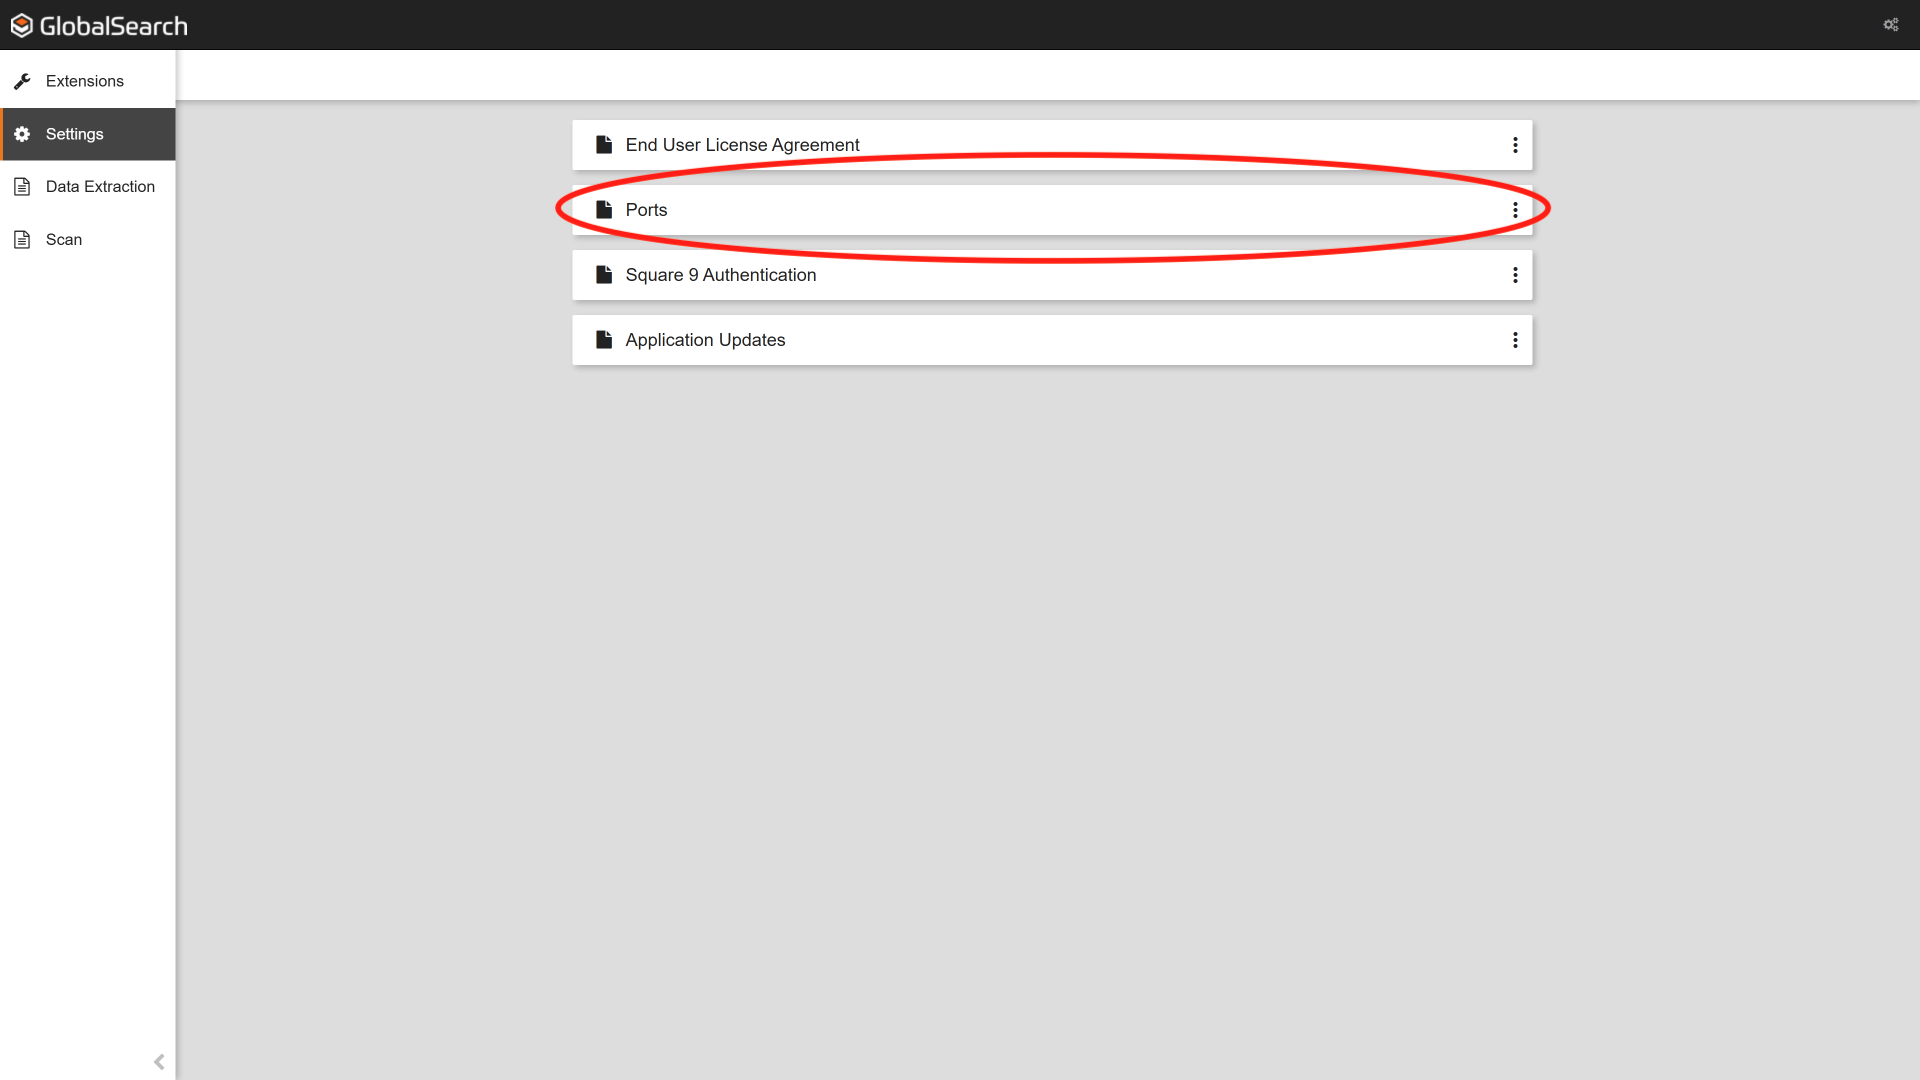
In the left pane, select Settings (
-
The currently selected scanner will be displayed on the card. Click the Ellipsis (
-
The ports being used and if SSL is being used is are displayed. Make note of these ports.
Updating SSL and Ports
-
Login to GlobalCapture and select the Upload (
-
Click Cancel on the Select Destination popup.
-
Enter the User Settings by clicking the Settings (

-
Select the Scanner tab.
SSL
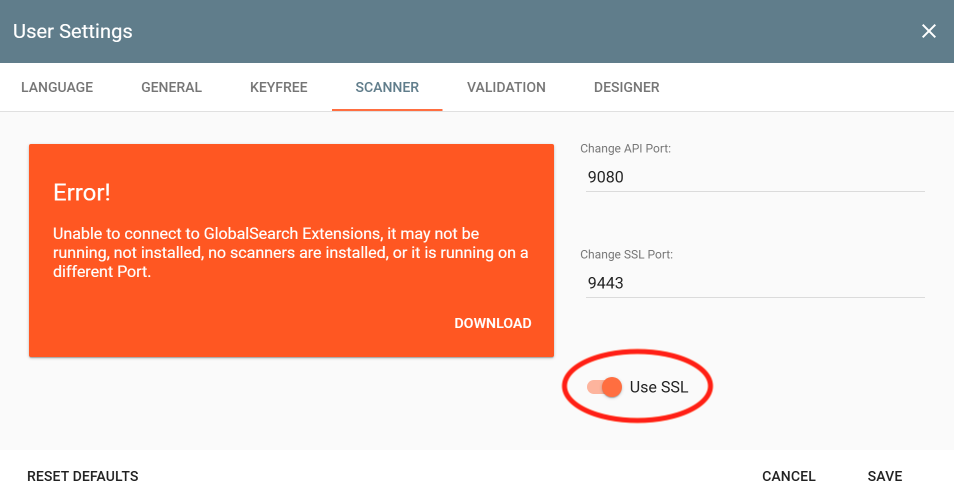
Enable or disable the SSL toggle to match how your company manages these types of communications displayed in the settings.
Ports
By default, Extensions uses API Port 9080 for non-SSL and 9443 for SSL. It is possible something else is using the those ports and the ports will need to be changed to match those assigned during install.
-
Update the ports to match those in the settings.
-
Click Save.
-
Verify the Scanner in now working by navigating back to the Scanner tab in the User Settings.
-
The Error message should be replaced with the name of your active scanner.