Create, Edit, and Delete Templates
Templates can be created from the Template Designer Load Template dialog or from the Validation Station RapidAdapt tool. Refer to RapidAdapt Forms Learning for details on the simple, user-friendly Template creation method.
Create Templates
To create a new Template, in the menu bar, click the Load icon.
In the Load Template dialog box, click New Template.
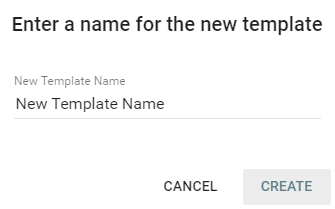
Enter a name the New Template Name text box and click Create.
The No samples loaded message will appear and the Template Designer will be blank, awaiting your document samples. You can rapidly create new Templates for your Workflows and then go back to them later to load sample documents and define Zones.
Copy Templates
To create a new copy of an existing Template, open the Template to be copied in the Template Designer.
Click the More Options icon in the Designer menu and in the Test Template dialog, click Save As.
Enter a name the New Template Name text box and click Create.
Edit Templates
Open a Template in the Template Designer to either complete a new Template or to modify an existing one. You should have sample documents available to load into the Template Designer.
To edit a Template, in the menu bar, click the Load icon.
In the Load Template dialog, click on the selected Template.
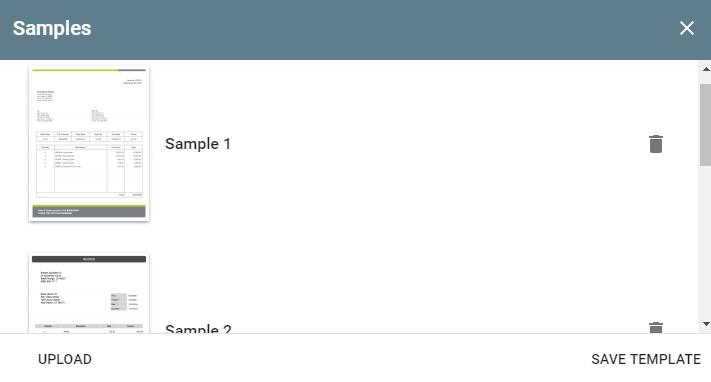
The Template will appear in the state that it was last saved. If you are editing a basic Template without samples or Zones assigned, you will see a blank Template Designer.To load sample documents into the Template, in the Designer menu, click Samples. In the Samples dialog, click Upload. Browse in a local or network directory to the sample PDF or TIF file to be imported, select it, and click Open. To add additional samples, click Upload again. As the OCR processes for each page, the Uploading message may appear for a moment. Click Save Template.
Templates with zones that have specific coordinates are bound by the scan resolution. It is important to use sample documents with the same dpi setting as the documents which will be processed, or the results will not be what is expected.To delete a sample, in the Samples dialog, click the Delete icon next to the selected sample.
To delete changes to the Template since the last time it was saved, click the More Options icon in the Designer menu and click Discard Changes. At the prompt, click OK.

Create any Zones needed for the Template. (Refer to Create, Edit, and Delete Template Zones for details on Zones.)
Click Save in the Designer menu.
Once completed, Templates can be used by the Classify Node in GlobalCapture Workflows.
Delete Templates
Click the Delete icon to the right of a Template in the Load Template dialog to delete it.
To return to the Template Designer, click the Close icon.
