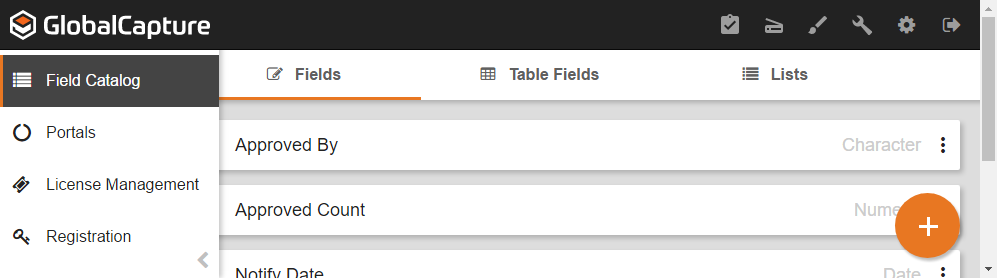
To create Fields, on the GlobalCapture toolbar, in the vertical Administration menu, select Field Catalog.
On the Field Catalog toolbar, click Fields. A list of any existing Fields in the database will appear.
Click the Add () button found in the bottom right corner of the screen.
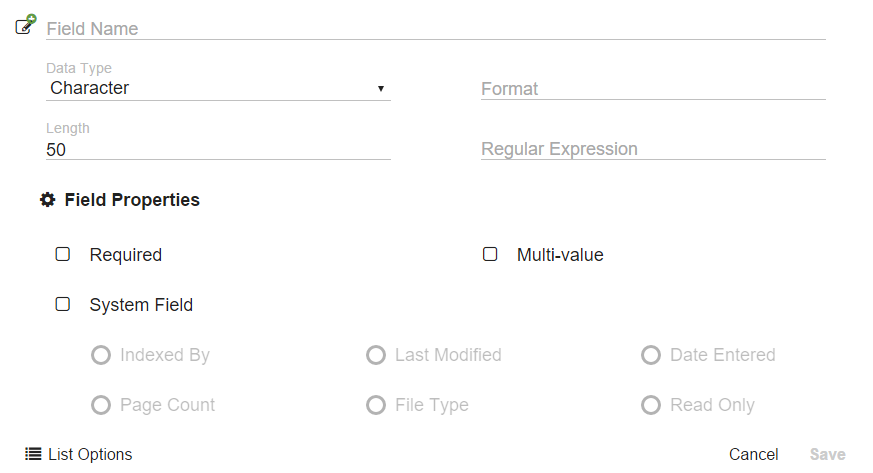
Enter a name for the new Field and select a data type from the drop-down list. Refer to the Data Types page for details.
To display the Field with a certain format or layout (for example, a date with a two-digit year), enter the format type. The text entered is not free-form; it must adhere to one of the standard format patterns. Refer to Values for Formatting Index Fields for a list of format patterns.
Enter the maximum number of characters in the Length text box, up to 8000 characters. This option is only necessary for Character fields.
To set a regular expression (RegEx) for KeyFree Indexing, enter the text string. (Refer to Pattern Matching Using Regular Expressions for information on regular expressions.) When KeyFree is enabled in the Validation Station and this Field has focus, any text on the page matching the provided pattern will be highlighted. This allows you to quickly bring the user's attention to areas on a page where valid data for this Field might be located.
To set Field Properties, in the Field Properties group, enable one or more of the Required, Multi-value, or System Field checkboxes. Refer to the Field Properties page for details.
To assign, or create and assign, a Standard Pick List to a Process Field:
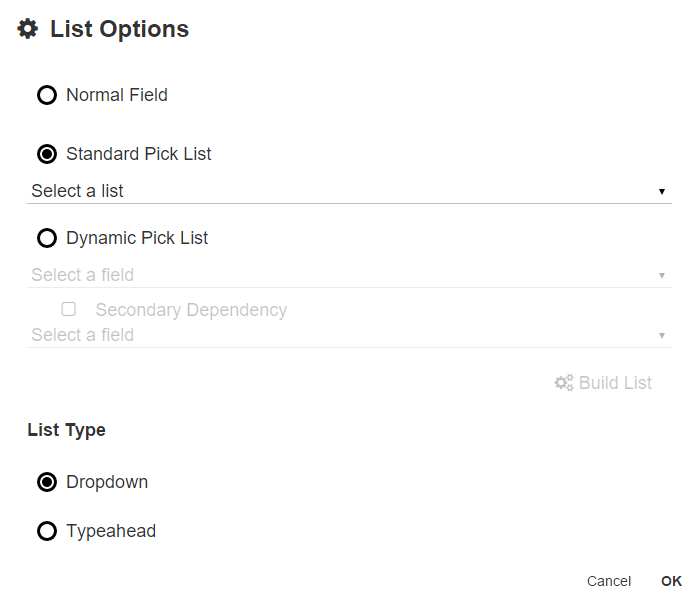
Click List Options and add a List by changing the default of Normal Field to Standard Pick List.
Select a List from the Select a list drop-down list. Refer to the Create Standard Field Lists section above for details on creating a List.
To assign, or create and assign a Dynamic Pick List to a Field:
Click List Options and add a List by changing the default of Normal Field to Dynamic Pick List.
Select a Field with a Standard Pick List from the Select a list drop-down list. For a single level of dependency, skip step c that follows and proceed to building your List.
To select controlling Fields for an optional second-level Dynamic Pick List, enable Secondary Dependency and select a second Field with a Standard Pick List from the Select a field list.
To map the relationship between the List and the Field, click Build List.
In the Edit List Mapping dialog box, in the Select filter 1 drop-down list, select a value for the first row.
If creating a two-level Dynamic Pick List, from the Select filter 2 drop-down list, select a value from the List associated with the dependent Field. This column will not appear in the Edit List Mapping dialog box for a single-level Dynamic Pick List.
Select a Field List in the Select a List column for each row.
Repeat steps e through g for each keyword associated with the dependent Field. Map all possible combination that you wish to offer so that the Dynamic List Field can be displayed correctly. You will see an error message in the Validation Station for an unmapped combination.
Note that while the GlobalCapture Validation Station displays Dynamic Pick List values in both Index Fields and Table Fields, the GlobalSearch v4.4.1 Document Viewer does not. The values are still saved in the SQL database, even though they are not displayed.
Click Save to return to the List Options dialog.
In the List Type group, select Drop Down or Type Ahead. Refer to List Options for details on Drop-Down and Type-Ahead Lists.
Click OK and return to the Edit dialog.
Click Save.
Plan Fields and Values First
Before creating a Dynamic Pick List, create any Standard Pick Lists needed for the Dynamic Pick List. (Refer to the Create, Edit, and Delete Field Lists section for details on Field Lists.) There are two level of dependency that you can specify for a Dynamic Pick List. The primary level is required and contains a list of standard Fields List values. The secondary level is optional and may have conditional Fields besides regular Field List values. (Refer to the “Dynamic Pick Lists” section for more information.)
Creating Dynamic Pick Lists goes a lot faster when you plan out all of the Fields, Lists, and values ahead of time. First, you can check to see if you have noted all of the possible variables. Second, you can plan your naming conventions.
The names of the Field Lists are only visible to you as an administrator. Names that are descriptive and which allow for future Lists work best. For example, instead of naming a Field List “Size” and then discovering that you need several different Lists for different size selections, consider using “Paper Size” and “Hard Drive Size.”
Edit Fields
To edit a Field, on the Field Catalog toolbar, click Fields.
Click the More Options () icon in the selected Field box and click Edit.
Make changes in the List Editor and click Save.
Delete Fields
Possible Data Loss
Deleting a Field from the Field Catalog removes it permanently and will result in a loss of any data in that Field, across all documents in all Archives of the database.
To delete a Field, on the Field Catalog toolbar, click Fields.
Click the More Options () icon in the selected Field box and click Delete.
Because this will permanentlydelete the Field, enter the displayed text in the Confirm Action prompt.
JavaScript errors detected
Please note, these errors can depend on your browser setup.
If this problem persists, please contact our support.