The Import Data & Documents is a feature normally reserved for power users, typically for bulk migration of records from a legacy system into GlobalSearch, or for restructuring an existing GlobalSearch database. To use the feature the IO extension must be enabled in the Extensions Manager interface on your client machine. The data can be imported from any delimited data file, such as a CSV or TXT file. Import Data and Documents is a feature whose performance can be greatly impacted by the multi-threading capabilities of the Extensions platform. By default, the Import Data & Documents process imports documents four at a time.
Permission Requirements
Please note that Import Data & Docs requires View and Add permissions.
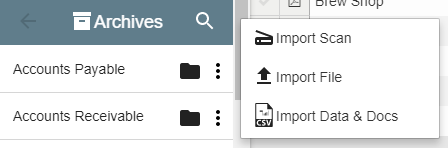
Select an Archive and click More Options (ellipsis).
Click Import Data & Docs.
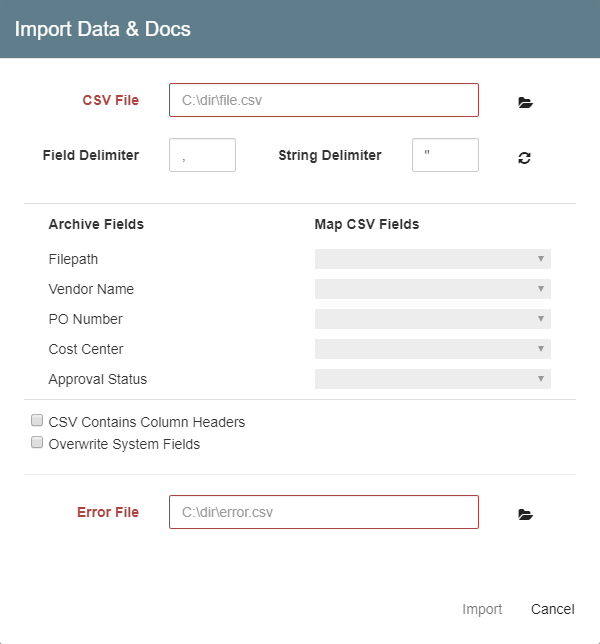
In the Import Data & Docs dialog box that appears,enter the full path or click the Folder icon to browse to the CSV file in the CSV File text box.
Specify the character used to separate fields in the CSV in the Field Delimiter text box. A comma is often used here, but inspect your specific data files for the correct delimiter.
Specify the character used to separate strings in the CSV, in the String Delimiter text box. Quotation marks are often the default.
If you have changed a delimiter value, click Load CSV Fields ().
In Error File, enter or browse to the error log for the CSV file.
In Map CSV Fields, select a value for the required Filepath field.
Once the data file is loaded, a drop-down list shows each piece of data in the first row of the data file. Map the correct piece of data to the corresponding Archive Field. System Fields will populate automatically, unless Overwrite System Fields is selected. Having a data file with column headers can simplify the mapping process. Using the headers, you can be sure you are mapping the correct data points. It can be easy to confuse data points (like dates, for example) and crossing the data with the wrong columns can be hugely problematic.
Optionally, enable CSV Contains Column Headers to assign the first row of the CSV file as column headers. When enabled, the import process will skip the first row of data.
Optionally, enable Overwrite System Fields (only available users that are assigned as a database administrator) to overwrite current values in System Fields (except for the Date Last Modified and Last Modified by System Fields values, or Revisions-specific Fields, which cannot be updated by users). For example, you would use this option if your data had a Date Scanned value that you wanted to keep when importing new records, rather than having the system use today's date as the Date Scanned value.
Click Import and the records will be added to the Archive.
When the import is complete, an Extensions icon will appear on your bottom task bar. Click on it to display a pop-up message telling you how many documents successfully completed importing and how many documents failed.
If a document fails, a new data file is automatically created and placed in the original source location. It is automatically named using the Error_OriginalDataFileName_32UniqueCharacterName.csv format and it will contain the data for the failed entries. You can open this file, fix your errors, and then run the file through the Import Data and Documents process again.
JavaScript errors detected
Please note, these errors can depend on your browser setup.
If this problem persists, please contact our support.