Extensions Manager Installation and Configuration
The Extensions Manager is installed as part of the core GlobalSearch product on your GlobalSearch server, as are most of the extensions. To enable extensions for a client, the Extensions tray application will need to be installed on a client's workstation. This acts as the bridge between a browser and the enhanced features offered through GlobalSearch Extensions.
To use the Extensions tray application and its component applications (such as File XChange and Print to GlobalSearch), you must first install it on your local Windows® machine.
Configuring SSL
For new installations, if your GlobalSearch system will be configured to use SSL, it is highly recommend you setup and configure SSL prior to deploying the Extensions tray application to any clients. At the time of install, the SSL configuration will be determined automatically. If it is changed after the fact, it will need to be manually changed for any clients that have already been deployed.
Downloading Extensions from GlobalSearch
To install the Extensions tray application, log into your GlobalSearch web client.
In the GlobalSearch Legacy web client toolbar, click the Extensions (
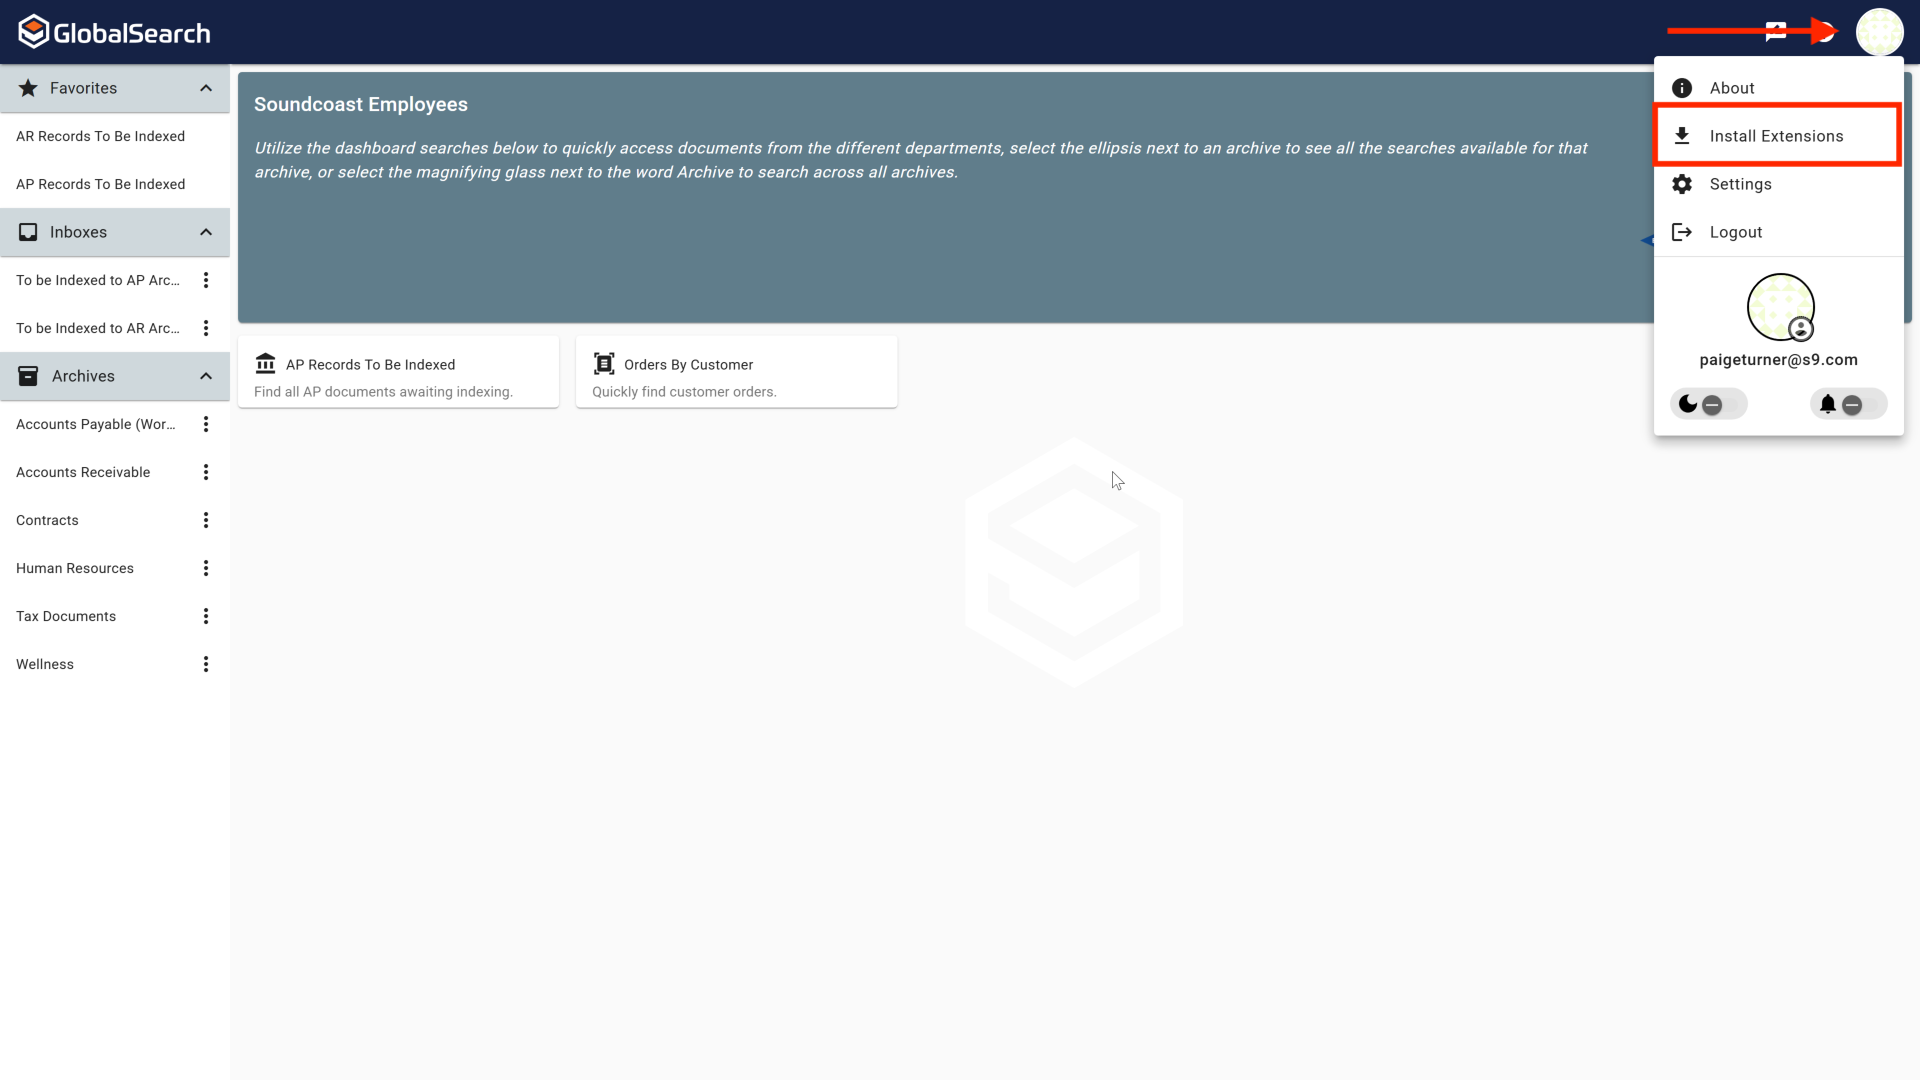
 ) icon. In the GlobalSearch Go client, click the Avatar image and select Install Extensions from the list.

GlobalSearch Legacy
GlobalSearch Go
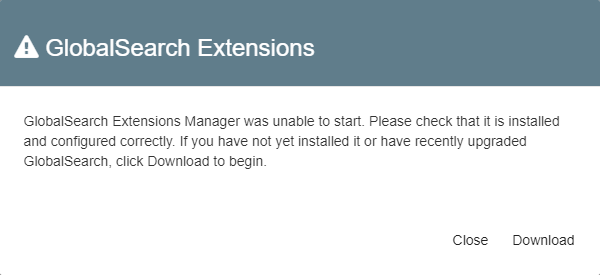
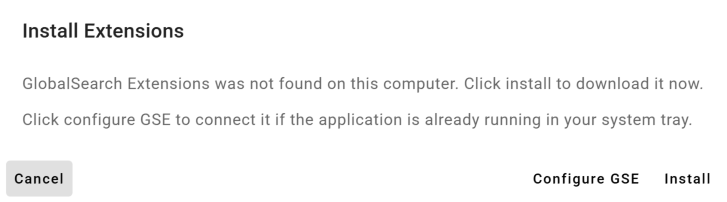
If the Extensions tray application is not installed, GlobalSearch will display a message indicating the application can not be found and will give you the option to download it. Click Download or Install to begin downloading the setup files.
GlobalSearch Legacy
GlobalSearch Go
When the download is complete, you should have a file named
setup.exein your Downloads folder.
Downloading Extensions from GlobalCapture
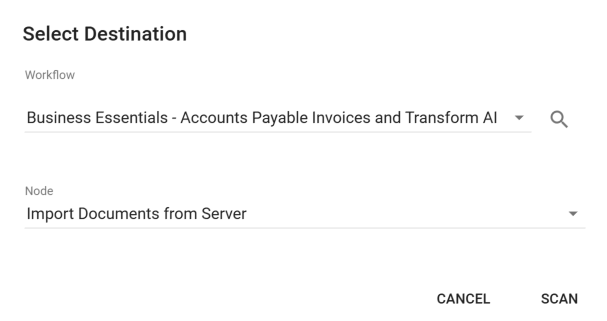
Login to GlobalCapture and select Scan (
 ).
).On the Select Destination popup, click Cancel.
Cancel the Scan Process
Open User Settings by clicking the Gear icon(
 ) in the top right corner and select the Scanner tab.

Click Download to begin downloading the setup files.
When the download is complete, you should have a file named
setup.exein your Downloads folder.
Installing Extensions
Run
setup.exeand follow the prompts to accept the SSL Certificate.
.png?inst-v=c360de5b-20ec-445f-9550-67f2fa93b20e)
SSL Certificate Prompt
Note for installations on servers
On server environments, IE Enhanced Security Configuration can interfere with the deployment process for Extensions. It is recommended you disable IE ESC when installing.
Extensions will need to activated. If you are using both GlobalSearch and GlobalCapture, select GlobalSearch Activation. If only using GlobalCapture, Select GlobalCapture Activation.
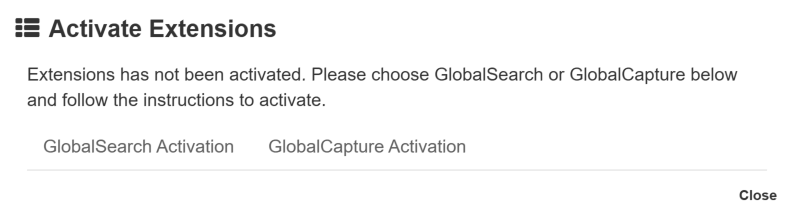
Extensions Activation
GlobalSearch Activation
Select GlobalSearch Activation.
Enter your GlobalSearch login credentials. It is always advisable for this user name and password to match the one you normally log into GlobalSearch with. Enter in your username and password. Change to your domain. Change the server name or IP address to your addresses.
The addressing will vary here. If you have a cloud instance you can use period ( . ) as the domain. Do not include the brackets.
API address examples :
http://SERVERNAME/Square9api/
http://IPADDRESS/Square9api/
https://INSTANCENAME.mysquare9.com:443/Square9API/
https://INSTANCENAME.mysquare9.com/Square9API/
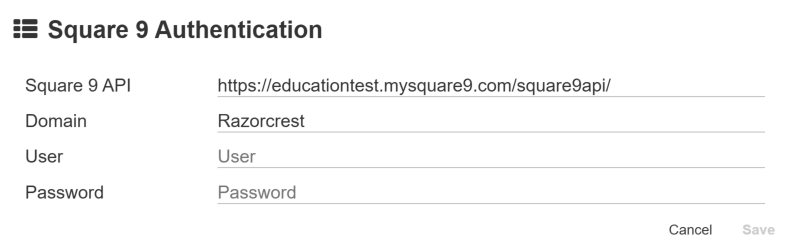
GlobalSearch Activation
There may be some variation at this step depending on your GlobalSearch or GlobalSearch Extensions versions. Newer versions get different prompts. Even if you have upgraded you may still have different prompts.
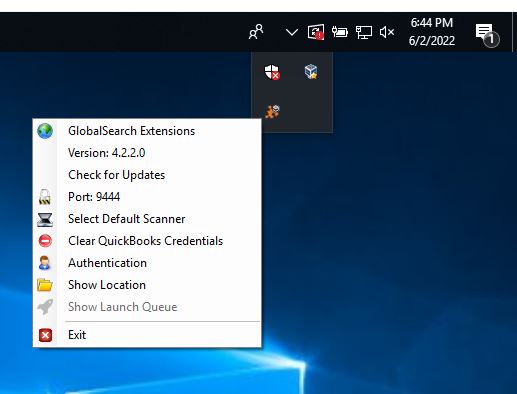
If this menu doesn't automatically pop up. You would need to go to the bottom right of your screen to the extensions puzzle piece. Right click on it and select Authentication.
A newer alternate variation of the login menu for entering your credential may pop up for you after the install of GlobalSearch Extensions. Enter your credentials here.
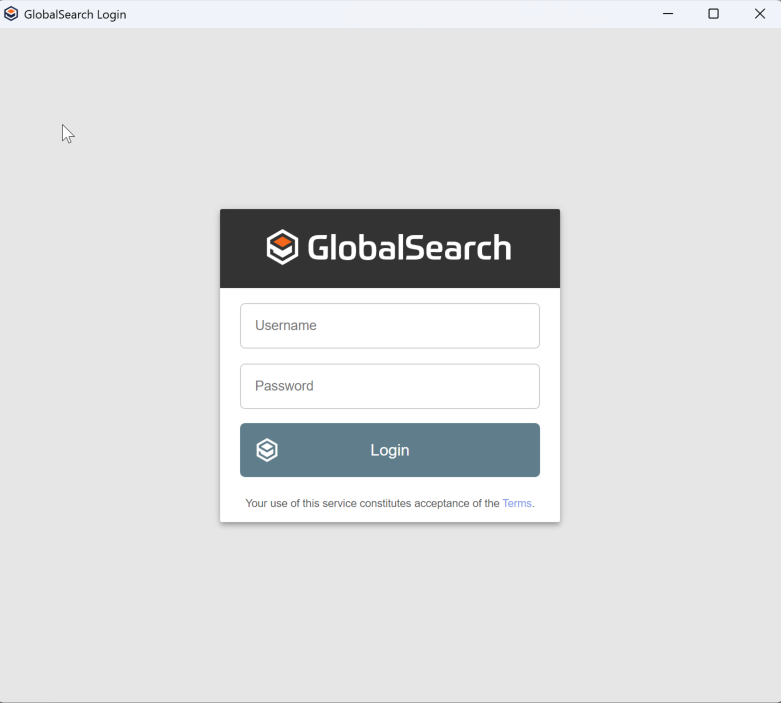
Extensions Login
Next, refresh any open GlobalSearch pages to sync GlobalSearch and GlobalSearch Extensions.
The GlobalSearch Extensions tray application will now be running in the Windows® system tray.

You can now right click the Extensions icon in the GlobalSearch toolbar to view your Extension Options or double click to access the GlobalSearch Extensions Manager and configure any specific extensions.
GlobalCapture Activation
Select GlobalCapture Activation and then select Activate Using GlobalCapture.
A message indicateing you will need to Update GlobalCapture Ports appears.
.png?inst-v=c360de5b-20ec-445f-9550-67f2fa93b20e)
Update GlobalCapture Ports
Navigate back to the Scanner tab in the User Settings of GlobalCapture.
If you see an orange error, there's a good chance we have some potential port conflicts
As in the error above, we can see that both the ports are wrong, and SSL is enabled.
If the ports are incorrect, make the requisite changes, as well as turning SSL on or off as necessary for your environment.
Hit save and refresh the page.
If everything is done correctly, next time the scanner options are opened, you should see this:
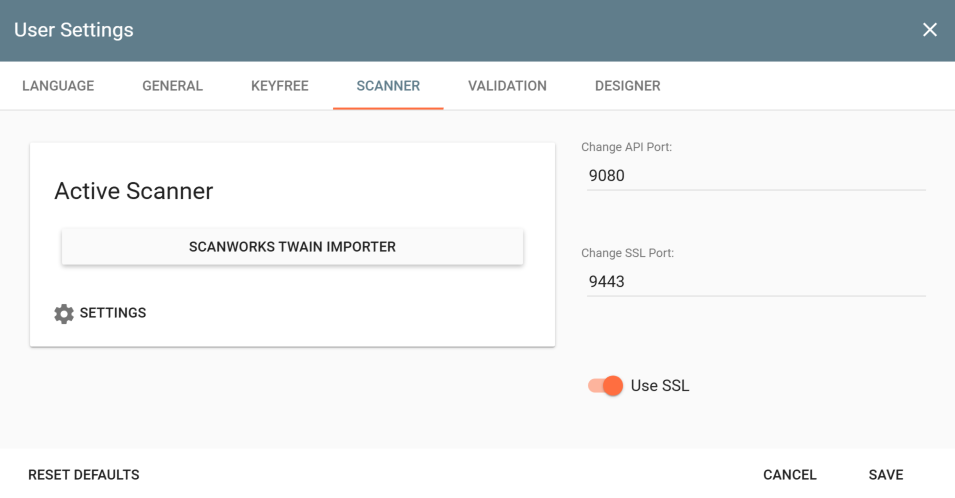
At this point, your scanner should be properly configured to use with GlobalCapture.