Create, Edit, and Delete Workflows
GlobalCapture Designer components can be arranged and connected in a variety of ways, enabling you to create both simple and complex Workflows. The Nodes selected, their order in the Workflow, and the various Node Settings allow for a great deal of design flexibility. Follow this outline for the basics of creating a new workflow.
Create a Workflow
When the GlobalCapture Designer is first opened, it defaults to an empty Design Canvas, ready to begin a new Workflow. You can also select New in the Workflow menu to begin a new Workflow.
Assign an Import Node
Every GlobalCapture Workflow begins with a node to ingest documents. Currently available ingestion nodes are:
Import Node - Import from Email, GlobalForms, and Searches in the Cloud or on Premise. Additionally, import Files or Data and Documents for On Premise.

Import Node
CTS Direct Connect Node - Import Files or Data and Documents from a local folder to GlobalCapture in the Cloud.

CTS DirectConnect
SFTP Import - Import documents from a remote location over a secure channel without a VPN… ……………………………….
SFTP Import
Gmail Import - Import Gmail through OAuth credentials.

Gmail Import
CRON Import - A custom file import node that uses CRON expressions to run scheduled processing.

CRON Import
Drag the desired node onto the Design Canvas.
Configure the node settings.
While Creating, Save and Test Workflows
It is recommended that the Workflow is unpublished and frequently saved while you are designing it. The earliest that an unpublished Workflow can be saved is after placing an Import Node on the Design Canvas.
Configure Workflow Process Fields
Process Fields are created in the Field Catalog and are then assigned to Workflows in the GlobalCapture Designer. Refer to Field and List Management for details. Use Process Fields to store data related to documents, to store system data like page count and date entered, or to store data used to control process state (like how many times an email alert has been sent).
While Process Fields can be created at any time during the design, they must be created before a Set Process Fields Node can use them or before using them in any S9 Notation or Template design.
Create Fields in the Field Catalog. You can quickly add a Process Field by clicking the Workflow Field Catalog button in the Workflow Process Field dialog.
To add Fields to the Process Fields Pane, click the Edit (
 ) icon to open the Workflow Process Field dialog.
Starting with GlobalCapture 3.1, the Import Process Field From only contains GlobalCapture Fields. Workflows that were constructed prior to this will still contain the option to select GlobalCapture Field or GlobalSearch Fields.
Process Fields are labeled “GlobalCapture” in the list while Index Fields are labeled with the name of the relevant GlobalSearch database.
To add Fields, double click the field in the Available Fields list, or drag the field from the Available Fields list to the Added Fields list.
You can reorder the list by simply dragging the Field into a different order in the list. In the Added Fields list, if the Field name is followed by “(Referenced),” it indicates that it is assigned to the current Workflow.
Once Fields have been added and the Workflow Process Fields dialog has been closed, you can not reorder fields without first removing them from the added fields list.
To remove Fields, double click the field in the Add Fields list or drag it back to the Available Fields list.
You can not remove fields marked Referenced. Modify any nodes referencing a field before attempting to remove or reorder.
Click the pencil (
 )icon next to a field to set a default value for that field. The default value will appear beneath the process field name in the dialog and in the Process Field Pane.
This is the value that will populate the field when the workflow starts but can be overwritten by other nodes if needed.
Click Update to save the settings and close the dialog.

Process Field Pane
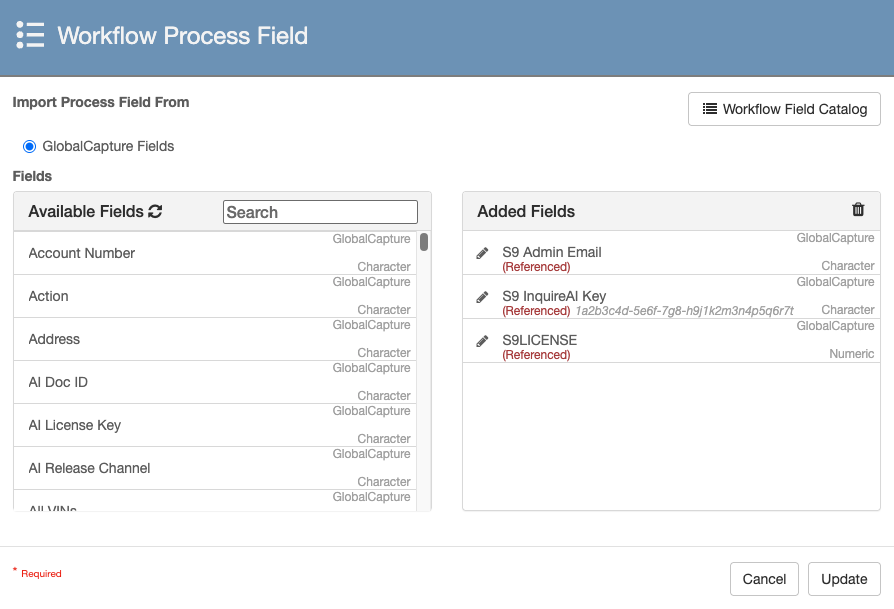
Workflow Process Field Dialog
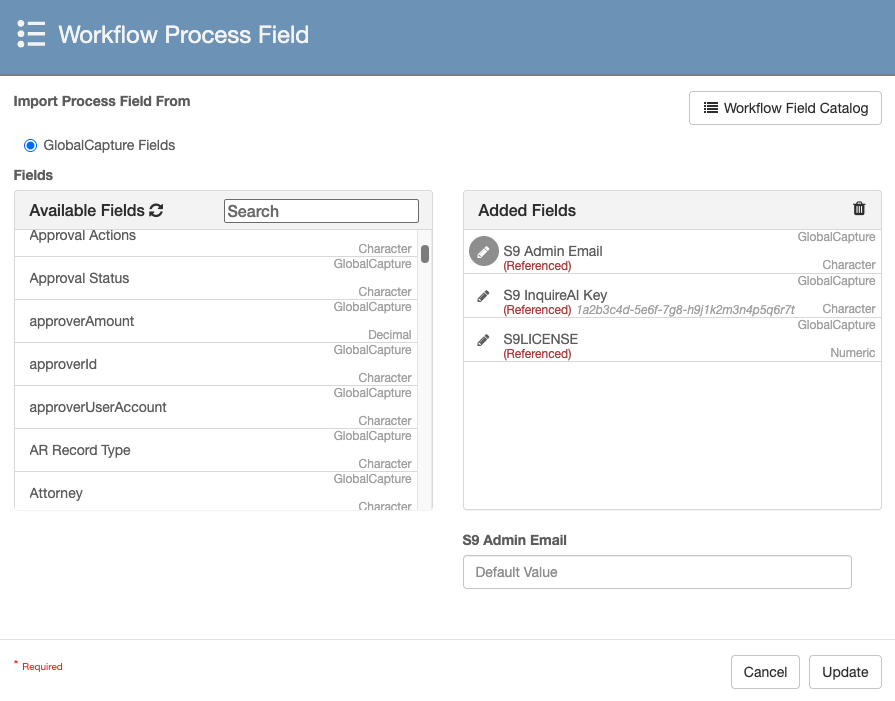
Setting a Default Value
To view the Nodes to which the Field is assigned in the Process Fields Pane, place your mouse pointer over the Field; the border of the Nodes to which it is assigned will be highlighted with a thicker border.
Standard Border
Highlighted Border
To delete a Process Field, select it from the list in the Process Fields Pane. Click the Delete (
 ) icon. If that Process Field has been assigned to a Node in the Workflow, a message will appear indicating that it cannot be deleted, as it is in use. First delete the Process Field from all Nodes and then delete it from the Process Fields Pane.
Add Additional Nodes
As long as there is one Import Node and one End Node in a Workflow, as many or few of the other Nodes as desired can be added the Workflow (at least one Release Node is highly recommended). Nodes can be repositioned, connected, or deleted at any time. There can be multiple numbers of the same Node type in a Workflow, including multiple import paths.
To add another Node, drag it onto the Design Canvas and configure any Node Properties. Nodes have unique settings. See Workflow Node Configuration for details on the GlobalCapture Node settings.
To copy a Node, use standard copy-and-paste keyboard commands.
While you can copy and paste a Group node that contains other node, only the Group node will be copied and pasted. The nodes within the Group node must be copied and pasted individually. They are pasted outside the Group node and can then be added to the Group.
To delete a Node, click to select it and press Delete on your keyboard.
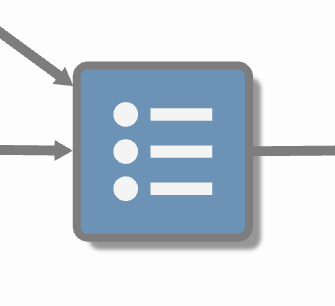
Multiple Nodes
Connect Between Nodes
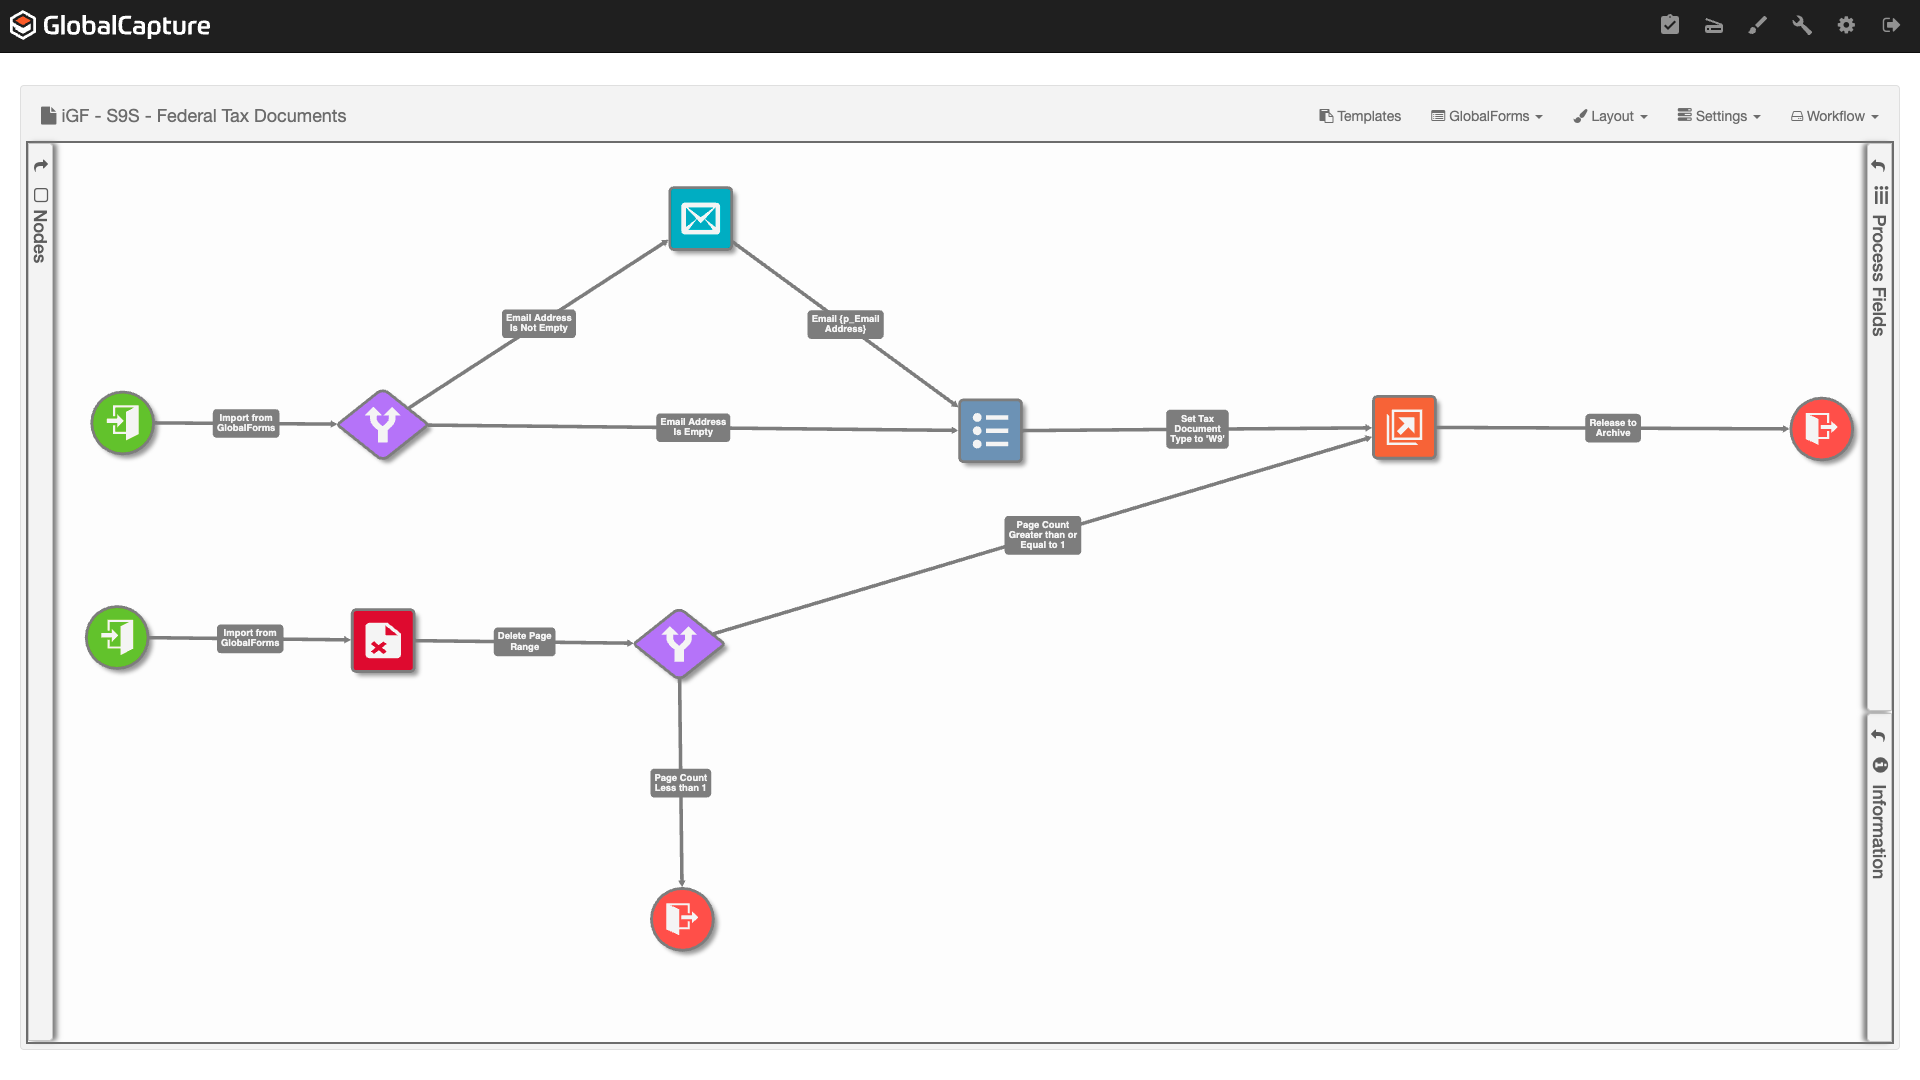
With two or more Nodes on the Design Canvas, the individual actions which the Nodes represent can be joined together with a Connection to form a Workflow. While draft Workflows can be saved in the unpublished state without Connections, to publish a Workflow there must be at least one Connection between the Import Node and the End Node. The arrow indicates the direction of the process from one Node to the other and the Connection label identifies the link.
Add or Delete Connections
To connect two Nodes, place your mouse pointer over the starting Node. When the mouse pointer becomes a selection (  ) icon, drag a Connection line to another Node. To delete a Connection, select it and press the Delete key on your keyboard.
Reshape Connections
Connections can be reshaped to change the visual representation of the Workflow in several ways:
Drag one or both connected Nodes around the Design Canvas. The Connection will change as the Nodes are moved.
Click on one of the Connection grip handles and drag it to a new position, causing the line to bend.
In the Layout menu, in the Formatting group, select Auto Horizontal to line up the Connections horizontally, or Auto Vertical to line them up vertically.
Save Before Modifying Layout
Auto styling with the Layout menu is a good way to simplify and standardize basic workflows. For more complex workflows, it's best practice to manually arrange your workflow in a manner that logically groups areas of the workflow together. If you modify the Layout, there is no undo feature. If you don't like the result, you will need to revert to the last saved version of the workflow.
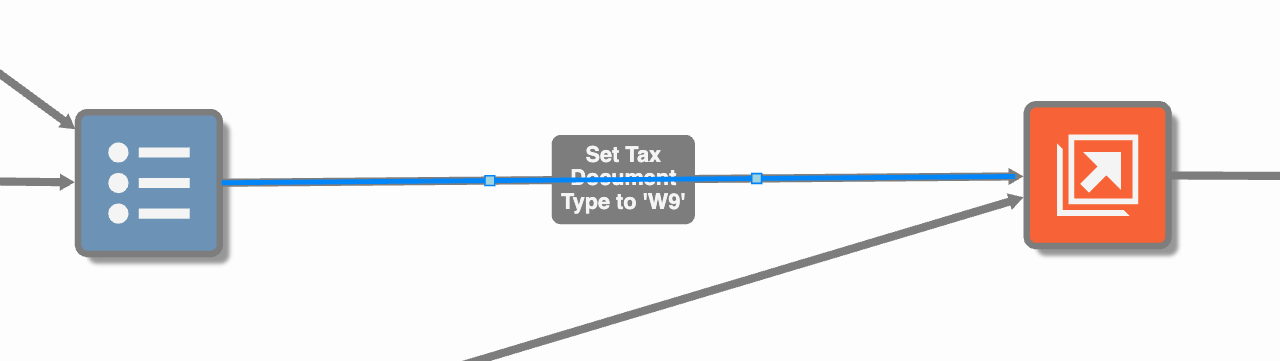
Straight Connection
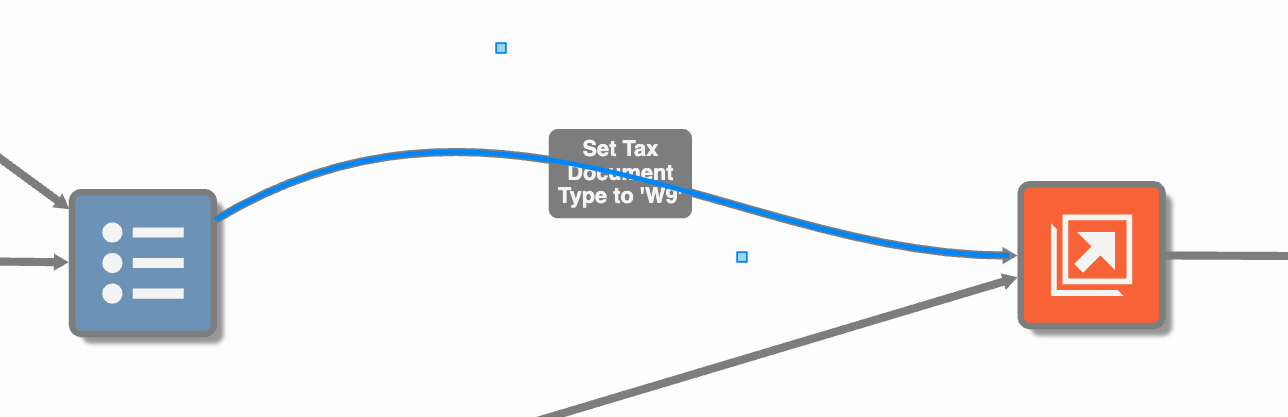
Curved Connection
Assign End Nodes
A GlobalCapture Workflow requires at least one End Node and can contain multiple End Nodes. Whether you connect one or more Nodes to a single End Node or use multiple End Nodes, the process will be the same. For convenience when designing complex Workflows, it may be helpful to place End nodes in multiple places on the Design Canvas where the workflow logically stops.
Drag an End Node onto the Design Canvas.
Drag a Connection from the second-to-last Node to the End Node.

End Node
Edit Nodes
To view or edit Node settings, double-click on a Node icon or click the Edit ( ) icon in the Information Pane.
To move a Node on the Design Canvas, hover over its graphic icon. When the icon graphic switches to text, and the mouse pointer becomes a Move ( .png?inst-v=f31e7c6e-4e64-46e5-9d75-4d40277574a4) ) icon, drag the Node into a new position.
) icon, drag the Node into a new position.

Release Node

Release Node Ready to Move
Save a Workflow
A Workflow cannot be saved and left unpublished as a draft without at least one Node placed on the Design Canvas. A Workflow cannot be published without a single Import Node at the beginning and one or more End Nodes at the end, connected together. A Workflow can have as many other Nodes between the start and the finish of the design as you need. GlobalCapture 2.3 and greater support multiple import nodes on a single workflow. Note that each import node does require a license for both GlobalAction and GlobalForms workflows.
Beginning in GlobalCapture 3.0, saving a workflow requires selection of a process portal. Process Portals can be used to segregate documents in process in a number of ways, but for customers with basic needs, a single portal for all processes is appropriate. The Process Portal field is required when saving workflows. For customers upgrading to GlobalCapture 3.0, a single portal is created automatically and existing workflows are assigned to it. All processes for a workflow will be available in the Process Portal assigned to the workflow. Ensure you have searches created that display processes for the targeted portal, at minimum for administration purposes. In GlobalCapture version 3.0, a Search may only be assigned to one portal.
To save a Workflow, in the Workflow menu, in the Current group, select Save.
The Save Workflow dialog appears when creating a new Workflow. Enter a title and description for the Workflow.
It is a good idea to give some indication in the name if the Workflow imports from GlobalForms. This makes it easier to find them in the Batch Manager. If you begin them with "GF," for example, users can quickly sort and find documents imported from web forms using the Workflow column in the Batches Pane.
If on version 3.0 or greater:
Select a Process Portal.
Optionally, select an OCR Extraction Profile to apply a custom profile to the workflow.
Optionally, enable Published Workflow to activate the Workflow.
Select an Engine. If multiple engines are available, you can select one or more engines to process documents in the workflow.
Click Save. After the “Workflow Saved” message appears, you may proceed.
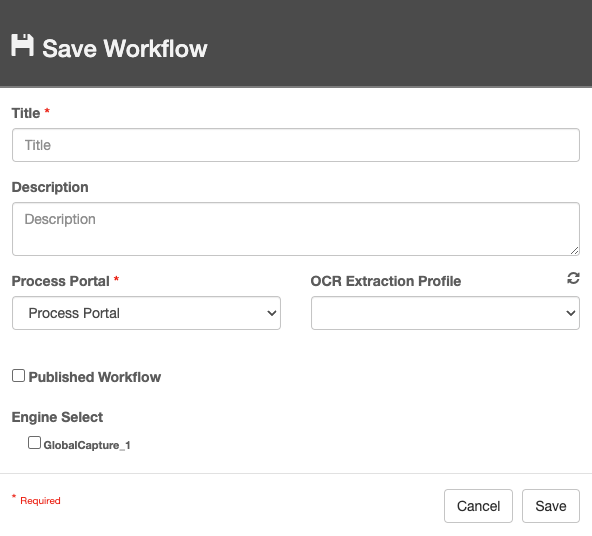
Save Workflow Dialog
Plan Your Workflow Designs
Hitting the browser Back button will erase any design work not previously saved. As with any application, it is a good idea to click the Save button often while designing a Workflow.
Build Workflows for Less Than Ideal Conditions. There can be variety in documents, whether it is a new vendor invoice form or a scanning a wrinkled or dirty page. Build Workflows “robust” enough to allow for errors in the automated process. That way, if a document errors out of a Workflow, a user can manually correct the issue in the Validation Station. Configure (and name) Nodes to make it easier for users to place documents back into a Workflow for a “do over.”
Always Create End Conditions. Exercise care to ensure that you have created a suitable end condition for every action in the process to complete the Workflow and release the document from its control. It is possible to create a Workflow which traps a document in an infinite loop, requiring that it be manually removed from the Workflow process via Batch Manager.
Group and Connect as You Design. Create Group Nodes and Connections as you go, especially when designing a complex Workflow with multiple pathways.
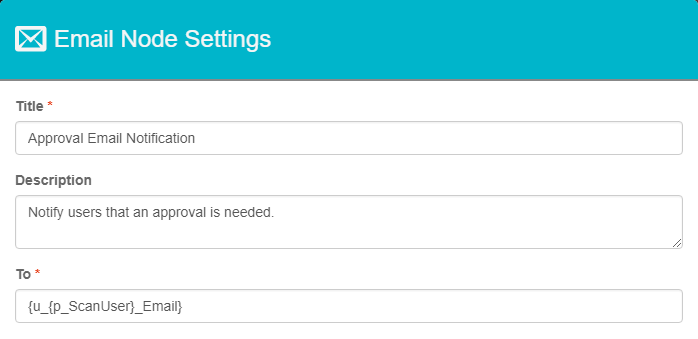
Use S9 Notations to reduce the number of Nodes. For example, you do not need to create a different Email or Validation Node for each Workflow user. Instead, use the {u_Username_mobile} and {u_Username_email} S9 Notations to dynamically capture user mobile phone numbers and email addresses. (Replace "Username" appropriately. Note that these are not case sensitive.)
You can use a Process Field to extract usernames and then use it in the S9 Notation combination {u_{p_ScanUser}_email} to dynamically address emails that alert users of documents awaiting approval.
Publish a Workflow
Once the Workflow design is complete, click the Unpublished button under Settings → Workflow Publication to toggle the Workflow state to Published. Save your workflow.

Publish Settings
Copy a Workflow
To copy an existing Workflow, in the Workflow menu, in the Current group, select Save As.
It is a good idea to change the Import Node source path in your new Workflow. Conflicts may arise when two identical Workflows compete for the same document from the same capture location.In the Save Workflow dialog, enter a title and description for the Workflow.
Click Save.
Open an Existing Workflow
Workflows can be opened by navigating to the GlobalCapture designer or by adding the workflow ID as a query parameter to the URL.
Opening form the GlobalCapture Designer
From the GlobalCapture Design interface, select Open in the Workflow menu.
From the Open Workflow dialog that appears, select the Workflow from the list (listed alphabetically) or use the filter to narrow down the list of workflows.
With the workflow selected, click Open.
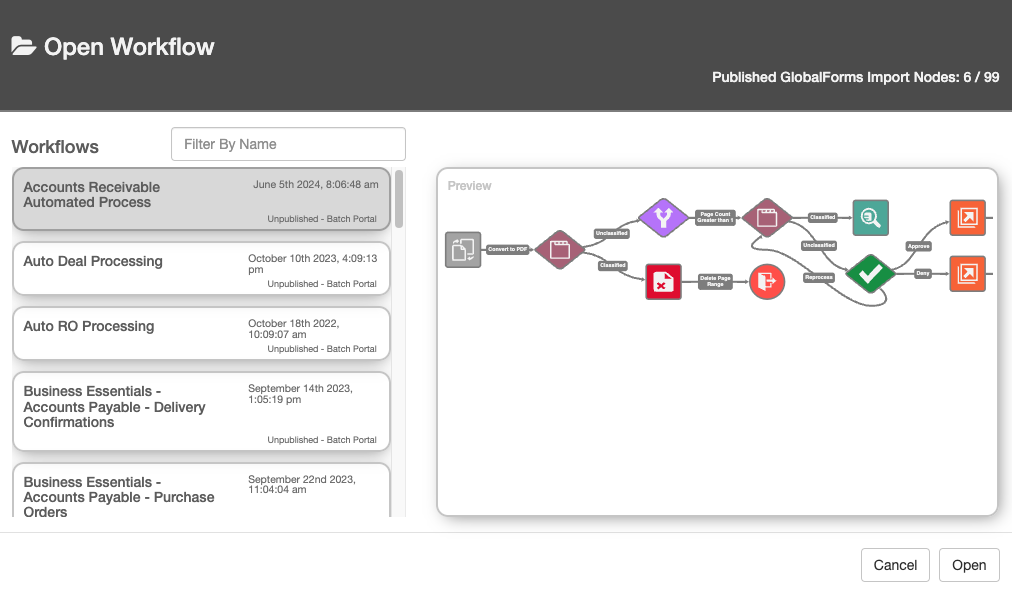
Open Workflow Dialog
Opening a Workflow by ID
The GlobalCapture workflow designer now supports opening a workflow by ID, provided as a query parameter. Administrators can bookmark commonly used workflows and navigate directly to the workflow without first opening the designer and then opening the workflow selection dialog and choosing a workflow.
Navigate to your GlobalCapture instance’s base web address, and target: /index.html#/design?workflowId=<YOURWORKFLOWID>
GlobalCapture Cloud Target: myinstancename.mysquare9.com/square9captureweb
GlobalCapture On Premise Target: ServerNameOrAddress/square9captureweb
If you have a workflow open, you may bookmark the URL in your browser.
You might also consider:
Including links to workflows in email notifications requesting capture admins make some type of workflow modification, like template adjustment or selection.
Including links to workflows when error conditions are met, to navigate admins directly to the workflow of interest.
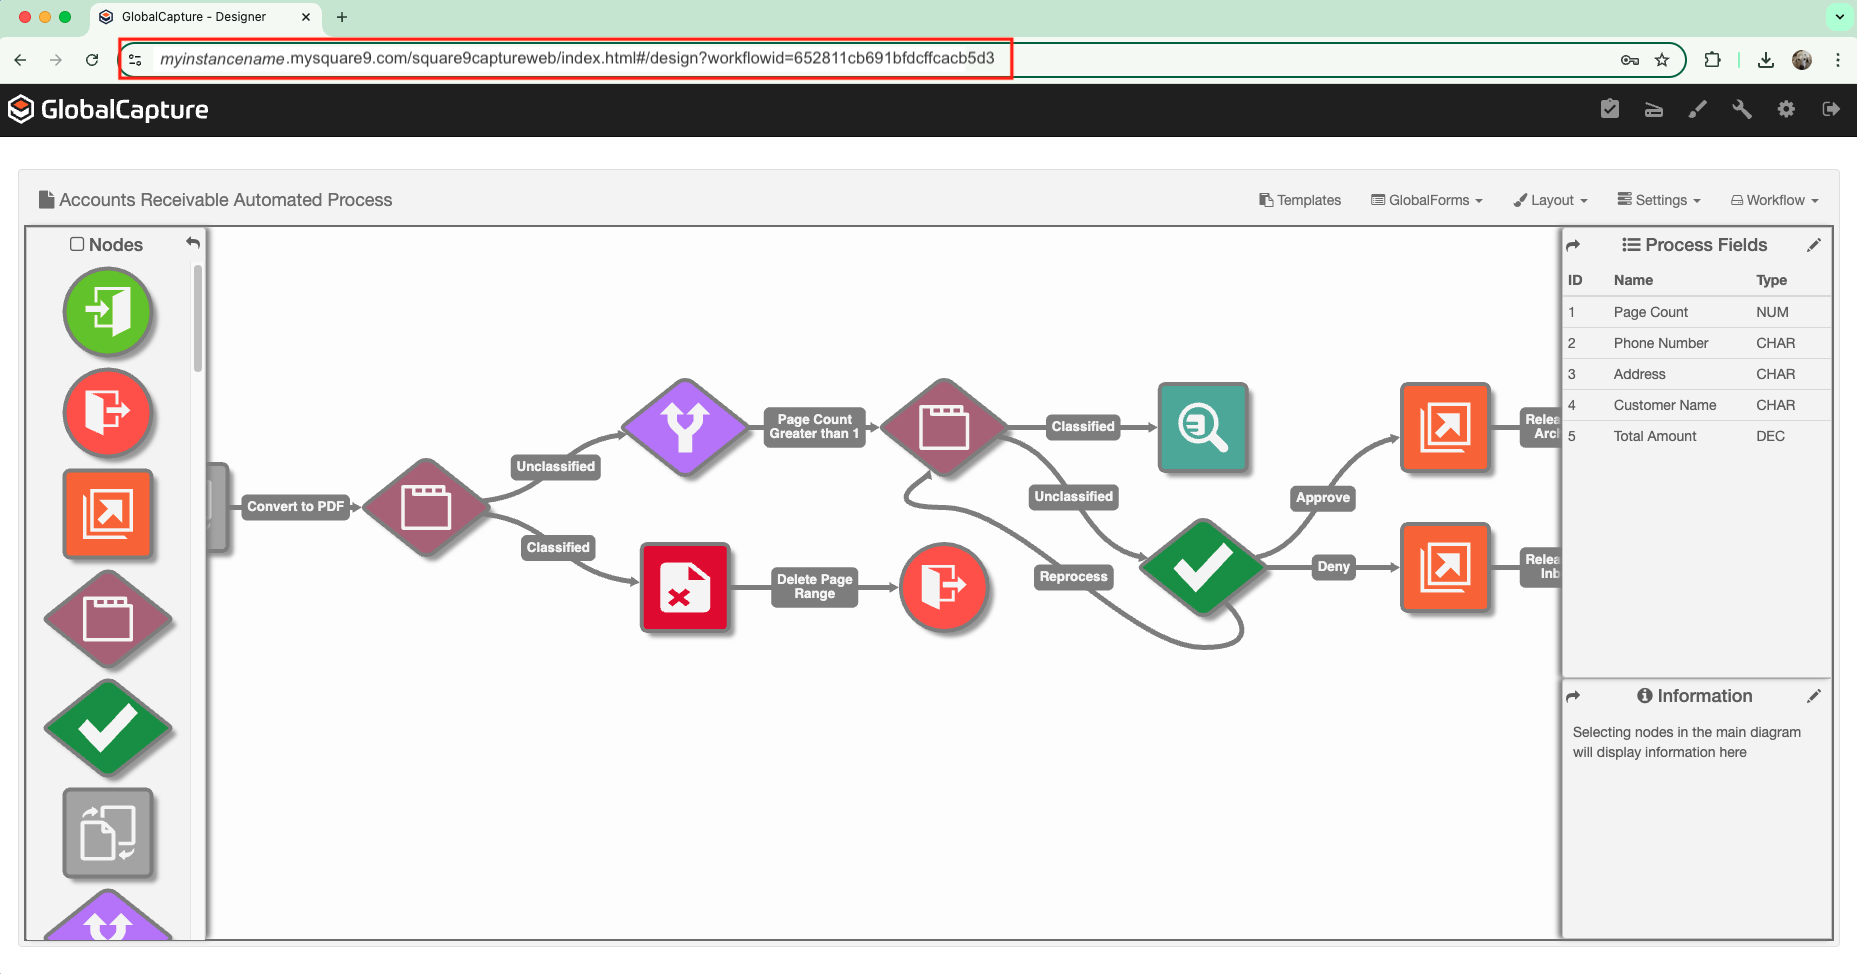
URL with Workflow ID
Delete a Workflow
To delete a Workflow, select Delete in the Workflow menu.
In the Delete Workflow dialog that appears, select the Workflow and click Delete.
Unpublish and Then Delete
When deleting a Workflow that has been published, first unpublish it to halt any new documents from entering the Workflow, and check Batch Manager to confirm that any remaining documents have been processed through. Then delete the Workflow. Otherwise, batch errors may occur and existing in process documents will not complete.
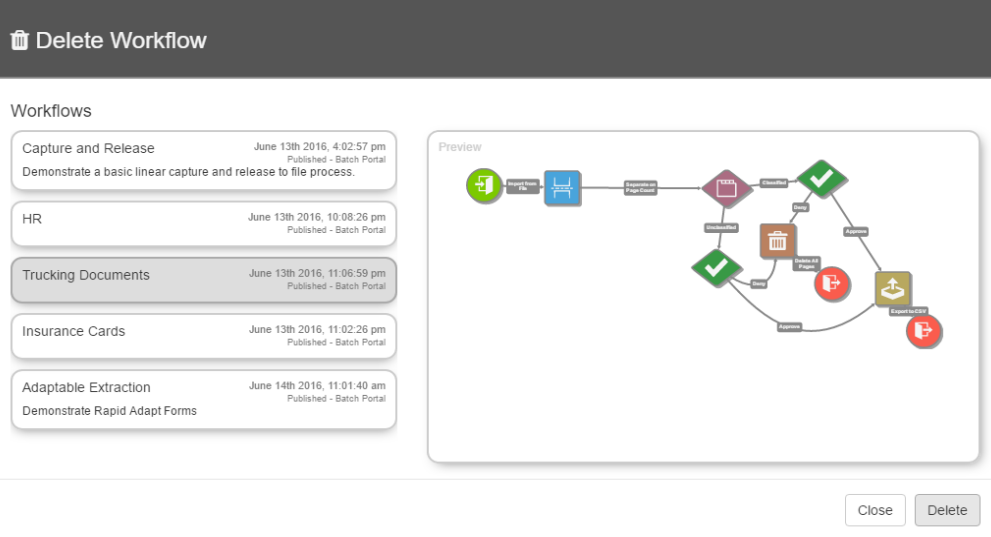
Delete Workflow Dialog