Installing and Configuring DirectConnect
DirectConnect is a light weight utility designed to be extremely easy to deploy. Download the setup file and run it to automatically install the tool and begin the configuration. You may deploy DirectConnect to as many servers or workstations as necessary, and no user or server licensing is ever consumed by the application. Refer to the DirectConnect Usage documentation for more information on how and why to setup DirectConnect in various configurations.
- Double click the downloaded setup file: InstallDirectConnect.exe. The application will prompt for an installation location, defaulting to C:\GSMedia\DirectConnect. Once all files are extracted, the setup wizard will automatically start.
- On the Application Configuration screen, provide the URL to your GlobalSearch system and the Starting Folder for directories to be mirrored. For C2 Users, the URL will be the fully qualified domain name of your C2 tenant (https://instancename.mysquare9.com).
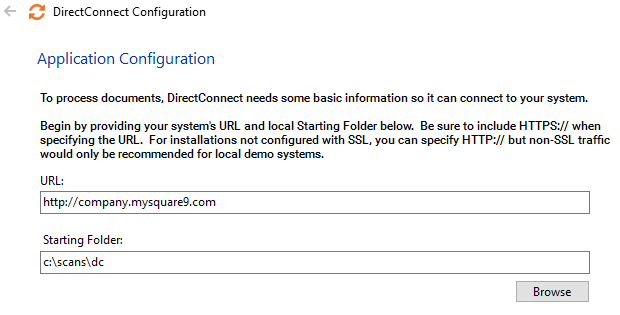
The starting folders can be anywhere, but it's important to remember a few key points:- The starting folder should be on a local hard drive, not a network drive.
- If scanning from a networked device, you will need to share the starting folder. Sharing a folder in Windows is different depending on the version you are using. Contact your network administrator if you need help with this task.
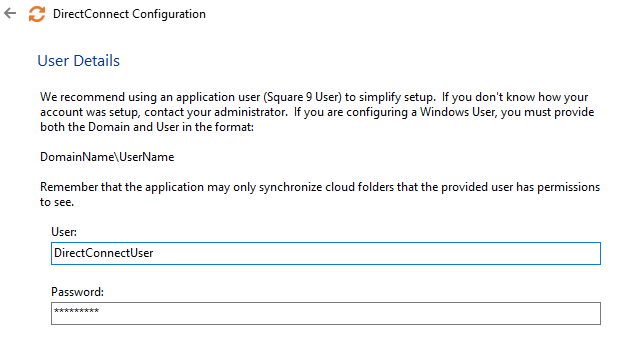
- On the User Details screen, provide the user name and password to access your GlobalSearch system. For server environments, it usually makes sense to setup user a account specifically for managing DirectConnect imports. This user would typically have Add permissions to any Archives targeted for scanning. For desktop installations, you may want to provision DirectConnect with credentials for the local user. The user provided here is the user that is tracked in the Audit History for any document imported with DirectConnect.
- On the Service Setup screen, set the Import Frequency and check the Run as service checkbox. Import Frequency, specified in minutes, tells DirectConnect how often scan folders will be checked for new files. The default setting is 5 minutes, but can be adjusted anywhere between 1 and 1000 minutes.
While setting DirectConnect to run as a service (by checking the Run as service option) is not required, it is highly recommended. When enabled, the setup utility will install the DirectConnect Service and it will be identified in Windows Services as "DirectConnect Import Engine". The service is set to automatically start, and will be started for you on completion of the setup. The service may be stopped at any time and DirectConnect can be run directly by double clicking DirectConnectService.exe. Running DirectConnect as an application rather than a service can assist in troubleshooting various issues that might arise in your environment as verbose messaging is display from the application while it's running.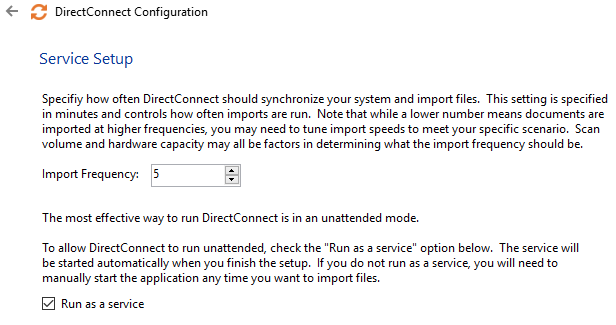
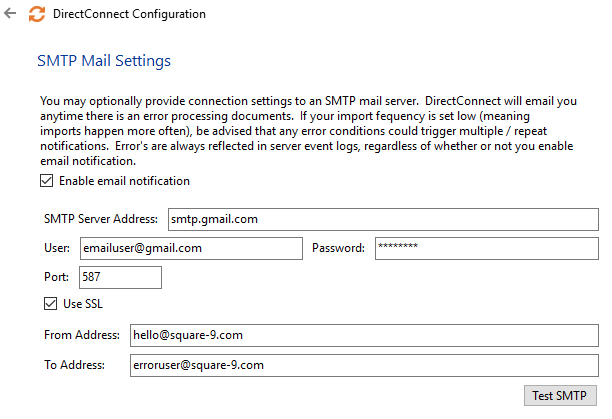
- DirectConnect can optionally send email notifications if there is ever a problem detected with an import. To enable email notifications, use the SMTP mail settings screen to provide necessary details to connect to an SMTP mail server. Be sure to use the Test SMTP button if you are setting up email. Incorrect settings or account credentials will prevent successful email sending.
When all settings have been provided, click the Finish button to commit your changes to the application. If you checked Run as service in step 4, the service is installed and automatically started. If you did not, DirectConnect will be started in application mode automatically.