CTS DirectConnect (Legacy)
Overview
CTS DirectConnect allows you to connect network based scanners to your cloud instance of GlobalCapture CTS. This allows you to scan to GlobalCapture from network based scanners as if the server exists on your network.
Preparation
Prior to installing CTS DirectConnect, you should verify you have the following:
If you are installing this on a non-cloud based demo machine, your version of GlobalCapture must be 2.3.110 or greater.
A privileged user and password to authenticate to GlobalCapture CTS. This user should have a scan license. For more information on licensing in GlobalCapture, refer to our knowledge base article, “License Management”
The URL of your GlobalCapture CTS instance, for any cloud based customer, that may look like: capture-mycompany.mysquare9.com.
An internet connected workstation capable of running CTS DirectConnect, see our hardware requirements for more information.
Media and Installation
CTS DirectConnect can be downloaded from our knowledge base here.

Download and Unzip the contents of the package and run the MSI found in the application.
If prompted by the Windows protected your PC popup, select More Info and Run Anyway.
When the installer runs, select Next to start the installation wizard.
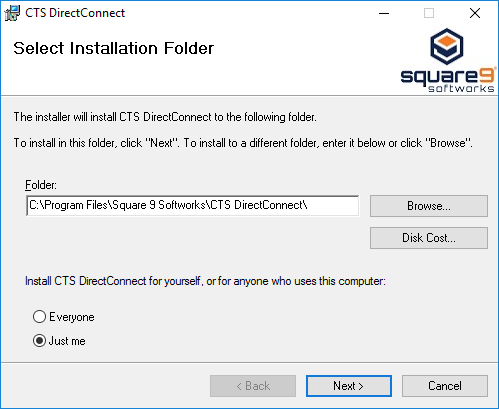
When the installer opens, verify the installation path and install options and select Next.
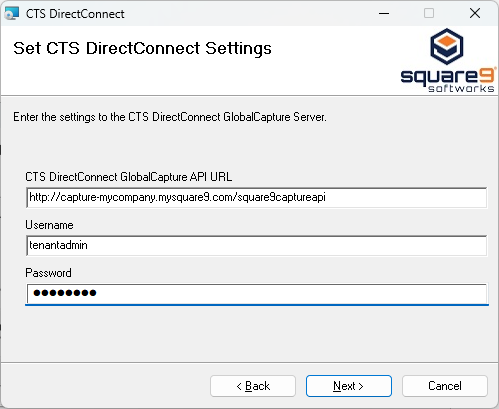
Enter the URL to your GlobalCapture instance, username, and password. Select Next.
This user can be your “TenantAdmin” user provided or another purpose created user.
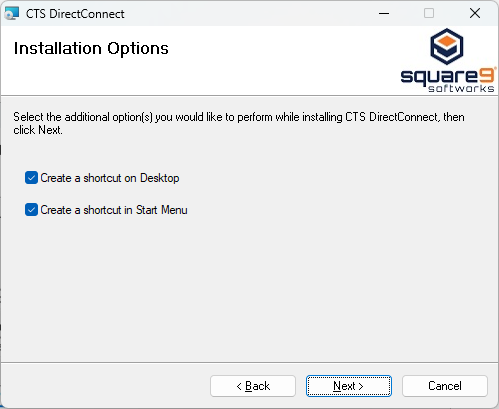
Choose to create a shortcut in the Desktop or Start Menu and select Next and Next again to start the installation.
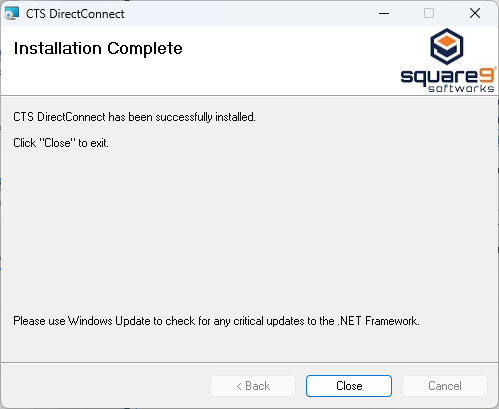
Click Close to exit the installer.
CTS DirectConnect Node
The CTS DirectConnect node will automatically be added to your instance of GlobalCapture in the nodes pane.

CTS DirectConnect Node
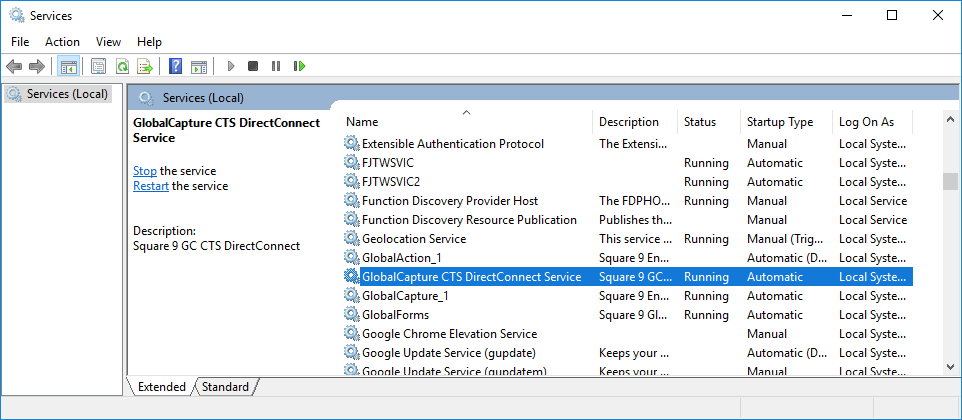
Service Management
Once installed, a new Windows Service for GlobalCapture CTS DirectConnect will be available and should be set to start automatically. You will see it in the services panel called: GlobalCapture CTS DirectConnect Service. This should be set automatically during the installation.
How to access DirectConnect?
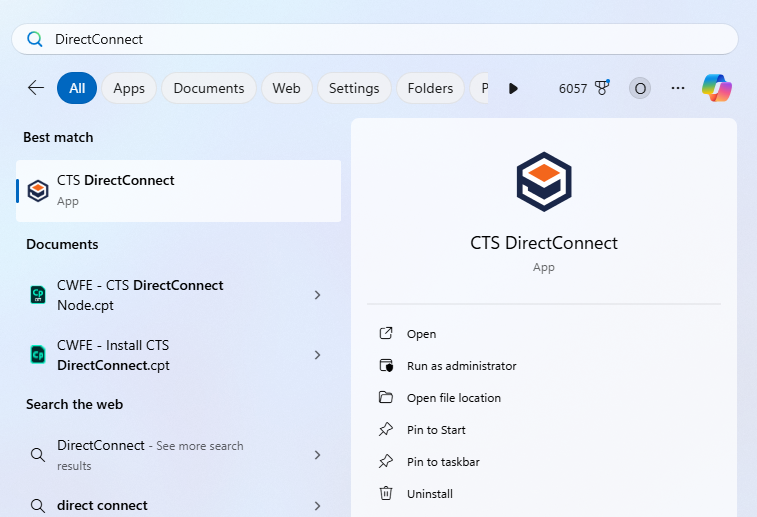
To configure pickup locations, open CTS DirectConnect. This can be a desktop shortcut, or part of your Start Menu options.
If you don’t see either option, use the Windows Search bar to find the application instead.
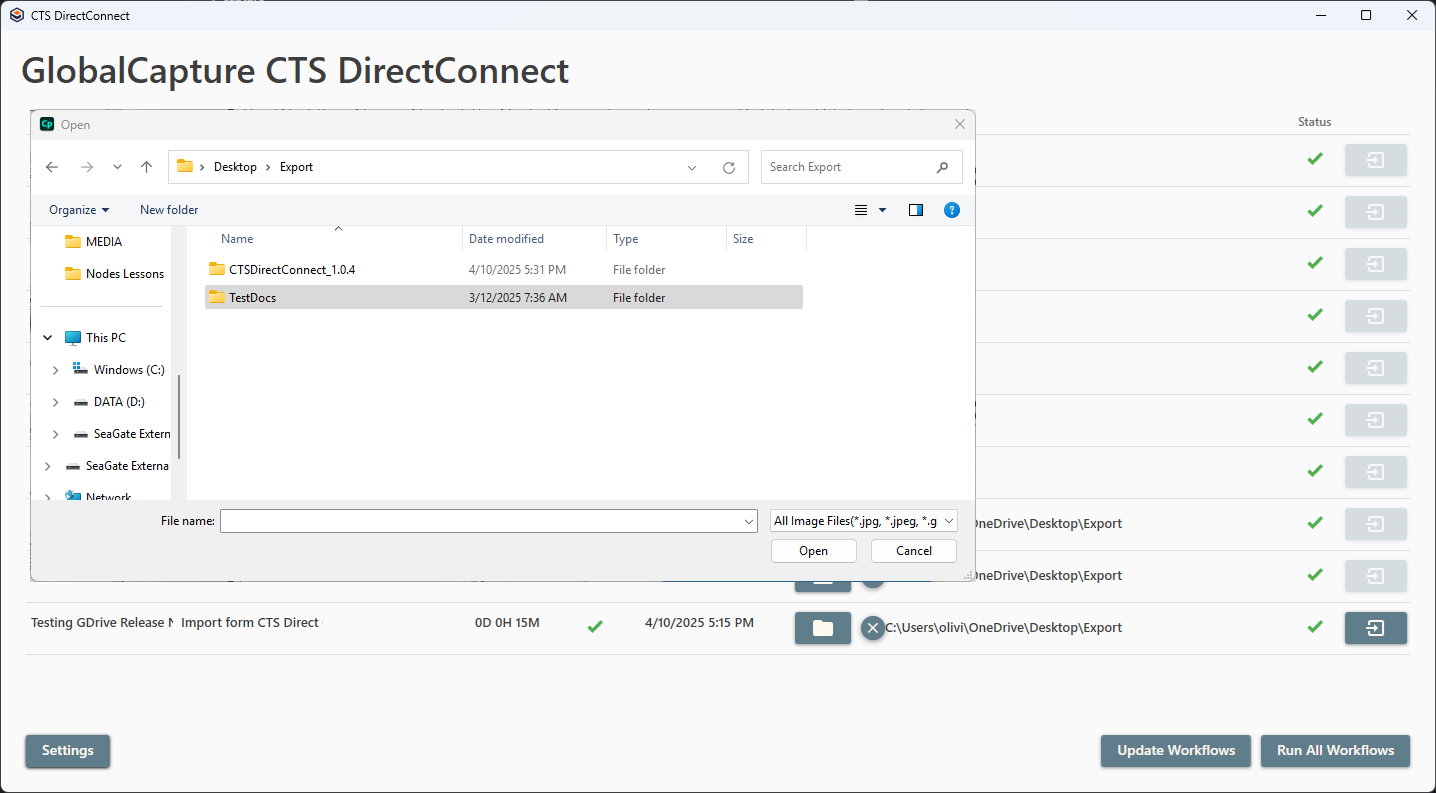
CTS DirectConnect Settings
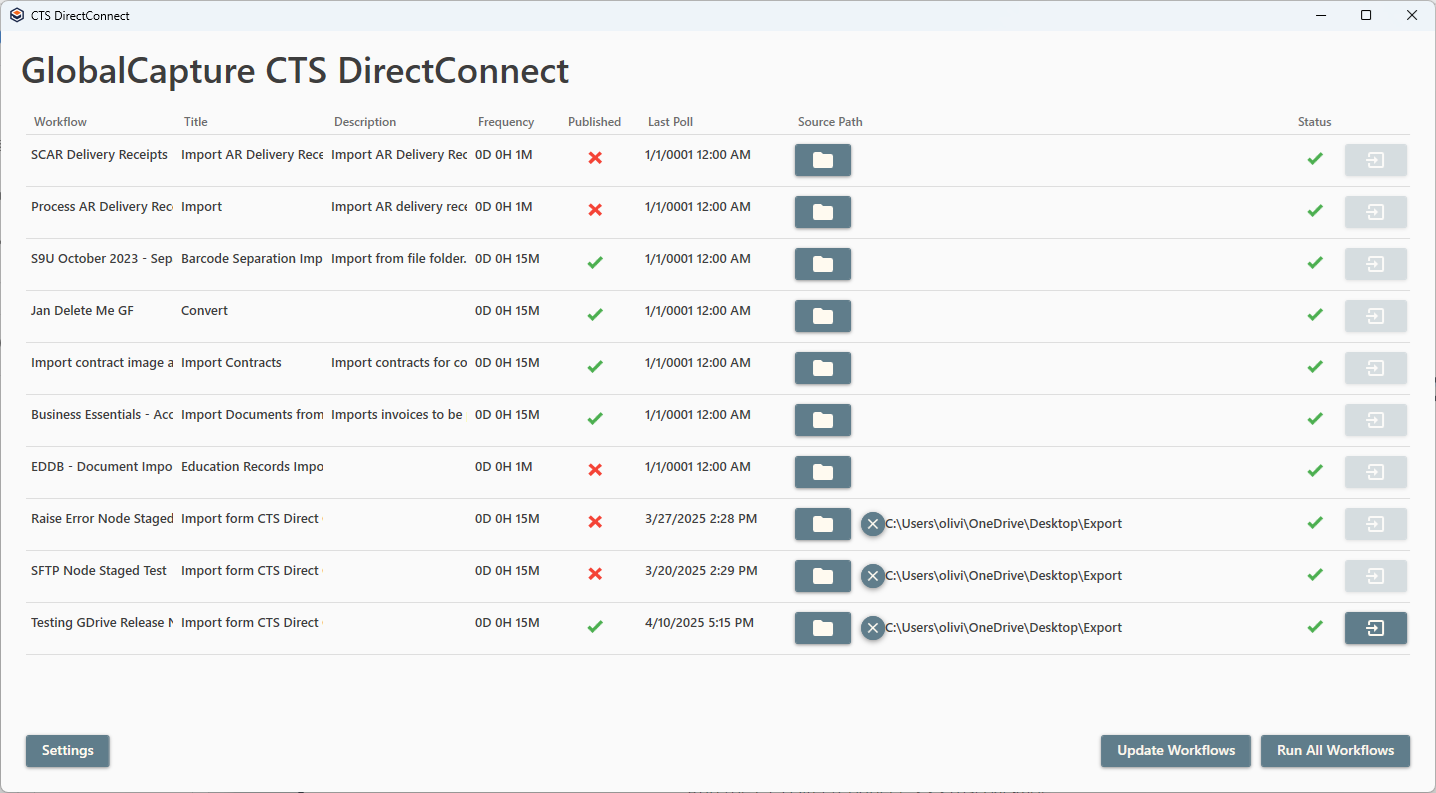
The Workflow Name, Node Title, Node Description, Frequency, Published Status, Last Poll time it was run, Source Path, and Status are displayed.
Any workflow that contains the CTS DirectConnect node will appear in the list.
Buttons
To remove the pickup location, click the X icon.
To execute the workflow immediately, click the Run Workflow icon next to the workflow. This will update the Last Poll time and restart the frequency counter.
To manually check for new workflows, click Update Workflows. This is located in the bottom right corner of CTS DirectConnect.
To manually execute all published workflows with a pickup location, click Run All Workflows. This is located in the bottom right corner of CTS DirectConnect.
Assigning a Pickup Location
To assign a pickup location, click the Source Path next to the workflow of interest. This is indicated by a Folder icon.
Select the desired pickup location and click Select Folder.
Settings
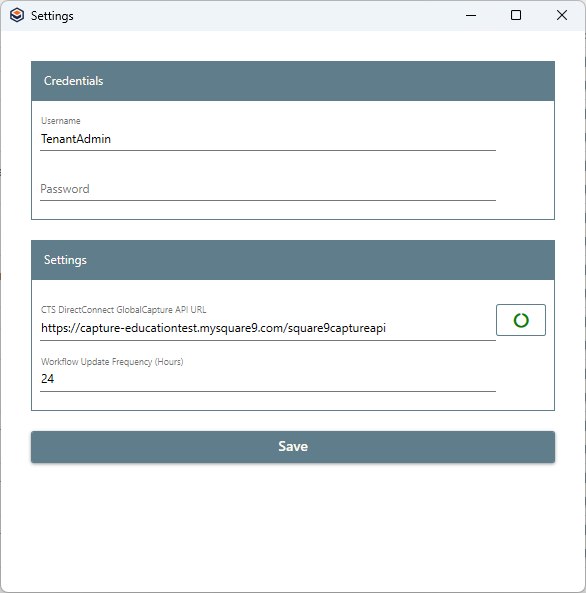
To modify the Credentials of the user account being used by CTS DirectConnect, the GlobalCapture API URL, or the automated Workflow Update, click Settings. The settings button is in the lower left corner of CTS DirectConnect.
Make any needed changes, then click save.