Install Additional GlobalCapture Engine or GlobalAction Engine Instances
You can stand up additional GlobalCapture Engine instances for GlobalCapture per machine which is running GlobalCapture. Once installation is complete, you will see the additional Engine listed in the GlobalCapture License Management interface.
Return to the location of your installation media, navigate to the
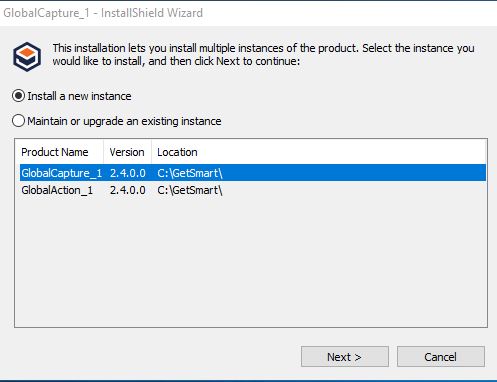
GlobalCaptureEngineStandaloneInstallerdirectory, expand this directory, right-click onsetup.exeand select Run as Administrator.Select Install a new instance and click Next to start the next GlobalCapture Engine installation process.
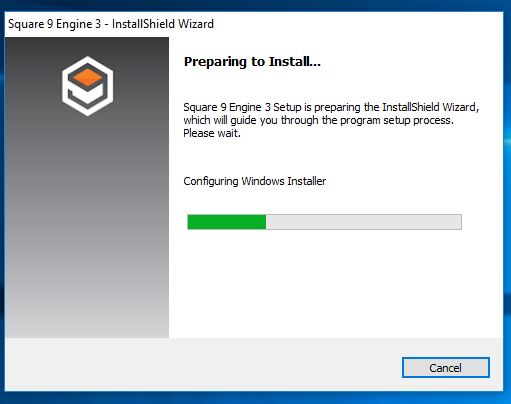
After a pause while the installation is processing, the Installation Wizard will appear. Additional GlobalCapture Engine instances are installed in a similar manner to the initial GlobalCapture Engine.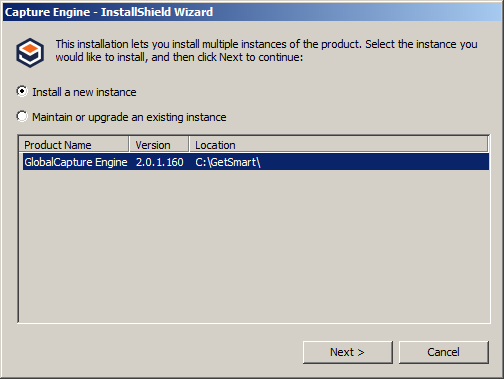
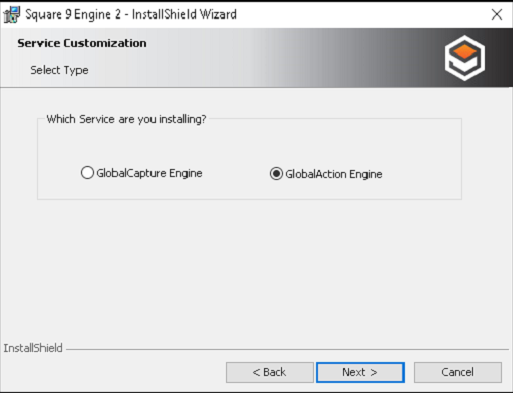
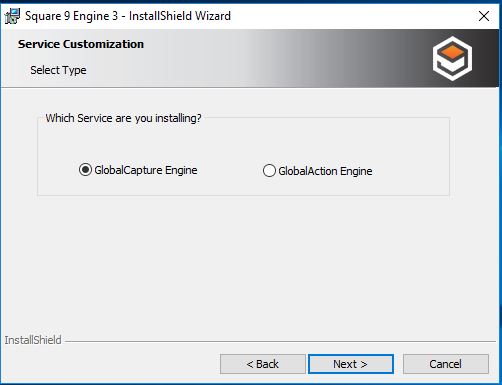
The install new instance section will also allow you to install a second GlobalAction Engine. It doesn’t allow to select it on the first screen but will be a toggle option in a few screens.
To begin the installation, in Welcome to the InstallShield Wizard for GlobalCapture Engine 2, click Next to proceed to the next window.
In Customer Information, enter a user name, organization, and your license number provided by Square 9. Click Next to continue the installation. If no serial number is entered, a reminder message will appear. Click OK to proceed.
(Legacy section.)In Database Server, enter the database server that you are installing to. Do this by clicking the expansion arrow and select from a list of the SQL Server instances available to you or clicking the Browse button and browse to a SQL Server instance. Select Windows Authentication credentials of current user to use the login credentials of the currently logged in user to create databases in the specified SQL instance. Select Server authentication using the Login ID and password below to enter the System Administrator (SA) user credentials. Click Next.
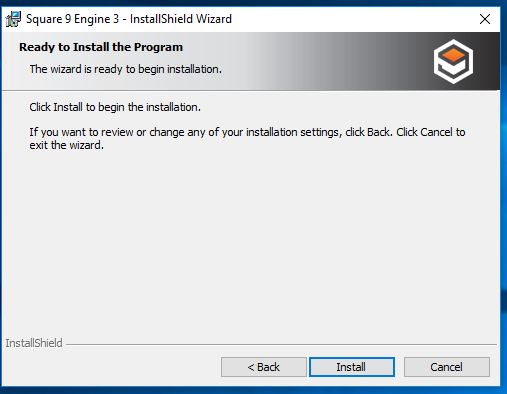
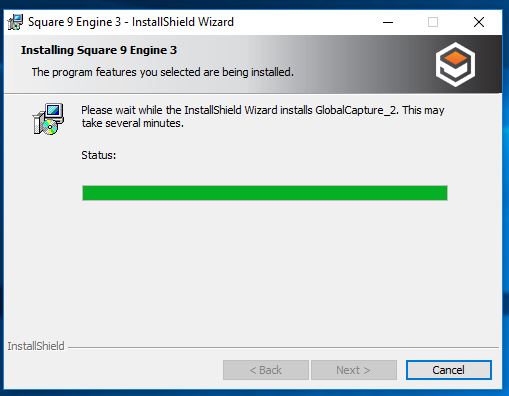
Once preparation is done, in Ready to Install the Program, click Install. There will be a pause while the installation is processing.
To view and save a log of actions and times related to the installation for future reference:
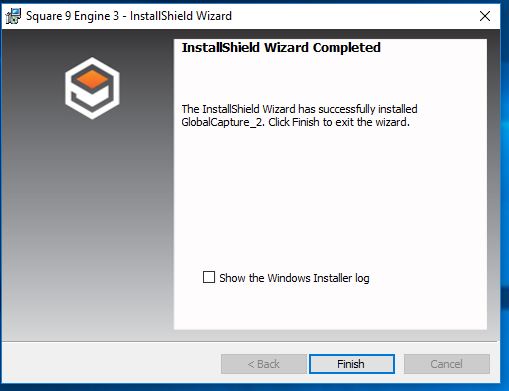
In InstallShield Wizard Completed, enable Show the Windows Installer log.
In Notepad, do a Save As to save your log and then close Notepad. Saving a log is recommended. When you are done, you will be returned to the installer.
In InstallShield Wizard Completed, click Finish.
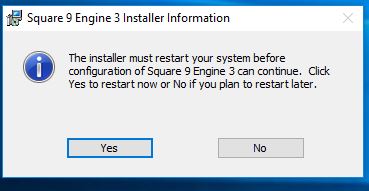
In GlobalCapture Installer Information, at the prompt, click Yes to reboot the server, so that GlobalCapture is operational or choose No to manually reboot later.
Once installation is complete, you will see the additional Engines listed in the GlobalCapture License Management interface.
Installation in Pictures
Installing Additional GlobalCapture Engine Instances on a Separate Machine
You can install GlobalCapture Engine instances on a separate server from where your GlobalCapture Server is installed. After following the steps above for installing an additional Engine instance, there are a few more modifications to make on the engine side to connect it back to the main GlobalCapture server
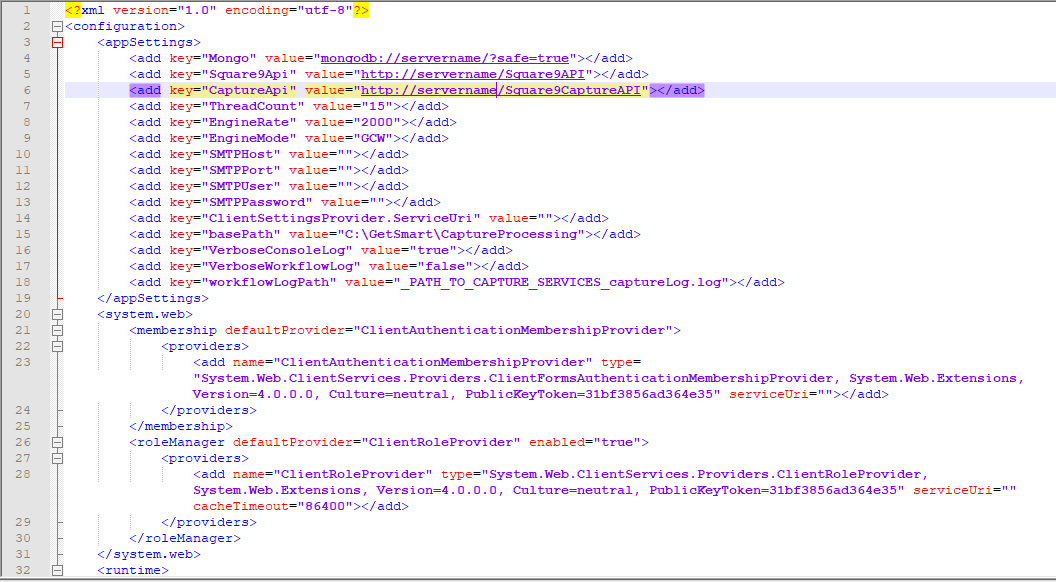
Once it is installed, browse to X:\GetSmart\CaptureServices\GlobalCapture_1 (or whatever number was assigned to the engine at time of install), and locate the GlobalCapture.exe.config file and edit that file in a text editor.
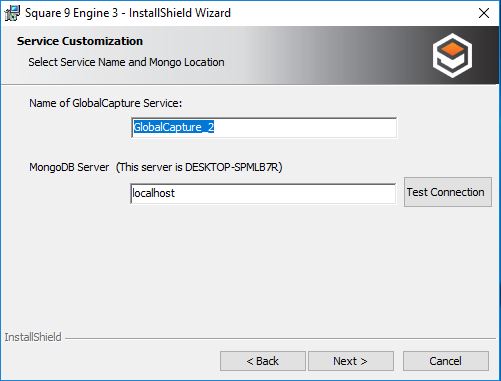
Under the <appSettings> section, edit the <add key="Mongo" value to be the value of the GlobalCapture Server. It should read something like this: <add key="Mongo" value="mongodb://SERVERNAME/?safe=true"></add>, with SERVERNAME being the name or ip of the primary globalcapture server
Edit the keys for Square9API and Square9CaptureAPI to point back to the primary GlobalCapture Server. It should read something like this: <add key="Square9Api" value="http://SERVERNAME:PORT/Square9API"></add>
When deploying multiple engines on different servers, the Engine's basePath key must reference a shared path. All engines must be configured with a common shared path between the servers, typically in the form `\\servername\sharename`
In that same folder, create a file called mongo.xml and set it to this value (with SERVERNAME being the name of the GC Server):
<mongo.settings>
<urlvalue>mongodb://SERVERNAME/</urlvalue>
</mongo.settings>
5. In the GlobalCapture Manager, under licensing, allocate a core license accordingly for this new engine