Group Node
This node applies to GlobalCapture only.
In the same way you might gather files into a folder, you can use Group Nodes to gather Nodes and Connections that are part of your Workflow. Drag a portion of the Workflow into a Group Node and then move it around the Design Canvas as a single Node. You can collapse the Node to the size of a regular Node or expand it to see all of the Nodes within it. Grouping together Nodes does not affect the Workflow process, but it can greatly simplify the Design Canvas when you are working on complex Workflows.

Group Node
You can create as many Group Nodes as you need and put as many Nodes in them as you wish, but a Group Node cannot be nested in another Group Node.
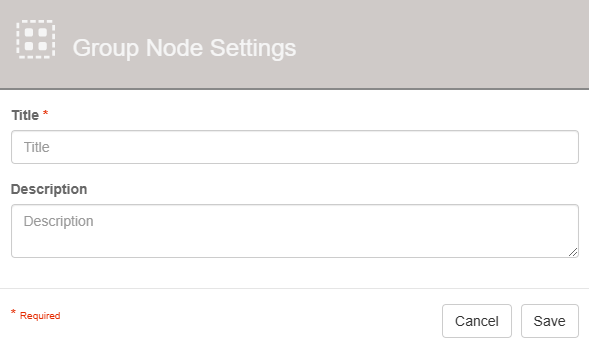
Group Node Properties
Node Properties
Title
Add a title for this node. Titles are useful when reading the history in the history of a workflow for easier understanding of the overall process.
Description
Provide a synopsis of what this node is doing, or make note of any important details. This is useful for providing additional information such as workflow details and use case information. A good description is helpful when returning to modify the workflow in the future.
Use Cases
Group related parts of a process together such as an error handling step, each level of a multi step approval process, the segment of your workflow where templates are applied, etc.
Error Handling - Group your error handling process together to keep it visually separated from the workflow.
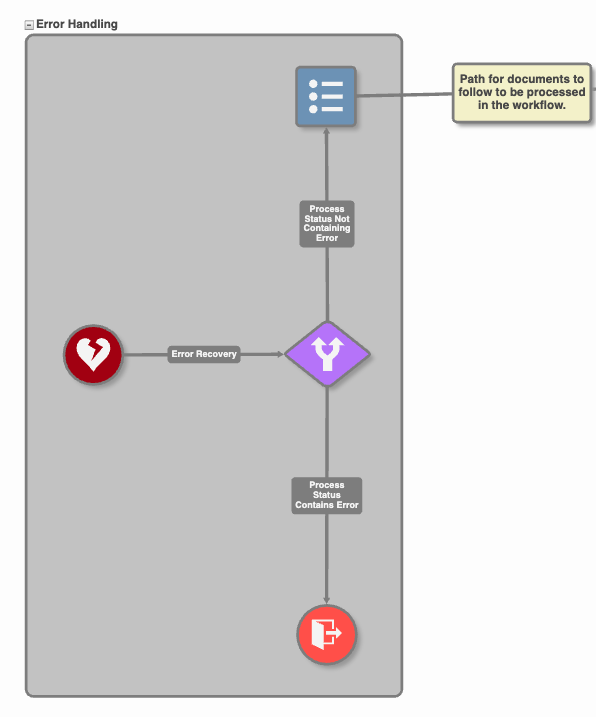
Error Handling Group
VIN Validation - Group the process that verifies the vehicle VIN number.
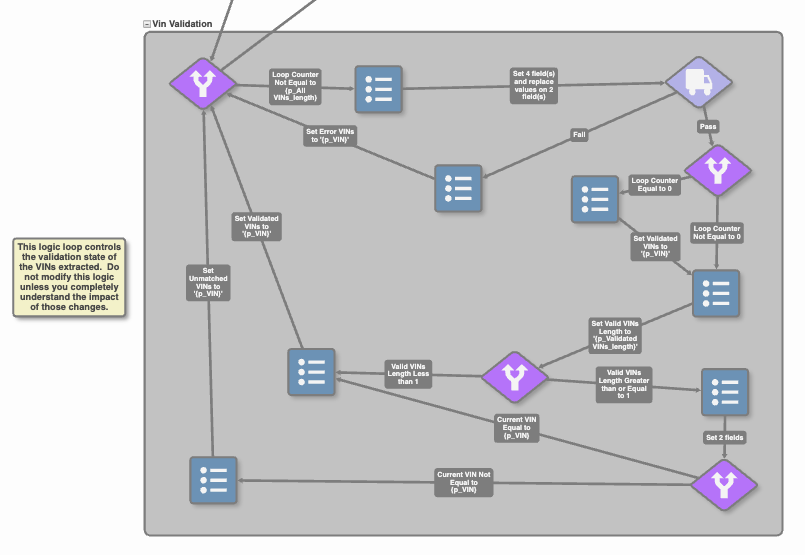
VIN Validation