GlobalCapture Server
A link to download GlobalCapture can be obtained from the Square 9 Softworks Fulfillment department by contacting them at:
Phone – 203.789.0889
Email – fulfillment@square-9.com
Once the link is sent, it is valid for 14 days. Download the self-extracting installation media to a folder of your choice.
Prior to the installation of GlobalCapture, the logged in account that will perform the installation must have the correct network permissions. Please review the hardware and software requirements before beginning the installation.
- Local Install – If you’re doing a local installation and there is no domain on your network, you must be logged into the GlobalCapture server as a local Administrator.
- Domain Install – If you’re installing onto a domain server, you must log on as a Domain Administrator and have permissions to create users on the Active Directory. and to create databases within your instance of SQL Server. It is recommended that you use a “Domain Admin” during the initial install.
- Local Install on Domain Server – If your computer is connected to a domain even though the installation is local, logging on as a Domain Administrator is still recommended.
Troubleshooting SQL Server Deployment
Microsoft does not recommend deploying SQL Server on a server configured as a Domain Controller. Since SQL Server is required for the operations of GlobalSearch and GlobalCapture, Square 9 does not recommend this configuration. You can deploy in that fashion if you need to, but if you do so, Square 9 recommends that you first install SQL Server and then install your Square 9 application, following the Square 9 guidelines for deploying to an existing SQL Server instance. Please consult the Microsoft article linked here for additional information.
GlobalCapture Media Extraction
Once the installation media has been downloaded, double-click on it to run the self-extractor.
In the Self-Extractor window, select the location you want the files to go in Select extraction path. The default location is
C:\SSMedia\version.Click OK to proceed with the extraction.
This may take some time. If the extraction errors out, it is possible that the download has been corrupted or you have run out of disk space. If so, it will need to be downloaded again. Once it has been extracted, proceed with the installation.
Begin Installation
GlobalCapture can be used as a standalone application using the setup.exe file. It is also a requirement for GlobalSearch. If you are installing GlobalCapture as part of a GlobalSearch installation, use the Square 9 Installer to first install GlobalSearch and then GlobalCapture.
Note that after installation, some GlobalCapture features require license registration to function. To do that, there must be an internet connection.
Also note that the process requires one or more system reboots to complete.
Standalone GlobalCapture Installation
- From your installation media, navigate to the
GCWdirectory, expand this directory, right-click onsetup.exeand select Run as Administrator. - Click Next to start the GlobalCapture installation process using the Installation Wizard. There will be a pause while the installation is processing.
GlobalCapture with GlobalSearch Installation
- If the Square 9 Installer is not already open during a GlobalSearch installation, navigate to the installation media, right-click on
Square9.Installer.exefile and then select Run as Administrator. - In the Square 9 Installer, click GlobalCapture Setup to begin the Installation Wizard. There will be a pause while the installation is processing.
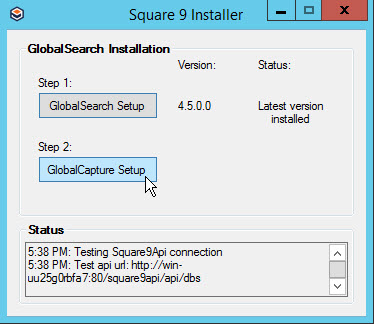
- At the prompt, click Yes.
Installation Wizard
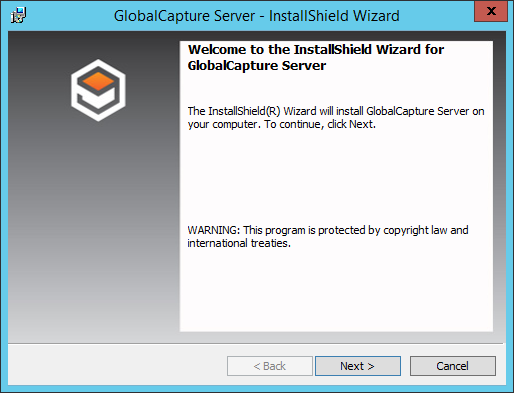
Click Next to start the GlobalCapture installation process using the Installation Wizard. There may be a pause for installation.
File and Web Services Location
- For a default installation, in File and Web Service Location click Next.
- To change from default locations:
- Click Change next to one or more of the following:
- Please enter the location you want to place
GetSmart. The default location for application files isC:\GetSmart\. If you are installing GlobalCapture as part of a GlobalSearch installation, you may see a message indicating that the GetSmart instance already exists, as it was created for GlobalSearch. Click OK to continue. - Please enter the location you want to place GlobalCapture Engine Installer. The GlobalCapture Engine Installer is the package used to deploy additional processing engines. The default location is
C:\GlobalCaptureEngineStandaloneInstaller\. - Please enter the location you want to place the Template Samples and the Viewer Cache. The default location for samples and cached files is
C:\GlobalCapture\. - Please enter the location you want to place the web services. The default location
C:\inetpub\wwwroot\.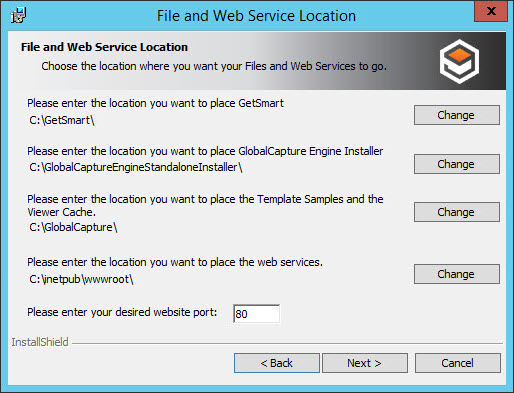
- Please enter the location you want to place
- Click Change next to one or more of the following:
- GlobalCapture uses port 80 by default. You can change that in the website port text box.
Click Next to continue.
GlobalCapture Customer Information
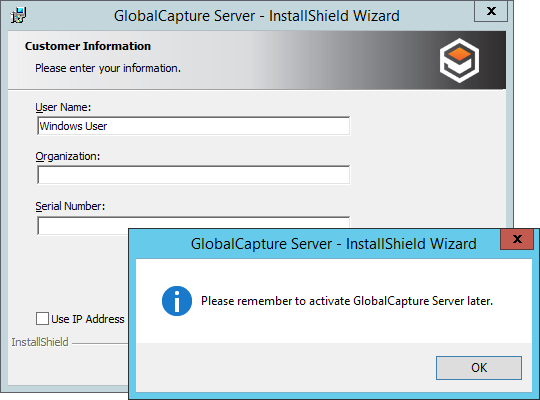
In Customer Information, enter a user name and organization.
Enter your license number provided by Square 9 in the Serial Number text box.
If installing the GlobalCapture demonstration version or if you do not have a static IP address for the GlobalCapture server, enable Use IP Address 127.0.0.1 (for Demo Mode).
Click Next.
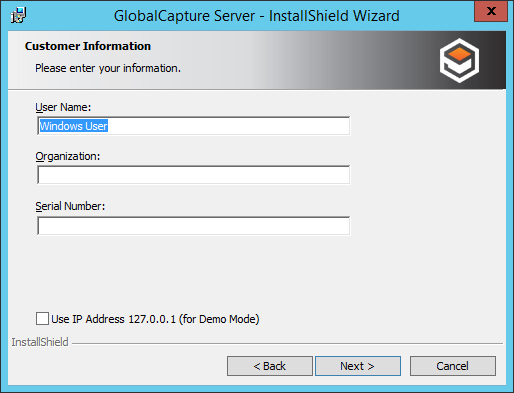
If no serial number is entered, a reminder message will appear. You can click OK to proceed and register your software later.
GlobalCapture License Agreement
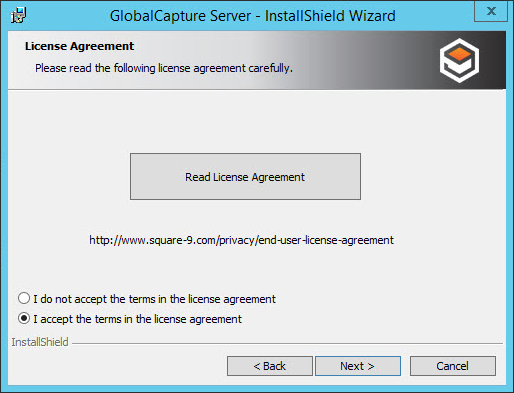
Click Read License Agreement to read the agreement on the Square 9 website.
Click I accept the terms in the license agreement to accept the terms and click Next.
Authentication Configuration
An SSAdministrator and an SSAdmin group are created as part of the installation, whose members have complete control of the application. The user who does the installation is automatically added to the SSAdmin group, as is the SSAdministrator. The installation will create the SSAdministrator user either in AD or on a Local Server (depending on what you select at installation).
The SSAdministrator is the application identity used for running the IIS Application Pool, and with access to directories for GlobalSearch created during installation. (The SSAdministrator will not have access to directories created after installation if they are not created within directories the account already has access to; access must be manually set.)
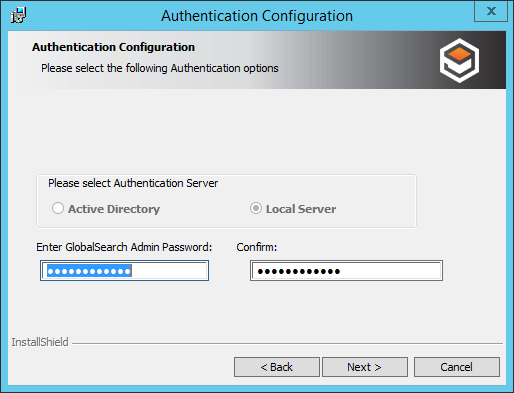
In Authentication Configuration, in the Please select Authentication Server group, choose one of the following:
Active Directory – Enable to install GlobalCapture using Active Directory users and groups.
Local Server – Enable to install GlobalCapture using Workgroup users and groups (users and groups that are local to the server).
Note that if the machine on which the installation is occurring is not on a domain, Local Server is selected and the choices are grayed out.
Enter a password for the SSAdministrator account for the GlobalCapture instance, confirm it. If installing as part of a GlobalSearch installation, use the same password.
This password must meet your computer or network’s password guidelines. GlobalCapture services will not run properly if the password does not meet your system requirements. It is case sensitive. The SSAdministrator password can be changed at a later point. See Change the SSAdministrator Password for details.Click Next to continue.
Database Type
Create a New Database Instance
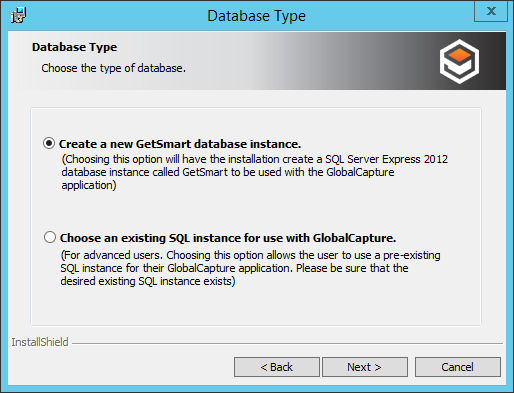
By default, GlobalCapture installs with Microsoft SQL 2012 Express® and creates a SQL instance called “GetSmart.” The default location is C:\Program Files (x86)\Microsoft SQL Server.
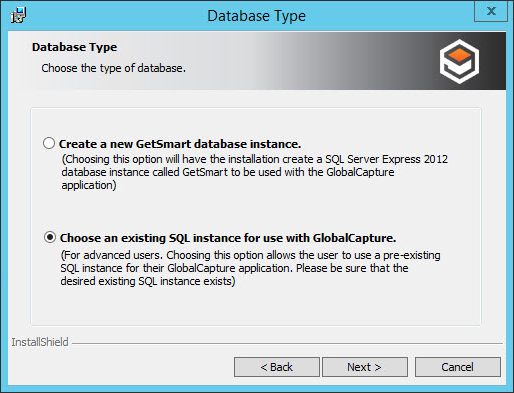
To create a new database instance, in Database Type, select Create a new GetSmart database instance and click Next.
To indicate an alternate installation location for SQL Server 2012 Express, in Database Location, click Change.
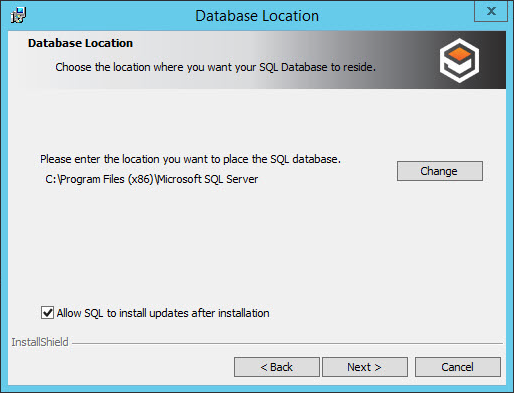
If updates to SQL Server are desired, enable Allow SQL to install updates after installation. Note that while recommend, performing SQL updates as part of the installation process can add a significant amount of time to the installation.
Click Next.
Select an Existing Database Instance
You can use GlobalCapture with an existing SQL Server or SQL Server Express database instance (SQL Server 2008 R2 or above).
- In Database Type, select Choose an existing SQL instance... and click Next.
- In Database Server, click the expansion arrow in Database server... to and select from a list of the SQL Server instances available to you or click the Browse button and browse to a SQL Server instance.

- Choose login credentials in the Connect Using section:
- Select Windows Authentication credentials of current user to use the login credentials of the currently logged in user to create databases in the specified SQL instance.
- Select Server authentication using the Login ID and password... to enter the System Administrator user credentials.
- Select Windows Authentication credentials of current user to use the login credentials of the currently logged in user to create databases in the specified SQL instance.
- Click Next to continue the installation.
Install GlobalCapture Server
Once preparation is done, you are ready to install GlobalCapture.
- To install GlobalCapture, in Ready to Install the Program, click Install. There will be a pause while the installation is processing.
- If necessary, click Back to return to previous dialog boxes and make adjustments to the installation.

Install GlobalCapture Engine
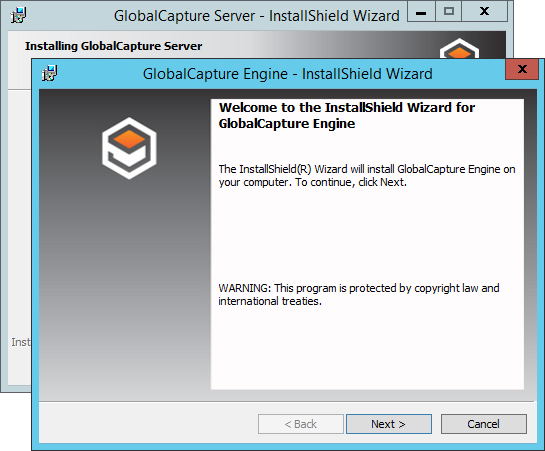
The GlobalCapture Server installation will pause for the GlobalCapture Engine during the GlobalCapture installation. The GlobalCapture Engine installation process is very similar to the GlobalCapture Server process. If the GlobalCapture Engine InstallShield Wizard appears behind the GlobalCapture Server installer, drag it into view.
In Welcome to the InstallShield Wizard for GlobalCapture Engine, click Next. There will be a pause while the installation is processing.
GlobalCapture Engine Customer Information
In Customer Information, enter a user name and organization.
Enter your license number provided by Square 9 in the Serial Number text box and click Next.

If no serial number is entered, a reminder message will appear. Click OK to proceed.
GlobalCapture Engine Installation
Once preparation is done, in Ready to Install the Program, click Install. There will be a pause while the installation is processing.
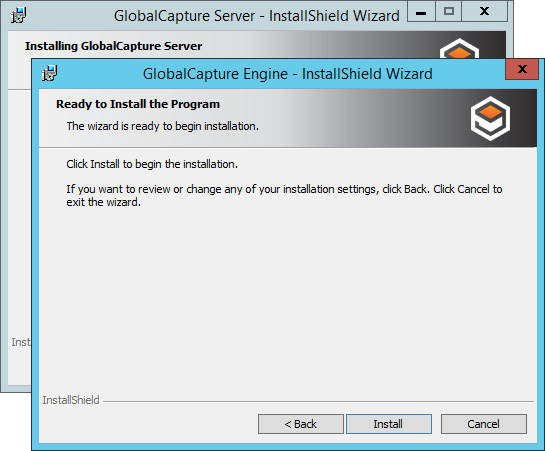
If necessary, click Back to return to previous windows and adjust your installation configuration.
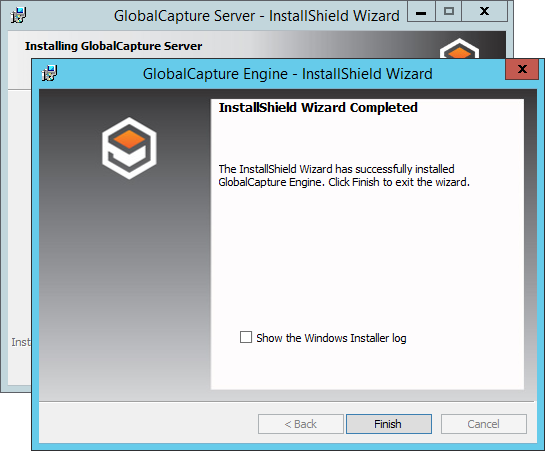
To view and save a log of actions and times related to the installation for future reference:
In InstallShield Wizard Completed, enable Show the Windows Installer log.
In Notepad, do a Save As to save your log and then close Notepad. Saving a log is recommended. When you are done, you will be returned to the installer.
In InstallShield Wizard Completed, click Finish.
Complete GlobalCapture Installation
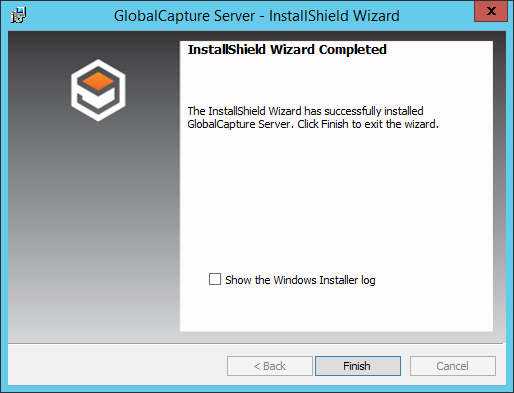
Once the GlobalCapture Engine installation is finished, the GlobalCapture Server installation will finish. With the installation complete, the application shortcut will appear on your Windows desktop.
- Again, it is recommended that you first save a log file for future reference by enabling the Show the Windows Installer log.
- When you are done, you will be returned to the installer. Click Finish. Note that a system reboot is required to make GlobalCapture operational.
With GlobalCapture installed, you can stand up additional GlobalCapture Engine instances.