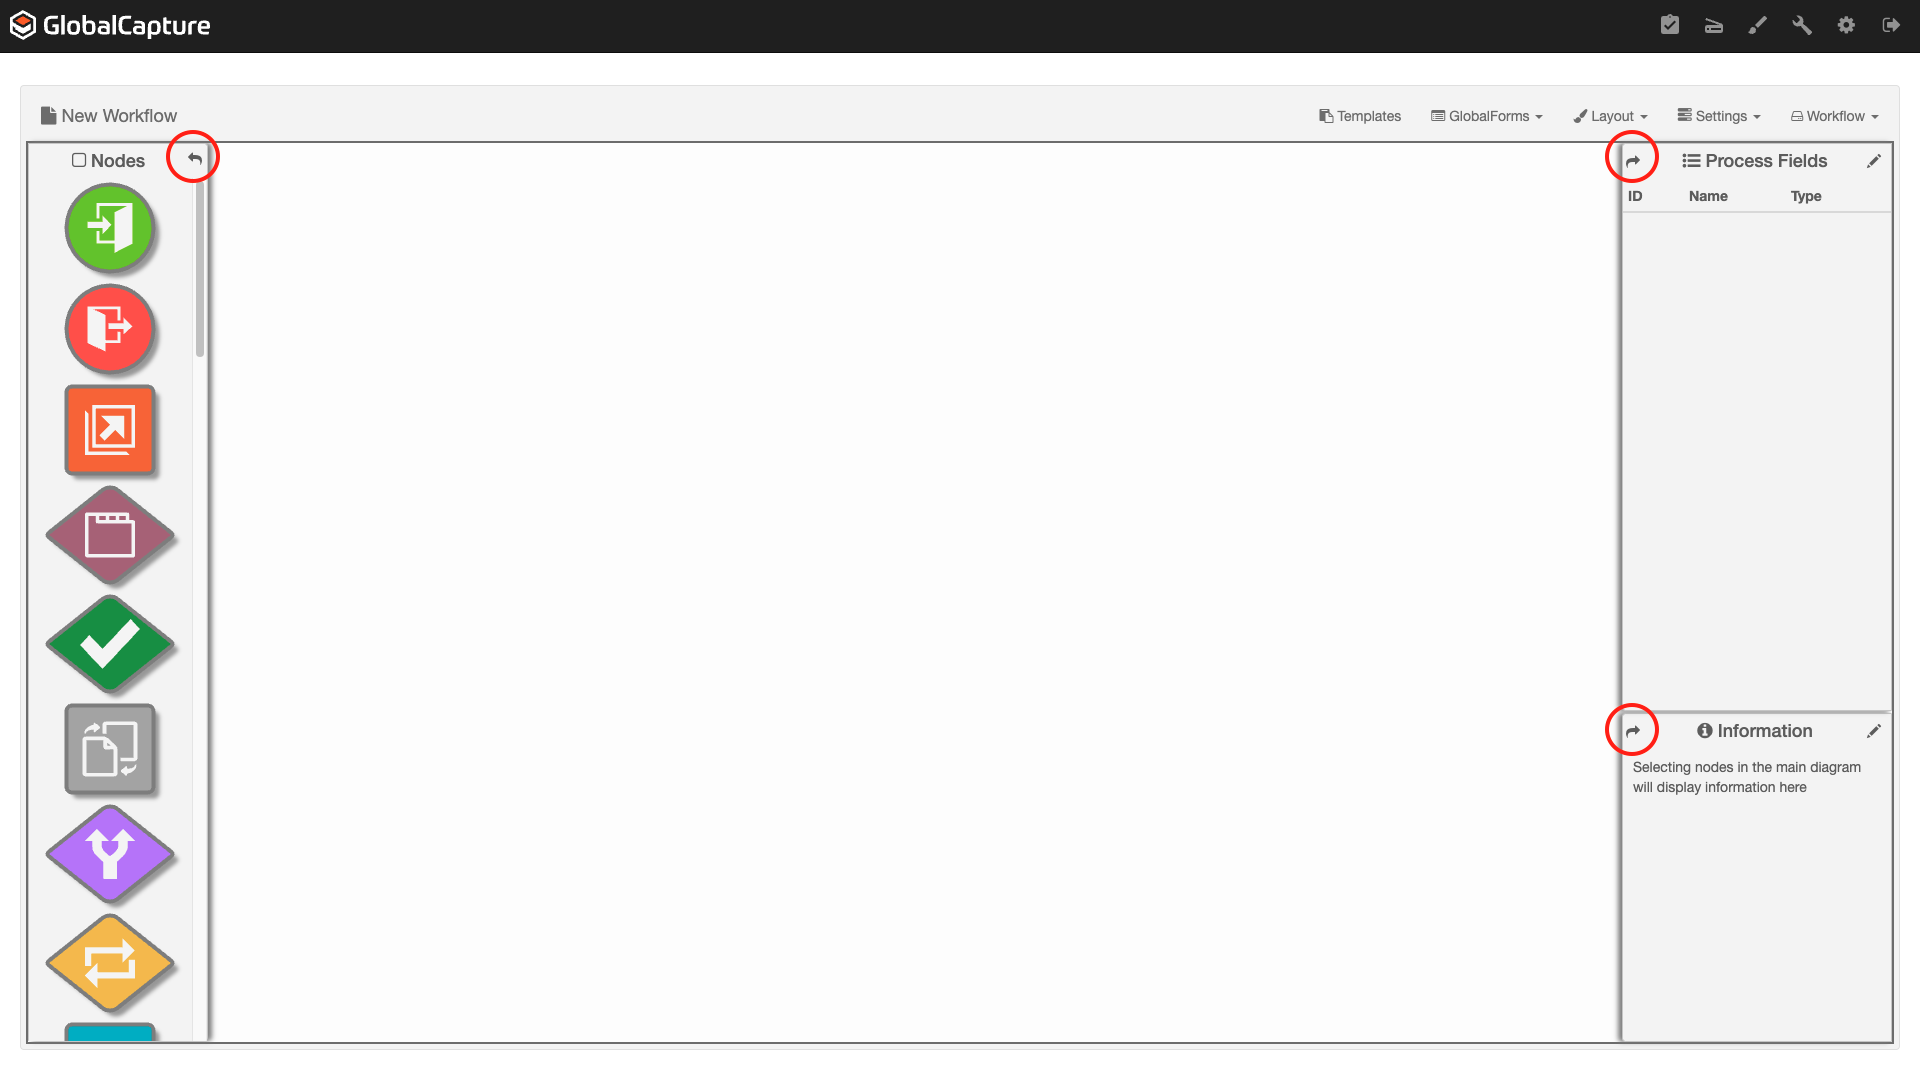
GlobalCapture Designer Interface
The GlobalCapture Designer is where Workflows are designed and stored. From the Designer's menus, a Workflow can be created, modified, copied, deleted, or published. The GlobalCapture Designer components can be arranged and connected in a variety of ways to create both simple and complex Workflows. A Designer license is required to access the GlobalCapture Designer.
Open GlobalCapture Designer
Click the Design ( ![]() ) icon from the GlobalCapture home page or the Design (
) icon from the GlobalCapture home page or the Design ( ![]() ) icon in the toolbar to open the GlobalCapture Designer. It defaults to an empty Design Canvas to begin a new Workflow.
) icon in the toolbar to open the GlobalCapture Designer. It defaults to an empty Design Canvas to begin a new Workflow.

Accessing the GlobalCapture Designer
You can change the dimensions of the Designer by resizing your browser window. To view more of the Canvas, click the Hide ( ,
, ![]() ) icon in the top corner of a pane to collapse it.
) icon in the top corner of a pane to collapse it.
GlobalCapture Designer Canvas
Click on a blank area of the Design Canvas and drag to reposition the Workflow.
GlobalCapture Designer Menu Bar
Use the menu bar to create and edit Workflows and access Templates. (If you have GlobalForms installed, it will also appear on the menu bar.)

Menu Bar
Templates
Templates are used to extract data from documents and populate index fields. Templates are created in the Template Designer and are applied in the Classify node. Click Templates to open the Template Designer.
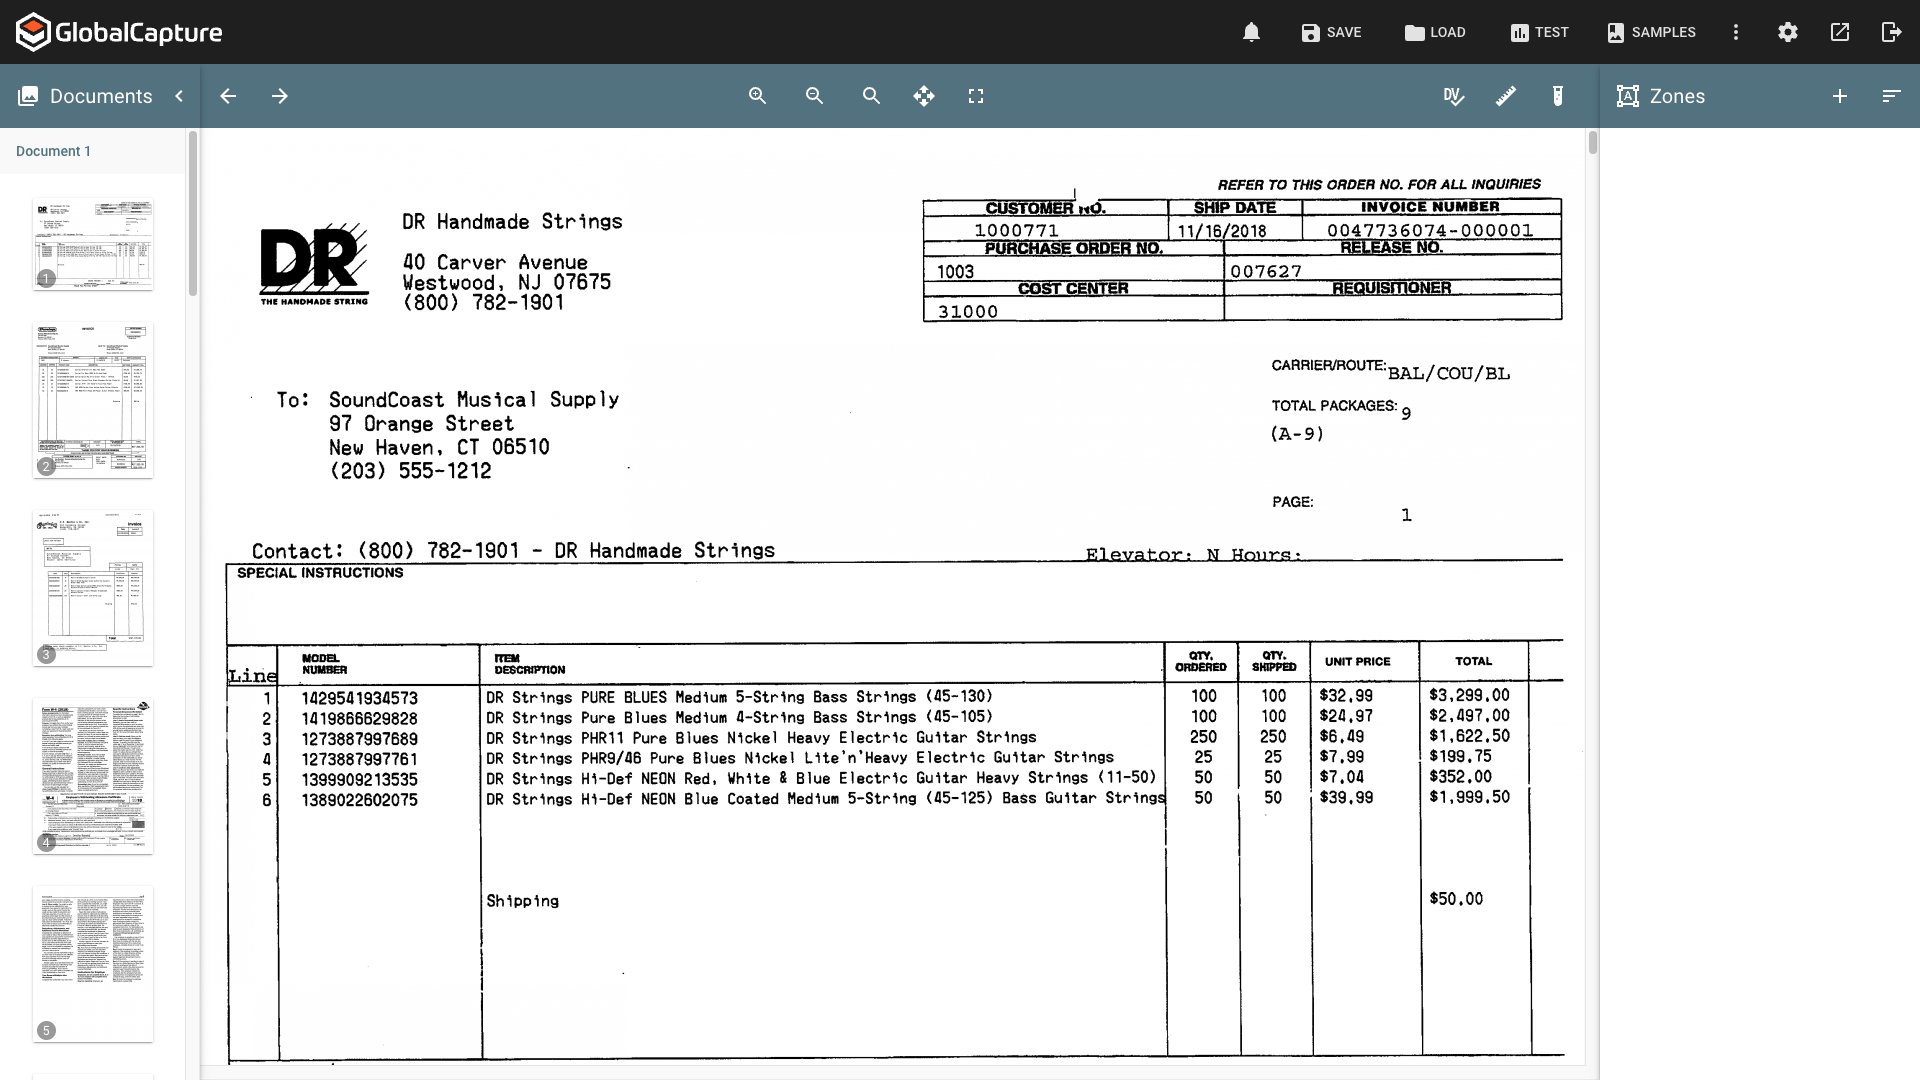
Template Designer
GlobalForms
The GlobalForms menu is only available if GlobalForms is installed and a GlobalForms portal is configured. GlobalForms Portal will take you to your GlobalForms instance. GlobalForms Mapping will open the GlobalForms Mapper to configure the output of your GlobalForms submission when ingested into GlobalCapture.
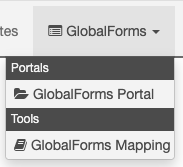
GlobalForms Menu
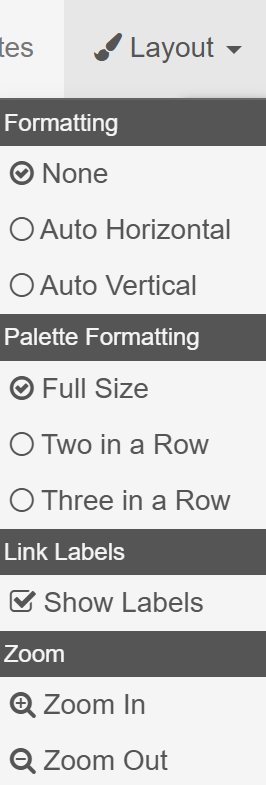
Layout
Use the Layout menu to change the view of a Workflow on the Design Canvas.
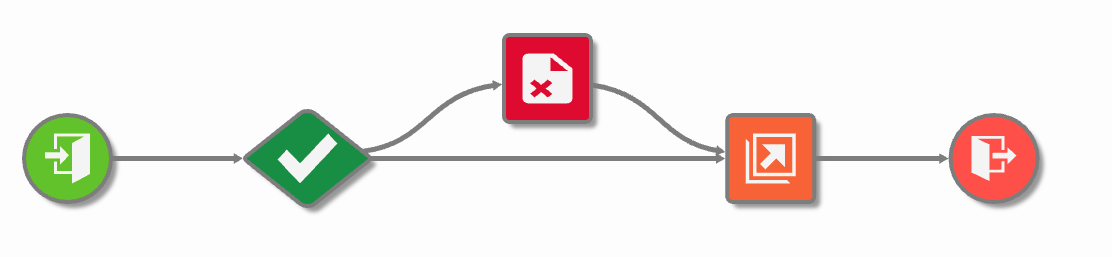
Formatting – In the Formatting group, you can choose the layout of the Workflow elements by: selecting None to position Nodes and Connections freehand; selecting Auto Horizontal to line up the elements horizontally; or selecting Auto Vertical to line up the elements vertically.
Note does are not impacted by the Formatting and will need to be moved manually.
Once you have auto aligned the node, you cannot undo the alignment. You will just need to manually rearrange the nodes as desired.
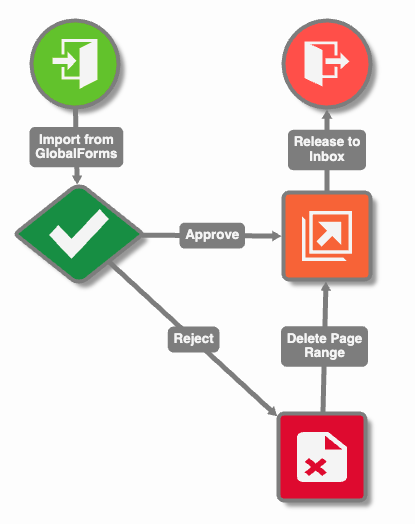
Formatting: None
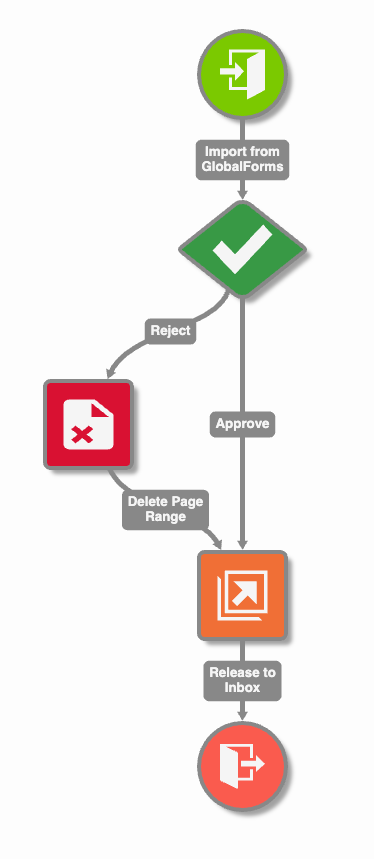
Formatting: Auto Vertical
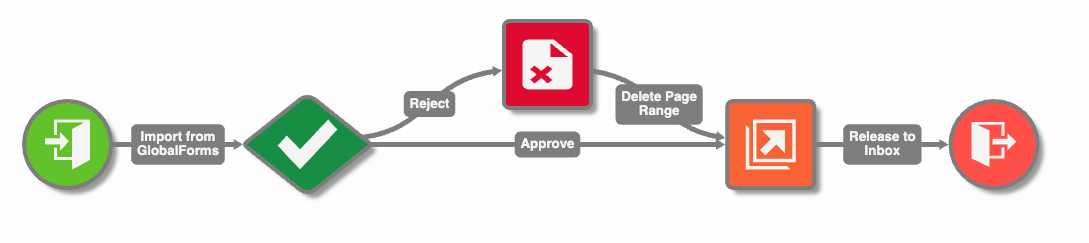
Formatting: Auto Horizontal
Palette Formatting - These options allows for the visual change of the Nodes in the Nodes Panel. By default, Full Palette is selected and will display the nodes in a single line.
Two in a Row and Three in a Row for the nodes to be stacked in rows of two, or rows of three nodes as compared to the single line of nodes displayed in the Nodes Panel.
Palette Formatting: Full Size
Palette Formatting: Two in a Row
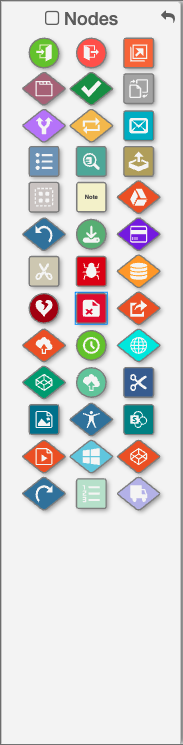
Palette Formatting: Three in a Row
Link Labels – To show labels for Connections between Nodes, in the Link Labels group, select Show Labels. This useful feature is enabled be default. Deselect it for a very dense Workflow and when you want to save space on the Canvas.
Show Labels Enabled
Show Labels Disabled
Zoom – To change the size of the Workflow elements on the Design Canvas, in the Zoom group, select either Zoom In or Zoom Out.
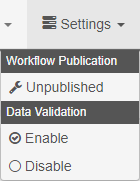
Settings
Use the Settings menu to Publish or Unpublish the Workflow and for enabling Data Validation.
Workflow Publication – Displays the current state of your workflow. You can develop or modify your Workflows in draft mode by saving it in the unpublished state. To activate a Workflow, click Unpublished then save your workflow. This will set your workflow to the Published state and begin importing document. To disable a workflow, click Published then save your workflow. This will stop your workflow from ingesting documents.
Unpublishing a Workflow halts the Import of new documents, but documents already in the process at the time it was unpublished will continue through the Workflow in the version of the workflow that was published when the document was ingested.
Data Validation – Select either Enable or Disable to change the Data Validation setting for ALL Nodes in the Workflow.
When neither button is enabled, it indicates mixed data validation in the nodes within the workflow.
Settings Menu
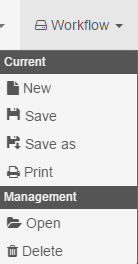
Workflow
Manage your Workflows from the Workflow menu, where you can create, save, reopen, copy (Save as), print, and delete your Workflow designs.
New - Opens a new, blank design canvas to construct a new workflow. Any unsaved changes to the currently displayed workflow will be lost.
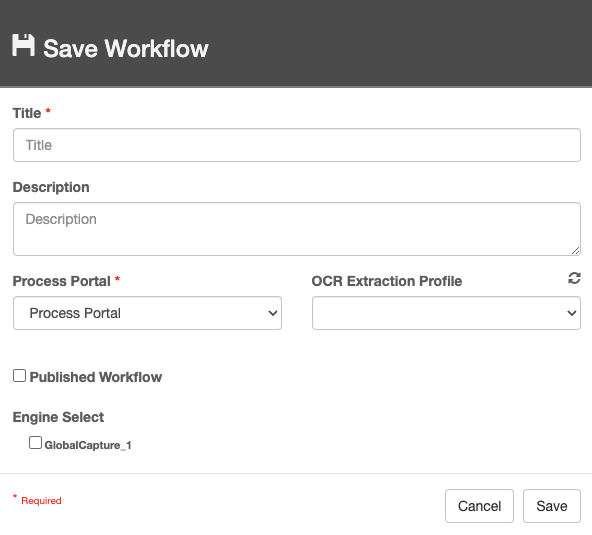
Save - Saves the current workflow. If this is the first save of a new workflow, the Save Workflow dialog will appear, otherwise it overwrites the previous save of the workflow.
Save As - Opens the Save Workflow dialog box. Overwrites any previous save of the workflow if the workflow name is unchanged. Change the workflow name to make a copy of the workflow with a new name, preserving the original.
Save As Dialog
In an Unpublished state, workflows can be saved at any point as they are. A Published workflow will immediately begin ingesting documents and therefore must be in a complete state with no error to be saved.
Print - Opens the print dialog to print an image of the design canvas.
Open - Opens the Open Workflow dialog. Select any workflow and click Open to display the workflow in the design canvas. Any unsaved changes to the currently displayed workflow will be lost.
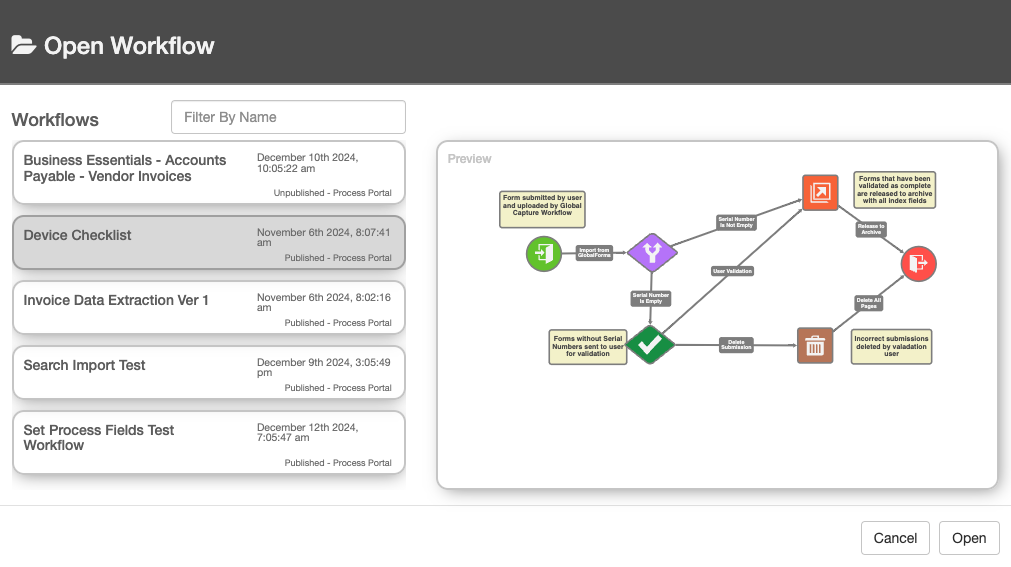
Open Workflow Dialog
Delete - Opens the Delete Workflow dialog. Select any workflow and click Delete to delete the workflow. Any unsaved changes to the currently displayed workflow will be lost.

Delete Workflow Dialog
Workflow Menu
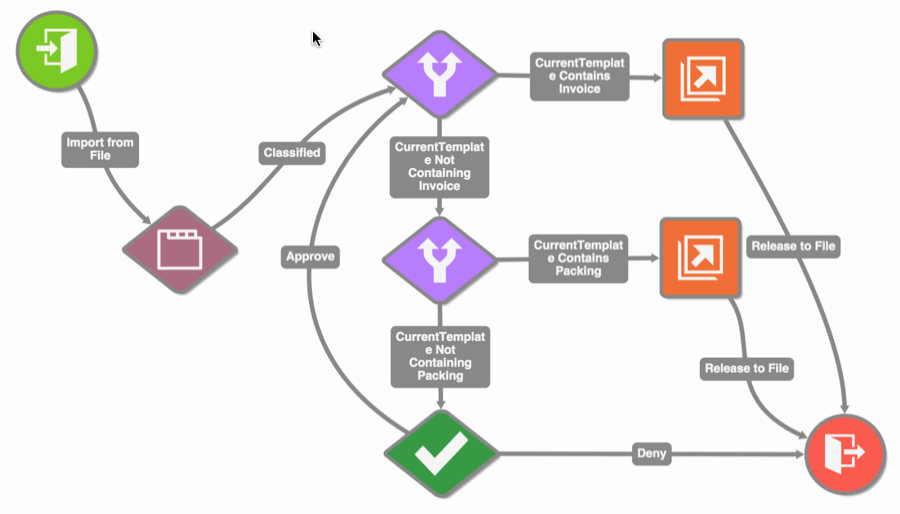
Nodes Pane
The Nodes Pane, located on the left-hand side of the GlobalCapture Designer, contains the elements used to build a Workflow. These design elements, called Nodes, can be dragged onto the Design Canvas in any order and can be repositioned as needed. Use the scrollbar to see all of your choices or use Ctrl+Mouse Wheel to zoom the view of the Pane in or out.
Place your mouse pointer over a Node icon to see its label. A selected Node is indicated by a blue box around it. Drag a Node from the Pane onto the Design Canvas and a Node Settings dialog will appear, ready for you to configure how the Node will behave. Once you have entered and saved your settings, you can position and connect the Node into your Workflow. Note that some Settings are required, and required settings may vary depending on the type of node being configured. Required fields on the settings panel are noted with a red asterisk.
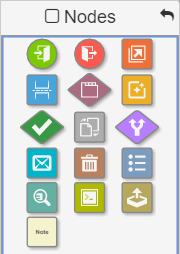
Nodes Panel displayed in Three in a Row
Process Fields Pane
GlobalCapture Process Fields can be created and then used for extracting data or setting data for the documents being processed. Use Process Field values for controlling process flow, getting and setting data from external data sources, or for collecting relevant data from users in validation.
Fields that are assigned to the Workflow appear in the Process Fields Pane, located on the right-hand side of the GlobalCapture Designer. Fields that have a default value configured, display the default value below the process field name. You can add or delete Process Fields by clicking the Edit Icon (  ) in the top right corner of the Pane and use the Workflow Process Field interface that appears. Once assigned, the Fields will appear in the Pane, with the Field ID number, name, Data Type, and default value (if configured) listed. You can delete a Field from the list by clicking the Delete Icon (
  ) that appears when you hover your mouse cursor over the Field.
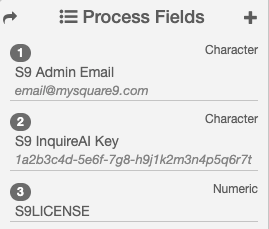
Process Field Pane
Information Pane
The Information Pane, located below the Process Fields Pane, displays context-sensitive details about a selected Node. If the Node has settings, they appear here. Click the Edit ( ) icon. in the top right corner of the Pane to bring up the Node Settings dialog. The information pane is extremely useful when debugging workflows more complex workflows. It allows you a quick glance at a node's configuration without having to open the settings panel.
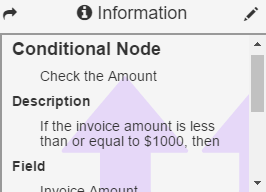
Information Pane
Design Canvas
The Design Canvas is the area where Nodes are arranged into a visual map of the Workflow. Once Nodes are dropped on the Canvas, they can be selected and moved around. An entire Workflow can be seen at a glance, even with detailed branching.