Configure Service to Service Access for Dynamics 365 BC
Dynamics 365 BC (Business Central) is a leading cloud hosted ERP from Microsoft. To provision Square 9 service access to BC, an App Registration is required in the customer’s Azure AD and permissions need to be granted in Business Central.
Instructions
In Azure AD:
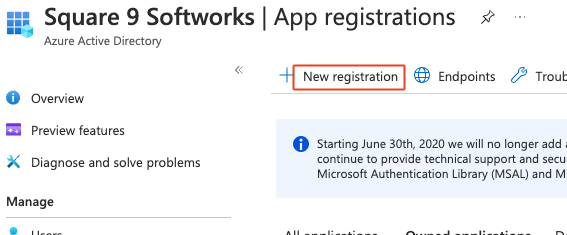
From the company dashboard Overview, select Manage > App Registrations.

Click New Registration.
Enter the new applications details. In the Redirect URI section, choose Web for the selected platform, and use the Business Central oAuth landing page specified here:
https://businesscentral.dynamics.com/OAuthLanding.htmClick the Register button at the bottom of the screen to create the new application.
The application is created and ready for further configuration.
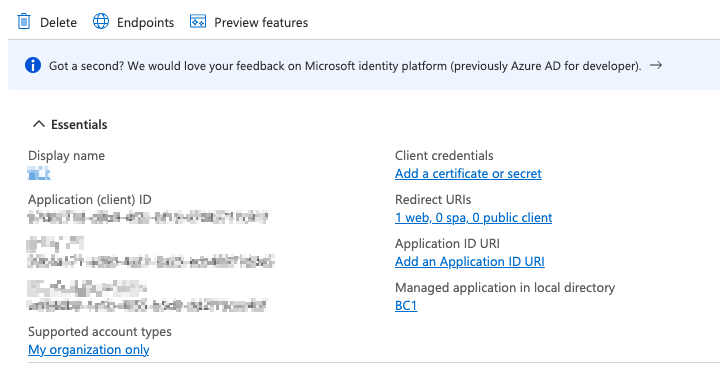
Click the link below Redirect URIs.
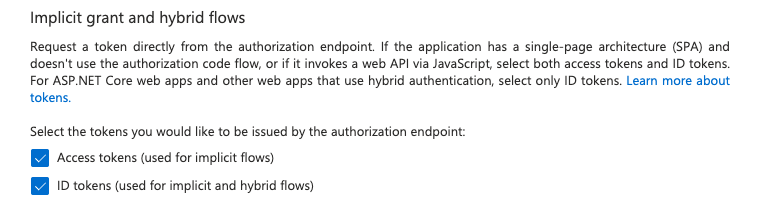
In the section for Implicit grant and hybrid flows, ensure Access Tokens and ID Tokens is selected.
Click the link below Client credentials.
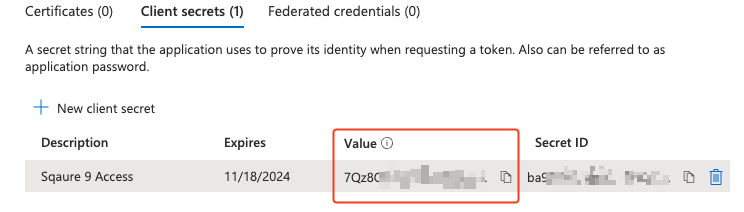
Click the Client secrets tab, then click New client secret.

Set a description and expiration, then click the Add button. Note that the maximum duration for any credential is 24 months. You must rotate and update the keys within the time window or the integration will stop functioning.
Copy the new secret’s value. You should copy and record this value immediately. It will only be accessible for a short time after it is created.
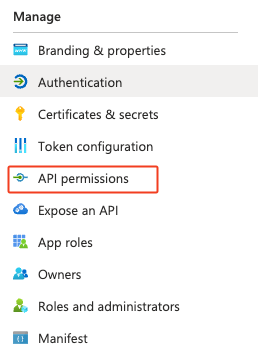
Click Manage > API permissions
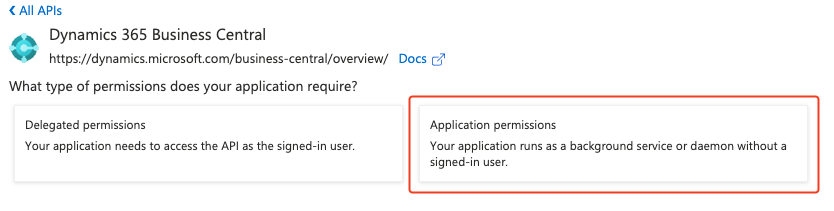
Click Add a permission, then select the Dynamics 365 Business Central card.
In the Request API permissions screen, select Application permissions.
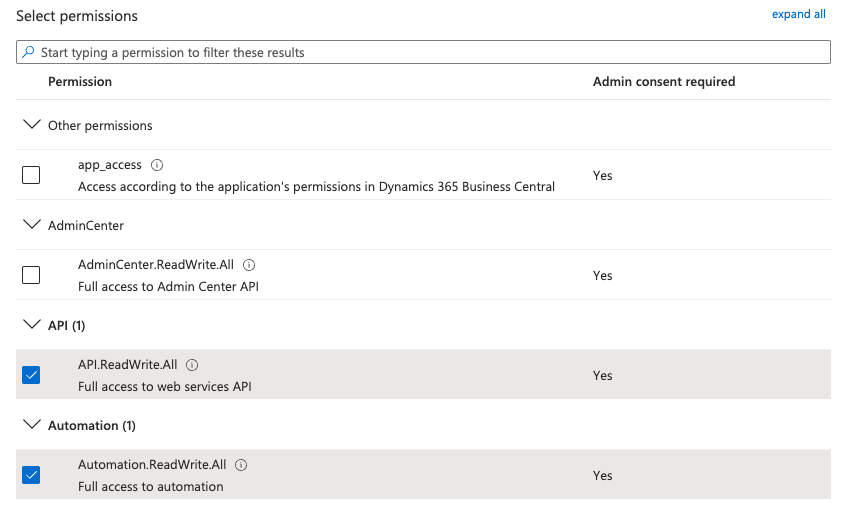
Choose API.ReadWrite.All and Automation.ReadWrite.All, then click Add permissions.
On the API permissions page, click the Grant admin consent button and confirm the change.
Your Square 9 administrator will require the following values:
The Client Secret Value from Step 11.
The Client ID, found in the Essentials section (Step 5) of the App registration’s Overview.
The Directory (tenant) ID, found in the Essentials section (Step 5) of the App registration’s Overview.
In Business Central:
Log into Business Central and navigate to the Azure Active Directory Applications page.
Create a new application and provide the Client ID.
Set the State to enabled.
Add user permission sets for D365 Basic and D365 READ.
Click the Grant Consent button and authenticate to assign the permission set.