Setup Okta for authentication with GlobalSearch
For users to Authenticate with Okta, an Okta administrator must first provision an application to communicate with GlobalSearch.
Okta Application Setup
These initial setup steps will need to be performed by your Okta administrator.
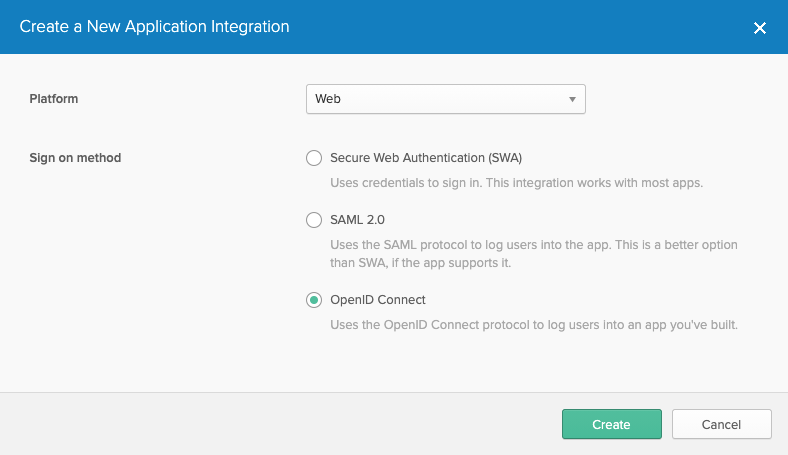
From the Applications page in Okta Admin, create a new App.
Your application's Platform should be Web and Sign on method should be OpenID Connect.
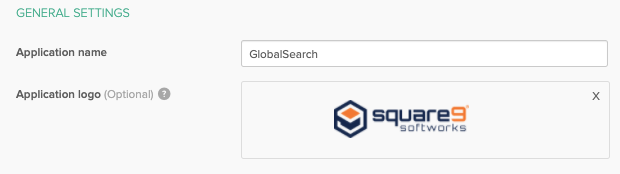
In General Settings, give the Application a name, and provide a logo. We recommend an application specific name like GlobalSearch. Application names will display on the user's App landing page, so using a name that let's the user know what application they will be loading is helpful. The Square 9 logo can be downloaded here for customers that wish to use it.
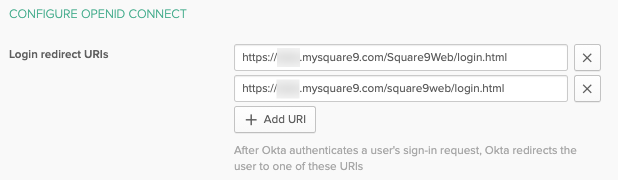
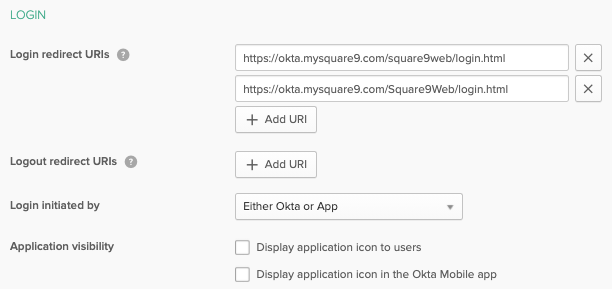
In Configure OpenID Connect, provide the Login Redirect URI's for your GlobalSearch instance. Note, these are case sensitive in Okta, so we recommend you provide both case variants outlined here. The redirect URI represents the login page to your specific GlobalSearch instance. For most customers, this would be the server name or FQDN, followed by /square9web/login.html.
Save the Application.
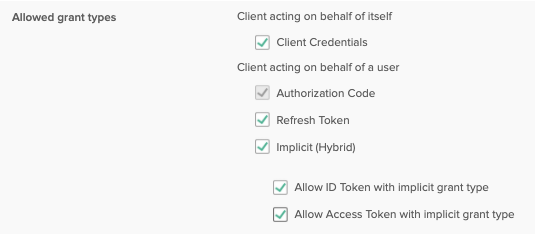
Edit General Settings and modify the Allowed grant types. Check Client Credentials, Refresh Token, Implicit (Hybrid), Allow ID Token with implicit grant type, and Allow Access Token with implicit grant type.
In the Login section, modify Login initiated by to Either Okta or App. If users access the App landing page in Okta, you can also enable Display application icon to users here.
Save any changes and the Okta side of the provisioning is complete for authentication. Note, environments that wish to leverage SCIM for account and group creation tasks will need to separate setup a SCIM as well. With the application setup complete, the Okta admin will be able to provide both the Client ID and the Okta domain in use for the application. Your GlobalSearch administrator will need these details when setting up GlobalSearch to send Authentication requests to Okta. These details can be taken from the Client Credentials and General Settings of the application that was configured.
User Assignment
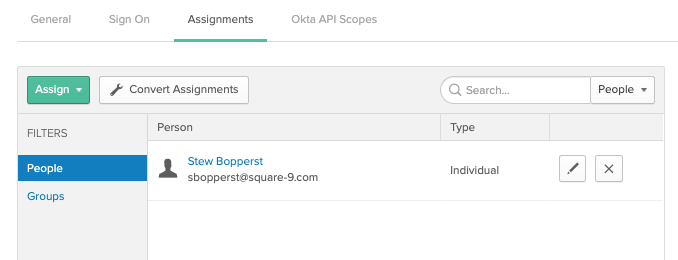
With the GlobalSearch Application created in Okta, users can be added on the Assignments tab.
Matching user accounts must exist in GlobalSearch, and those users must be secured to GlobalSearch objects to be considered authorized. To verify authentication is working:
Ensure the GlobalSearch administrator has configured GlobalSearch with the Client ID and Okta Domain created above.
Assign a user provisioned in Okta to the Application.
Ensure a matching user is created in GlobalSearch. The Username in GlobalSearch must be an email address.
Secure the matching user in GlobalSearch and set permissions.
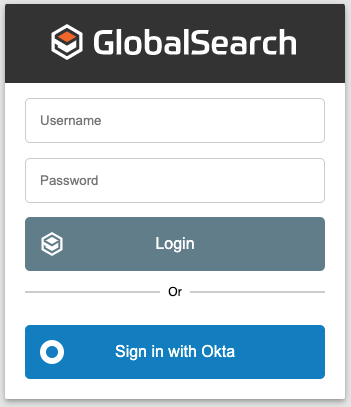
From the GlobalSearch Login page, click the Sign In With Okta option.
Note: GlobalSearch will leverage the currently authenticated Okta user. For administrator testing, if you are logged in as an Okta admin, you will need to sign out of Okta before attempting to log into GlobalSearch with a different Okta user.