Setup Okta for SCIM account provisioning to GlobalSearch
GlobalSearch Cloud customers wishing to leverage SCIM account provisioning should create a new support ticket to enable the feature. Support will provide you with the Base URL for SCIM as well as an API Token to secure access to the GlobalSearch Identity Manager.
Okta Application Setup
These initial setup steps will need to be performed by your Okta administrator.
- From the Add Application page, search for SCIM and select the SCIM 2.0 Header Auth Application.
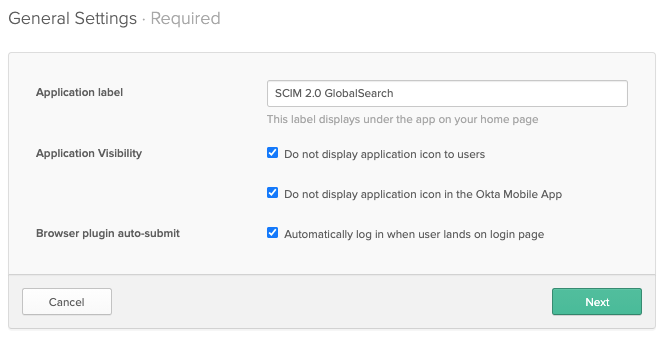
- In General Settings, provide an application label. This and all other options here are the preference of the administrator. Generally, end users will never see or interface with the SCIM Application.
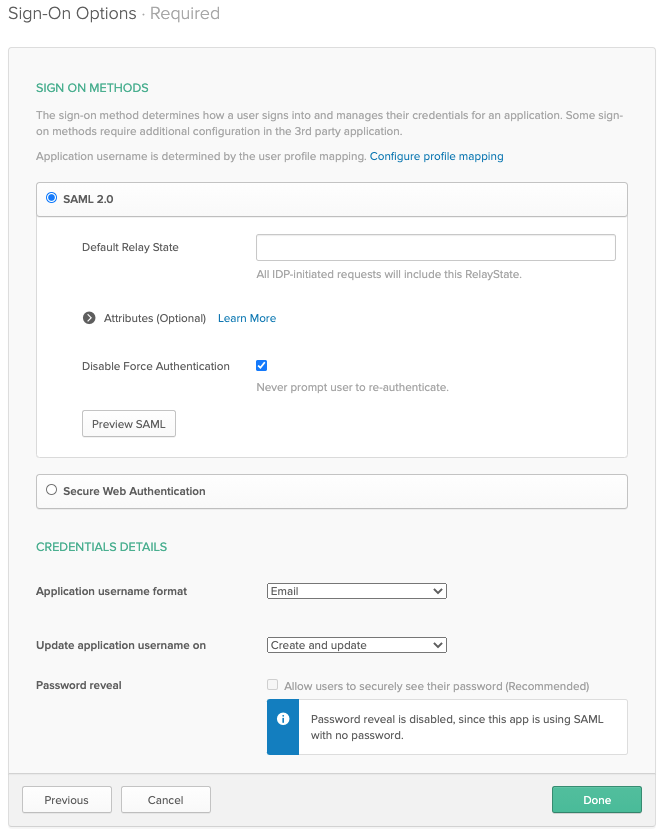
- For Sign In Options, SAML 2.0 should be selected and Application username format should be Email.
- On the Provisioning tab, click Configure API Integration, then Enable API Integration. In the Base URL field, provide the SCIM Provisioning endpoint for GlobalSearch. For cloud customers, this will be the FQDN of your GlobalSearch instance, followed by "/scim/v2". In API Token enter the token provided by your GlobalSearch administrator.
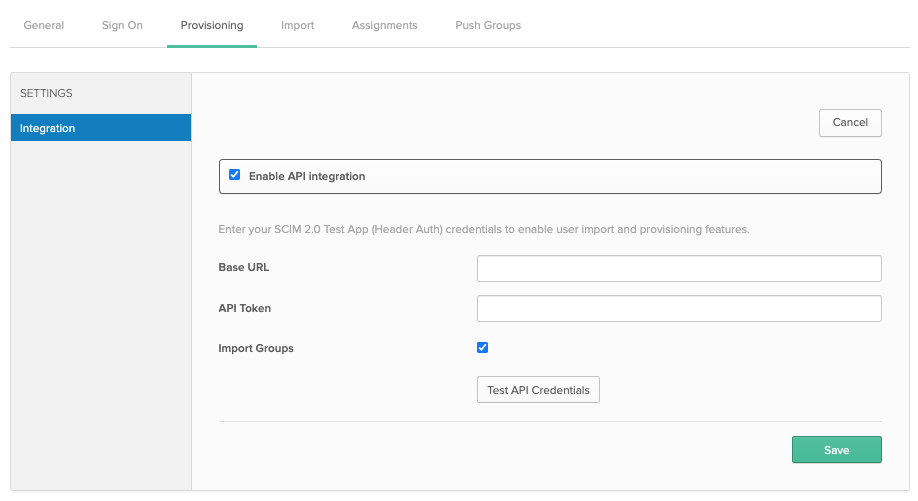
- Click Test API Credentials to validate the URL and Token are correct and working before clicking Save.
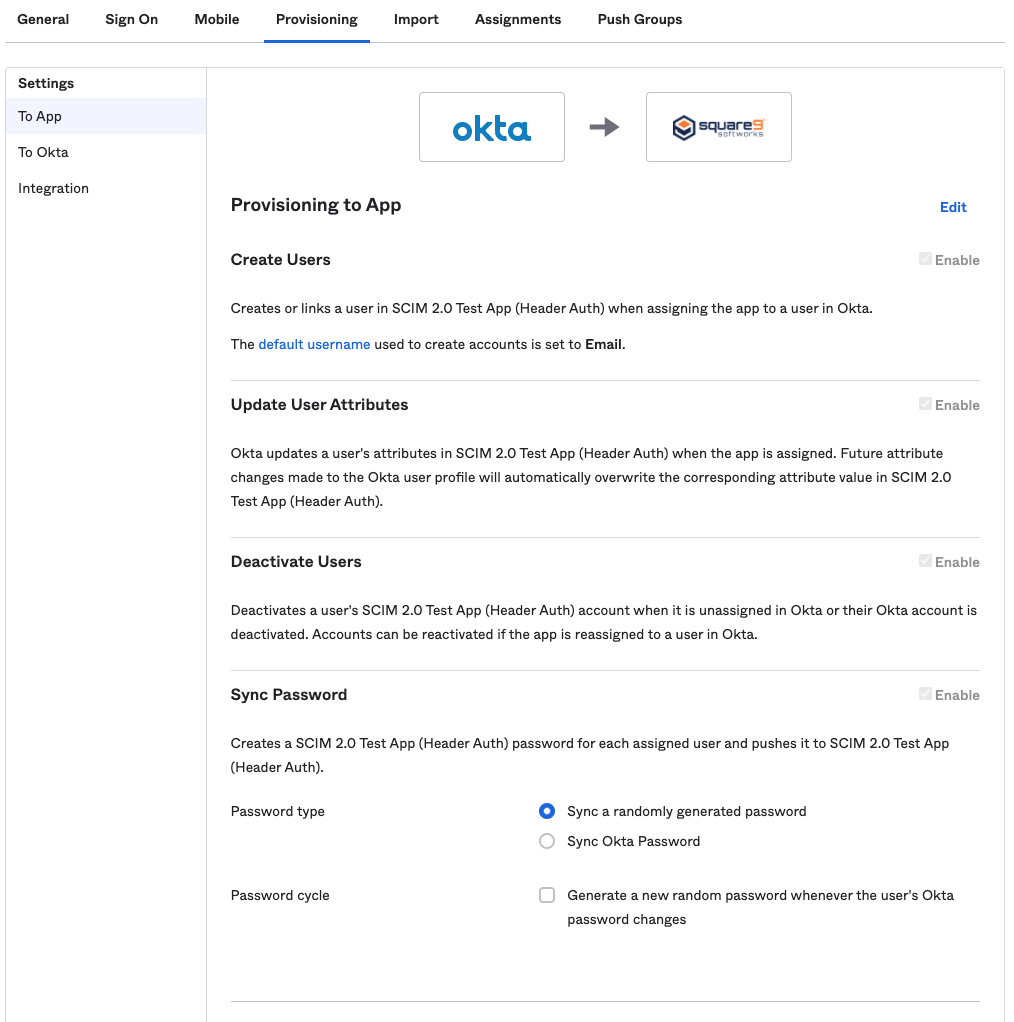
- On the Provisioning tab, click To App and ensure options for Create, Update, Deactivate, and Sync are enabled.
- User Assignments and Push Groups should now be syncing into GlobalSearch. Remember that accounts will still need to be granted permissions in GlobalSearch to login and access resources.