Creating a Form
Building a new form in GlobalForms is as simple as giving a form a name, dragging components to the design surface, and saving. From the Designer's home screen, click on New Form in the Forms section. You will be taken to the designer to create a new form. In the Title section, provide a descriptive, user friendly title for the form. User's will see the Title at the top of the form when they are filling it out, and you will use this name to identify the form among the other Forms in your installation. With a Title added to the form, you can begin to drag and drop components from the toolbox on the left side of the designer.
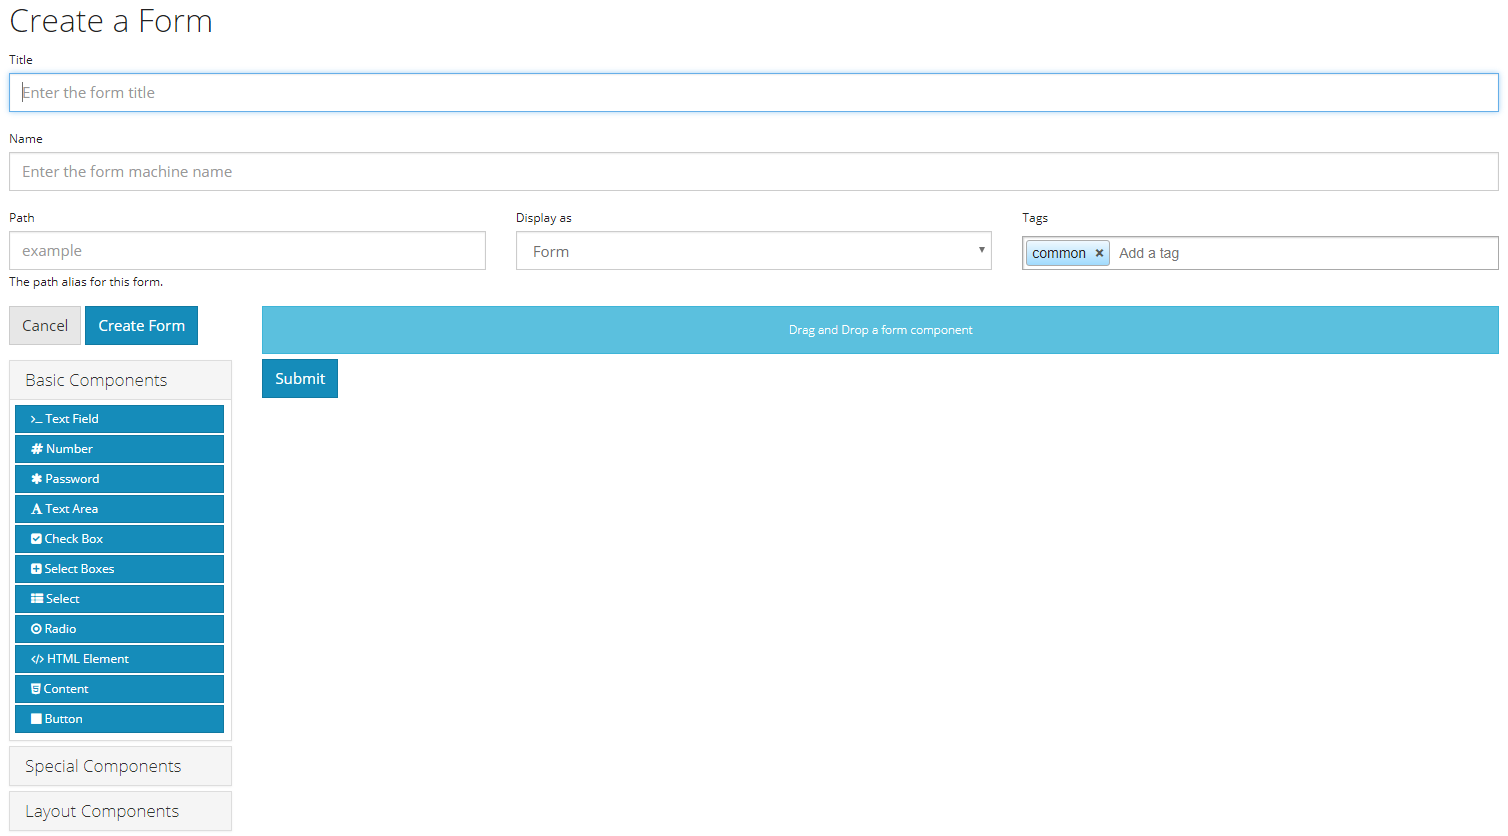
You can switch between a single page form and a multi-page from by changing the Display As drop down from Form to Wizard. Use the Wizard display to control the size of your forms and present sections of input to your users versus displaying one monolithic page of input controls. In Wizard mode, click the green +Page button to add pages to your forms layout.

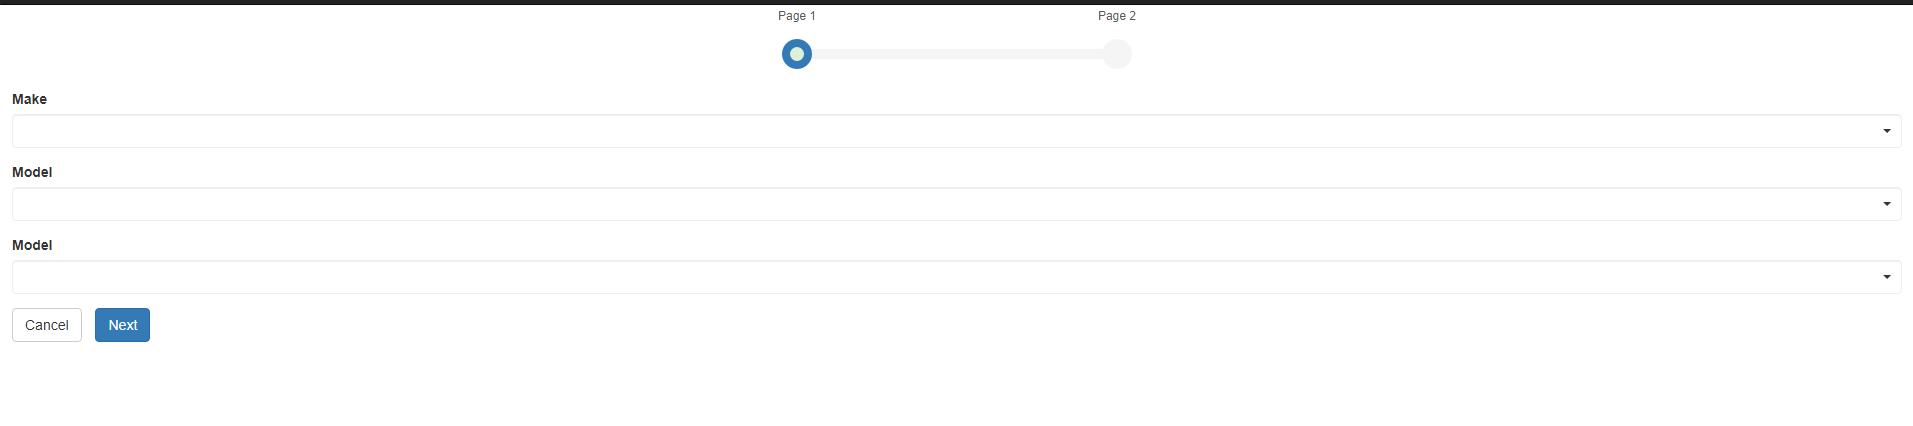
Here is a visual of a wizard with two pages. I've pressed next for the second picture.

Once a form has a title, and you have added the necessary form components, click Create Form to save and add the form to your forms library.
If a form is to be generally accessible without authentication, you will need to adjust the permissions to allow users to see the form and create submissions. Access can only be managed after a form has been created. With the form open, select Access from the tab bar at the top of the form. Right click in the Create Own Submissions input and select Anonymous.
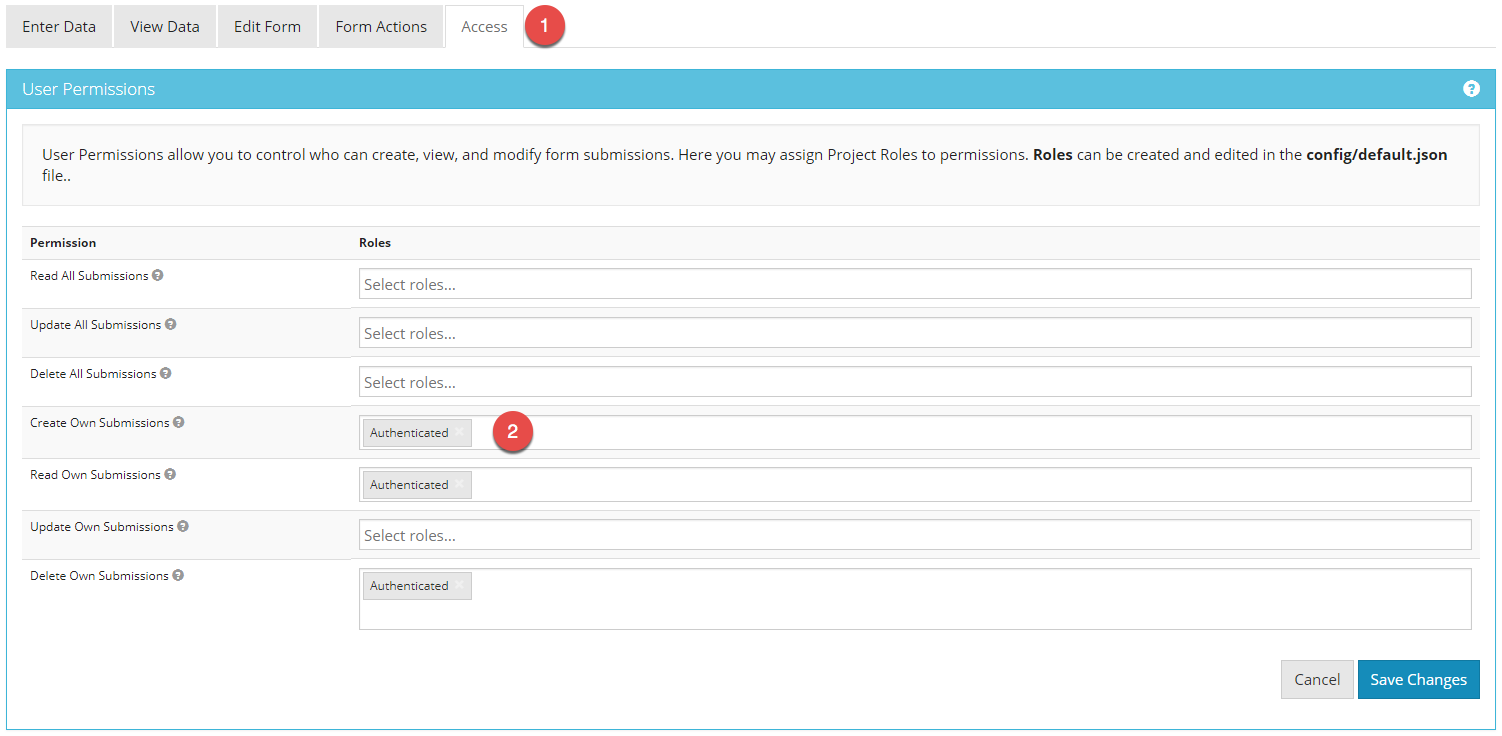
Click Save Changes to update access permissions to the form.