Working With Forms and Resources
As an administrator in GlobalForms, you have access to all forms and resources. As the forms library grows with an organization, you can start to collect a lot of forms that span departments and application use cases. Below are tips for optimizing your process to ensure administration of GlobalForms is as efficient as possible.
- Use Tags for categorizing forms: When creating or editing a form, any number of tags may be applied in the Tags field of the form (located in the top right of the form designer). Tags can be used to identify a department the form belongs to (Accounting), the process the form is a part of (New Hire Onboarding), or anything else that might be relevant to the users designing forms. On the designer's home screen, notice the "Find" box available in both the Resources and Forms sections.
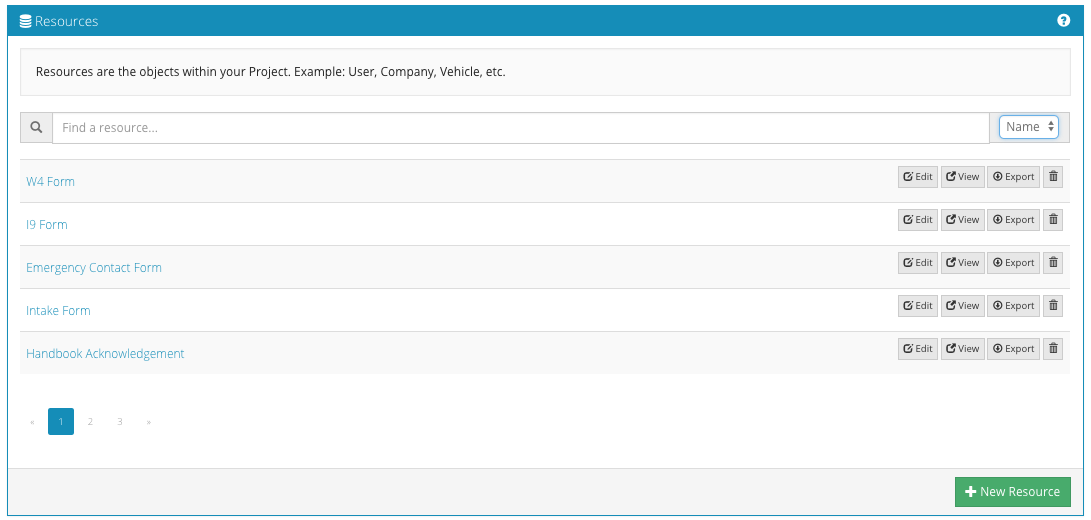
The default search option is to find by form name. By clicking the filter selector to the right of the Find box, filtering can be changed to Tile or Tag. By filtering on tag, multiple related forms or resources can all be displayed at once. In processes that involve multiple forms, filter in this way is very helpful. As of GlobalForms 10.2, find filters persist. If a filter is applied and one of the available forms is edited, when returning to the designer's home screen will keep the filter in place, allowing designers to remain focused on the specific application being worked on. - Use multiple browser tabs: When editing forms, it's very helpful to be able to keep a form "Edit" mode while being able to test those changes in a view mode. The most efficient way to achieve this is with multiple browser tabs. From the form designers home screen, find a form of interest and click the View button. This will open a new browser tab with the form in view mode. Select the previous tab, which will still be the designers home screen. Now click the Edit button, to make form modifications. The form will stay in an editable state, even after saving changes. Move back and forth between the edit and view tabs, being sure to refresh the view page to see any changes.
- Backup forms before making changes: Making changes to forms is very easy in GlobalForms. Care should be taken when making changes to any form, especially production forms. It can be a process for an IT team to restore from the server level. Form designers are empowered to make backups at any time, and are encouraged to backup often so you can recover when necessary. To backup a form or resource, from the designer's home screen, find the form of interest. To the right of the form name, click the Export button. This will download a copy of the form definition to the local computer. If a form references other resources, those resources will also be included in the export.
- Make copies of forms for testing changes: It is easy in GlobalForms to copy or clone a form beginning in GlobalForms 10.2. Start by exporting the form per the instructions in item 3 above. With an exported form available, click the Import button in the GlobalForms header bar.

Select the exported form and click Import. GlobalForms will inspect the environment and update the Import dialog with options on how to proceed.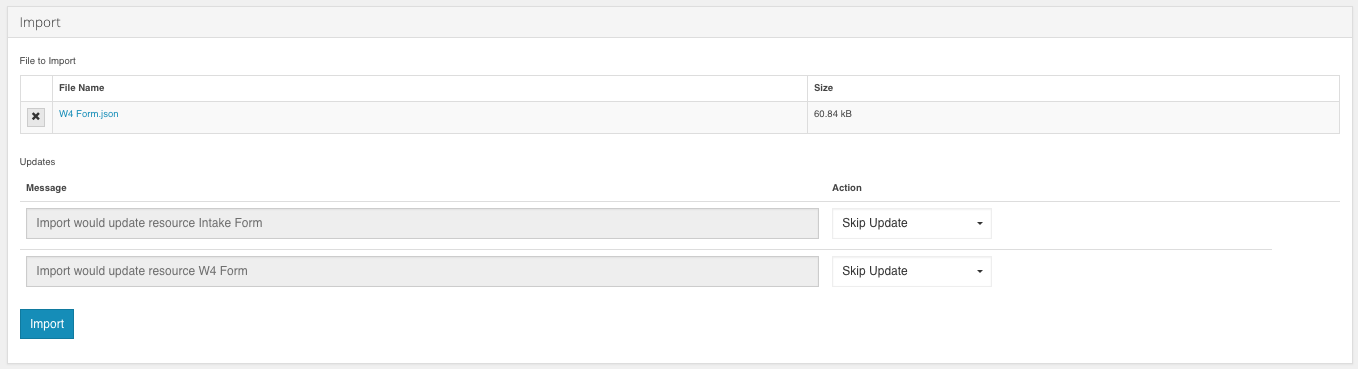
In the example above, a W4 Form export was selected. This form also references a Resource call Intake form. As mentioned earlier, exporting a form carries any referenced resources along with it. The form designer can choose how to interact with each object in the export. The Message box instructs the user what is happening with each object. Update the action to identify how GlobalForms should handle the import process. Options include:- Skip Update: This option means do nothing with this object.
- Overwrite: This option will replace the existing object with the one being imported. This option is useful when transporting forms across installations. You may be doing this if you are licensed for both a production and development installation.
- Merge: This option takes a best effort approach to combining the existing form with the form being imported. Always exhaustively test merged forms.
- Create Copy: This option will import the new form and rename it to "Copy Of" whatever the original form name is.
For the purposes of copying forms, choose the Create Copy action when importing.