Configuring GlobalCapture SMTP with an App Password
For some SMTP (email) servers, you may not be able to authenticate normally unless you use Multi-Factor Authentication (MFA). Because logging in with MFA is not something that can be automated with most applications (GlobalCapture included), some services that offer MFA also offer the ability to provision an App Password. This is a special password used by applications to authenticate without the need for MFA.
In this article, we will use GMail as an example.
Full documentation for configuring an app password with GMail is available here: https://support.google.com/accounts/answer/185833?hl=en
Documentation for configuring GlobalCapture SMTP Settings can be found in this article: https://knowledge.square-9.com/gc230/Email-Node.246547456.html
Step-by-Step Instructions
1. Configure Multi-Factor Authentication with Google
Your Google account will need to have MFA enabled in order to provision app passwords. If you already have MFA enabled, then you skip these steps and proceed to 2. Provision the App Password.
Full documentation from Google can be found here: https://support.google.com/accounts/answer/185839
Open a web browser and navigate to https://myaccount.google.com
If you are not already signed in to your Google Account, click “Go to Google Account” in the top-right corner.
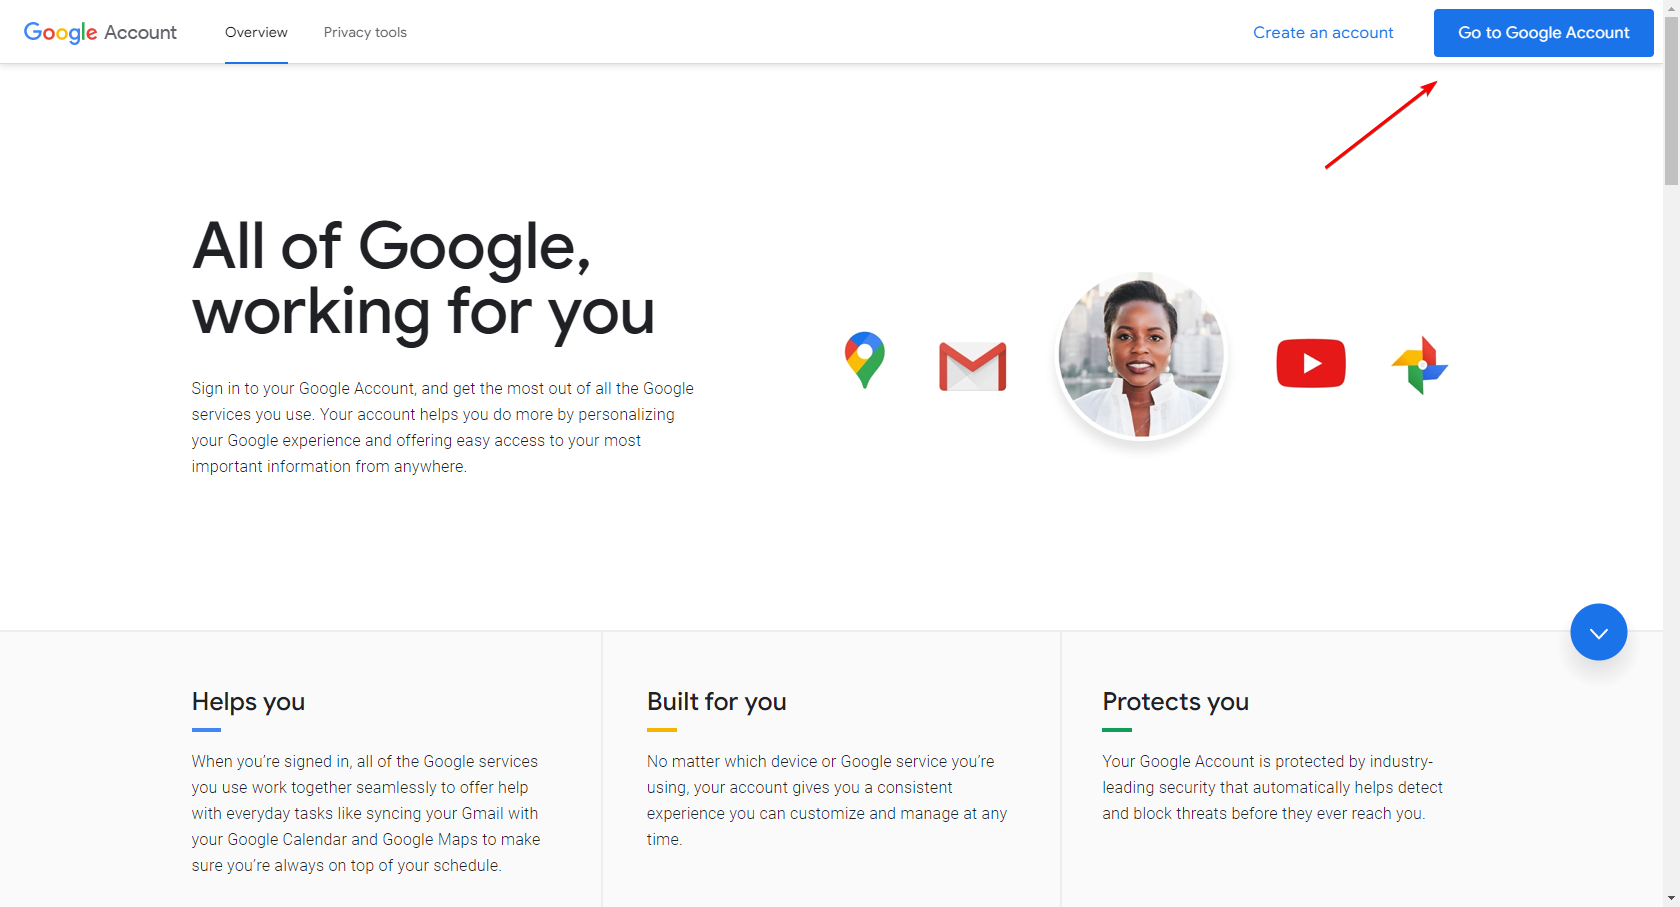
Click to enlarge
Once logged in, select “Security” from the navigation pane on the left.
Scroll down to “Signing in to Google” and click “2-Step Verification”.
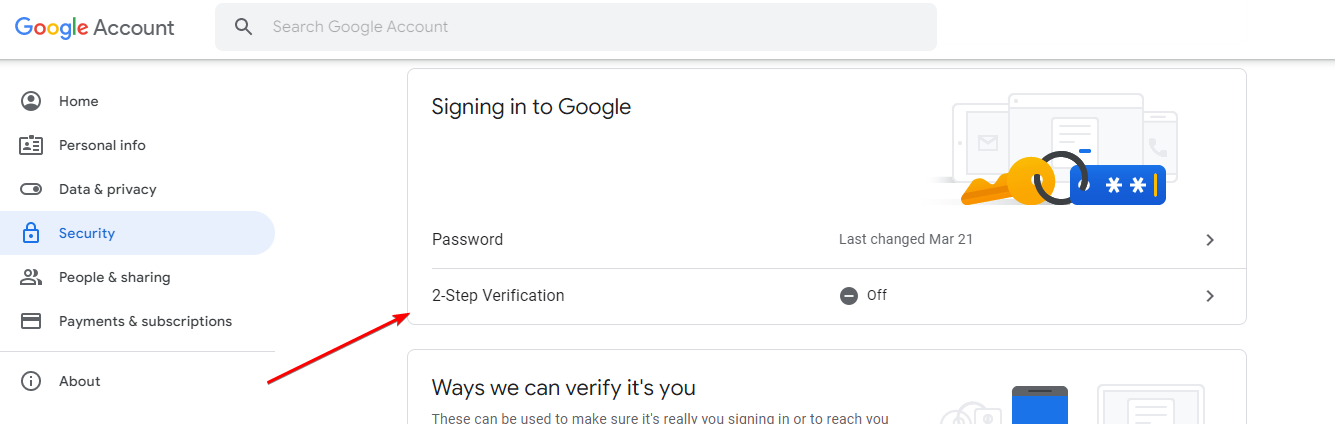
Click to enlarge
Click “GET STARTED” and enter your current Google Account password, if prompted.
Select a device to use with 2-Step Verification. Alternatively, you can use “Text message or voice call” to use a text message or call to log in.
Follow the on-screen prompts to configure your login method.
2. Provision the App Password
Now that MFA has been enabled, you can provision app passwords for your Google Account.
Open a web browser and navigate to https://myaccount.google.com
If you are not already signed in to your Google Account, click “Go to Google Account” in the top-right corner.
Click to enlarge
Once logged in, select “Security” from the navigation pane on the left.
Scroll down to “Signing in to Google” and click “App passwords”.
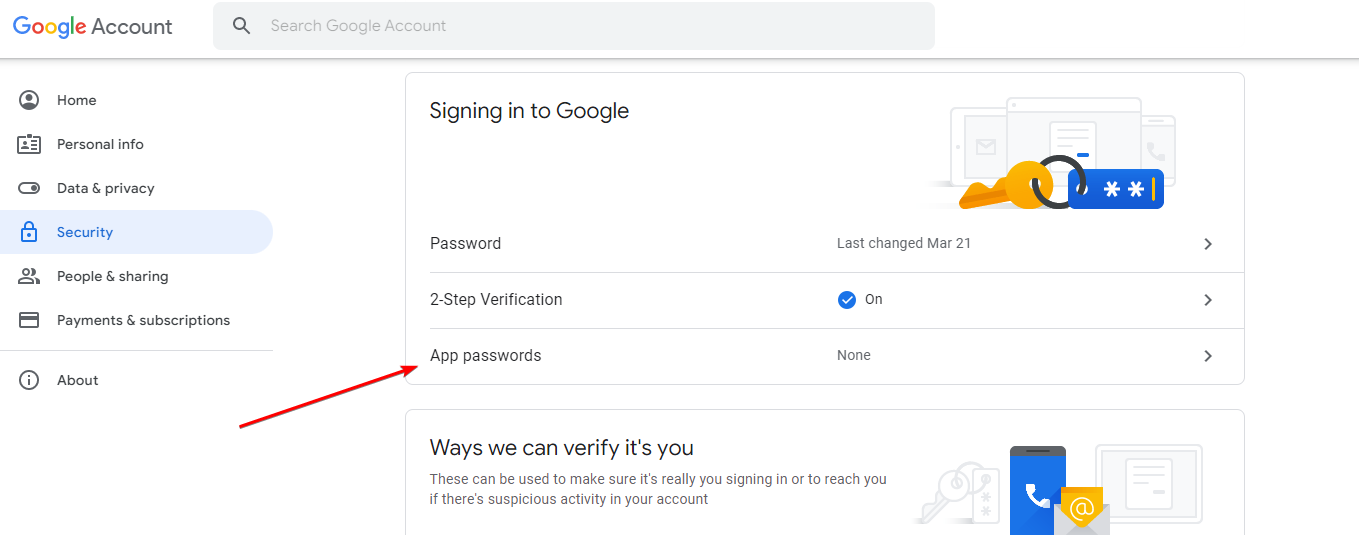
Click to enlarge
Enter your current Google Account password, if prompted.
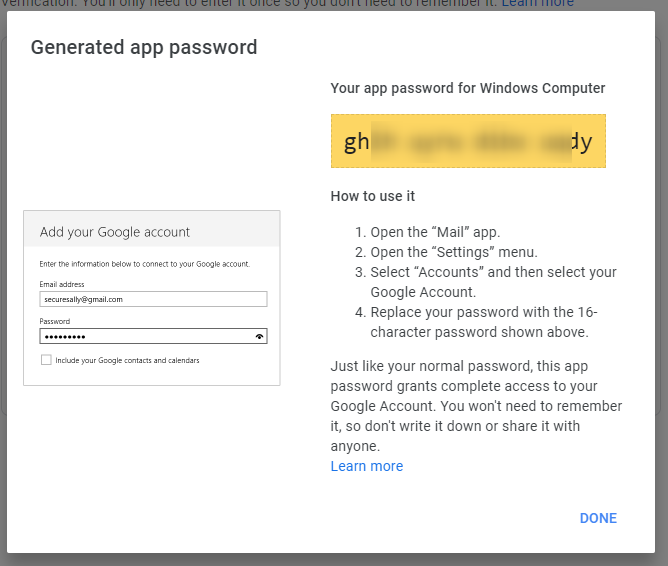
On the following screen, select “Mail” for the app and “Windows Computer” for the device.
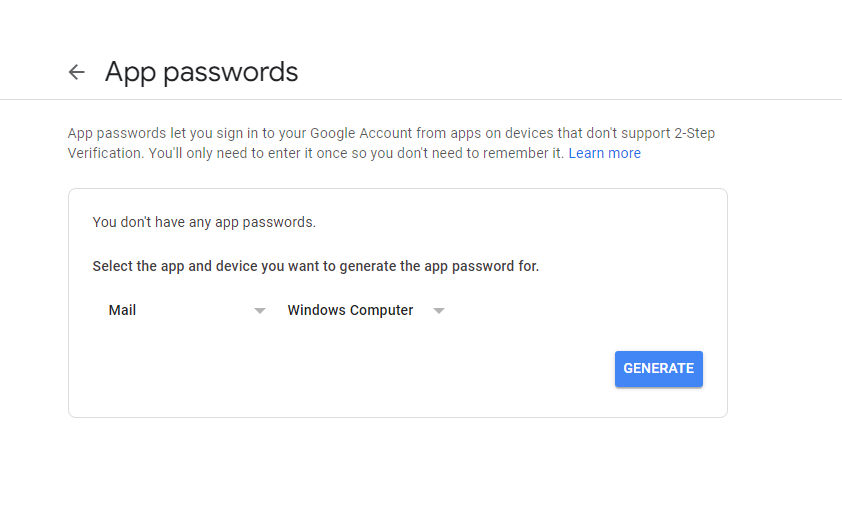
Click to enlarge
Click “GENERATE”.
You will be given a randomly-generated password. Record this password somewhere secure. Note that there are spaces added to the password to make it easier to see/read. These spaces are not included in the actual password. After you have recorded your password, click “DONE”.
Note that there are spaces added to the password to make it easier to see/read. These spaces are not included in the actual password.
This window will be the only opportunity you have to view your app password. If you do not record it during this step, or if you record it and then lose it, you will need to provision a new app password.
Click to enlarge
3. Configure GlobalCapture to use the new App Password.
Now that you have your app password, the next step is to configure GlobalCapture to use this password.
These steps are current to GlobalCapture version 2.4.0.0. If you are on a different version of GlobalCapture, your exact steps may vary. Please consult the documentation for your version of GlobalCapture if you encounter any discrepancies.
On your GlobalCapture server, browse to the “GetSmart” application directory. By default, this will be in “C:\GetSmart”.
Navigate to the folder for your GlobalCapture Engine. By default, this will be in “C:\GetSmart\CaptureServices\GlobalCapture_1”.
Locate the file “Square9.GlobalCapture.exe.config” and open it in a plain text editor, such as Notepad, Notepad++, or VSCode.
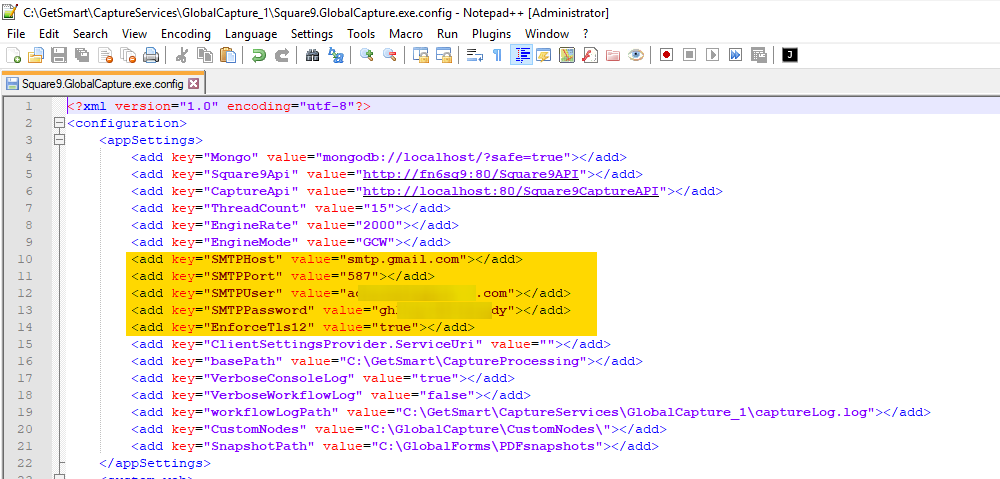
Locate the section labeled “<appSettings>”. There should be 4 keys listed: SMTPHost, SMTPPort, SMTPUser, and SMTPPassword:
Adjust the “value” for each key as follows:
For SMTPHost, use “smtp.gmail.com”.
For SMTPPort, use “587”.
For SMTPUser, use the email address associated with your Google Account.
For SMTPPassword, use your newly-generated app password.
In the same “<appSettings>” section, if you do not have a key for “EnforceTLS12”, add this line directly below the key for SMTPPassword:
XML<add key="EnforceTls12" value="true"></add>The final file should look something like this:
Click to enlarge
Save your changes.
Note that you may need to save the file to the desktop first, then copy it back to “C:\GetSmart\CaptureServices\GlobalCapture_1” if you are not using a plain text editor that can switch to running in “Administrator” mode.
Restart the GlobalCapture_1 service to load the new SMTP settings.
Test your app password by running a GlobalCapture workflow that uses an Email node. If the email is sent successfully, then you are finished.
If you have multiple GlobalCapture engines, these changes will need to be made for each engine.