This backup procedure covers GlobalCapture installations using the default settings.
Custom installations are not covered in this guide; refer to your custom locations and files when backing up.
A carefully thought out and tested backup strategy is essential to every GlobalCapture installation. Backup methodology is generally a matter of preference, based on an educated decision of how much or how little data can be lost; although at a minimum, nightly backups are generally recommended. While GlobalCapture does not have a direct facility for backing up its data and image files, backup of these critical elements can be easily added to your existing backup routine. If you do not have an existing backup strategy, this document will outline what will be required to bring GlobalCapture back to a functional state in the event of data loss.
Possible Data Loss
Do not put your data at risk by overlooking a comprehensive backup strategy that includes both databases and document image files. Failure to adopt a regimented backup plan may result in incomplete data or days’ worth of re-scanning and indexing documents because a backup plan was overlooked. Square 9 Softworks® strongly urges our customers to implement a backup plan that will deliver an appropriate amount of protection from data loss. Please contact Technical Support if you have any questions or concerns related to backup procedures.
Workflows, OCR Templates, Web Form Mappings, and Custom Development
It is extremely important current backups of all data, Templates, and Workflows. Back up the following directories:
The GlobalCapture main application exists within the C:\GetSmart directory by default. Inside this directory are key folders that are specific to each individual installation. It is highly recommended that you back up the entireGetSmart directory.
The web services, found by default in the C:\inetpub\wwwroot directory.
Process History and GlobalCapture Workflows
The mongoDB folder (found in the C:\GetSmart directory by default) contains the database objects that store Workflow layouts and processing data for both active and historical document operations. As MongoDB® is a separate database engine technology that runs as a service on the server, files will be in use when the MongoDB engine is running. It is important to note that this can impact a traditional file system backup’s ability to access the files. Additional backup steps may be needed.
Begin the backup process by stopping the GlobalCapture and Batch Portal services and then the MongoDB services.
Possible Data Loss
If you do not backup MongoDB, you can lose Workflow definitions that may have taken hours, days, or even weeks to build. Additionally, you could lose days, months, or years of processing history that may or may not be needed. Consult with your network administrator on how best to back up in-use files in the file system. Refer to the MongoDB documentation for specific backup recommendations from the database vendor: https://docs.mongodb.com/.
Backing up all of your GlobalCapture databases is critical to a successful recovery in the event of data loss. If you already have a backup routine for SQL Server, you may simply incorporate the GlobalCapture databases into that routine.
By default, GlobalCapture installs Microsoft SQL Server® 2012 Express and creates an instance called [machineName]\GetSmart. Within this instance there are the default databases. (The actual listed databases may vary, depending upon your version of GlobalCapture, and any additional applications present, such as GlobalSearch or GlobalForms.)
How you back up your SQL databases will depend up on your chosen backup procedure, but backups must includeSmartSearch , SSMaster, Square9Users, and SSCapture. This section contains a simple, manual procedure for backing up your databases. For more information about automated backups, please consult your organization’s database or network administrator.
This back up procedure requires Microsoft SQL Server Management Studio®. While it is not installed with GlobalCapture by default, you can download it from Microsoft as part of the SQL Server 2012 Express package.
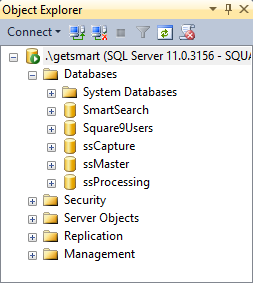
Connect to the GlobalCapture SQL instance (named GetSmart by default) in SQL Server Management Studio.
Under Object Explorer on the left-hand side, expand the Databases folder.
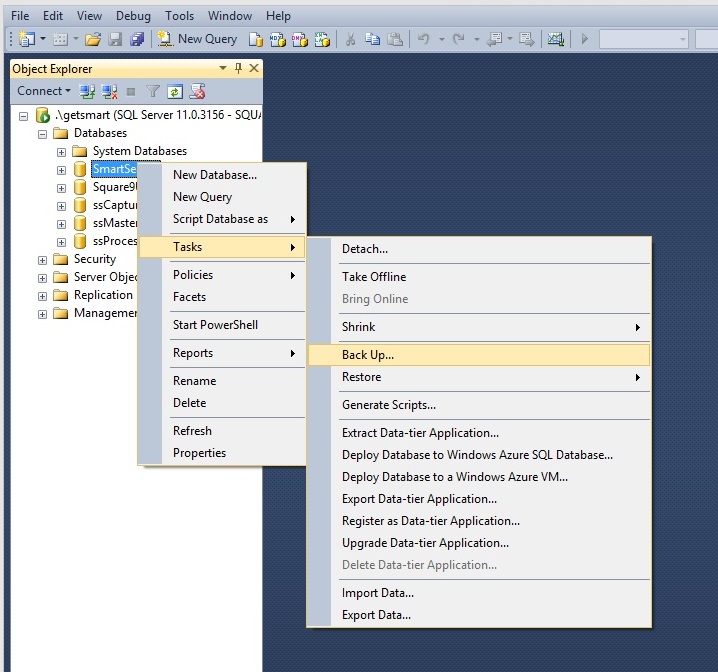
Right-click the first GlobalCapture database in your list and go to Task > Back Up. The Back Up Database window should now open.
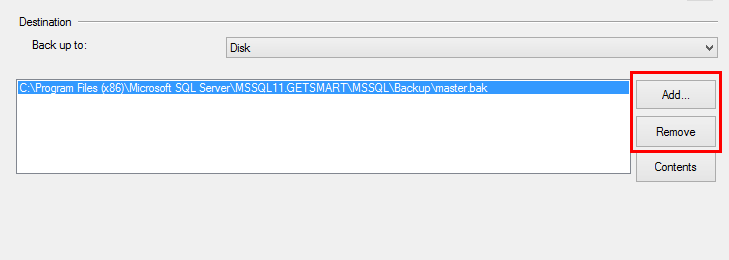
In the Destination section, from the Back up to drop-down list, select Disk.
In the Destination section, in the backup location area, do the following:
If there is anything populated in this section, highlight the path and click Remove.
Once the section is cleared click Add.
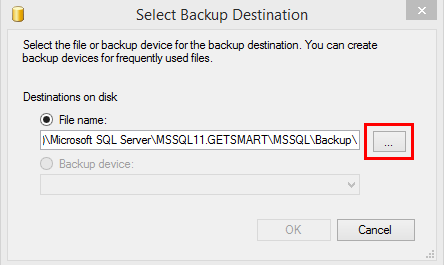
In the Select Backup Destination window which appears, click the More Options () button.
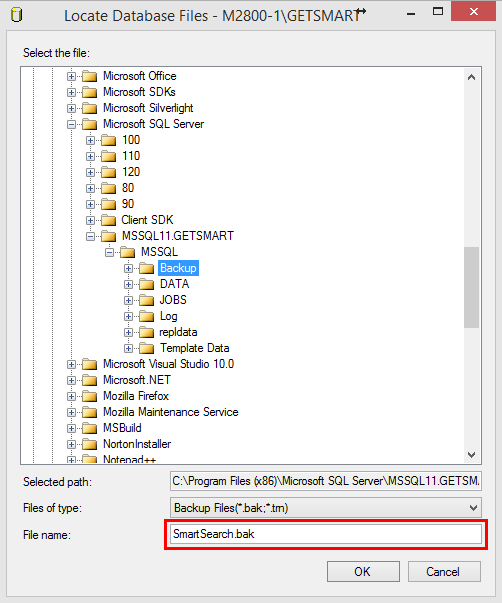
In the Locate Database Files window which appears, do the following:
In the folder tree view, select the destination location for the database backups. The default back up location will appear in the window. The Backup folder listed is stored in the same location as the physical database files. While you can back up your databases to any location, having the backup files and database files in the same location may be good, for organizational purposes.
To name the backup, in the File Name text box, enter the name, using the backupname.bak naming format. Although not required, it is a good idea to give the backup the same name as its database along with today’s date.
Click on OK to save the settings and close the window.
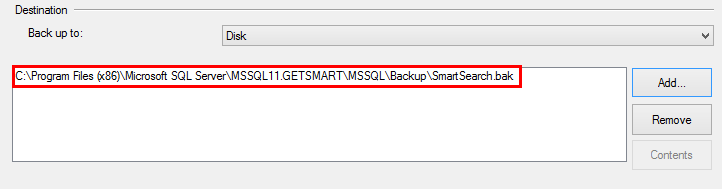
In the Select Backup Destination window, click OK. You should now see your chosen location and name in the Back Up Database window in the Destination group.
To back up, click OK. There will be a pause while the backup is processing.
Repeat steps 3 through 9 to back up your remaining GlobalCapture databases.
JavaScript errors detected
Please note, these errors can depend on your browser setup.
If this problem persists, please contact our support.